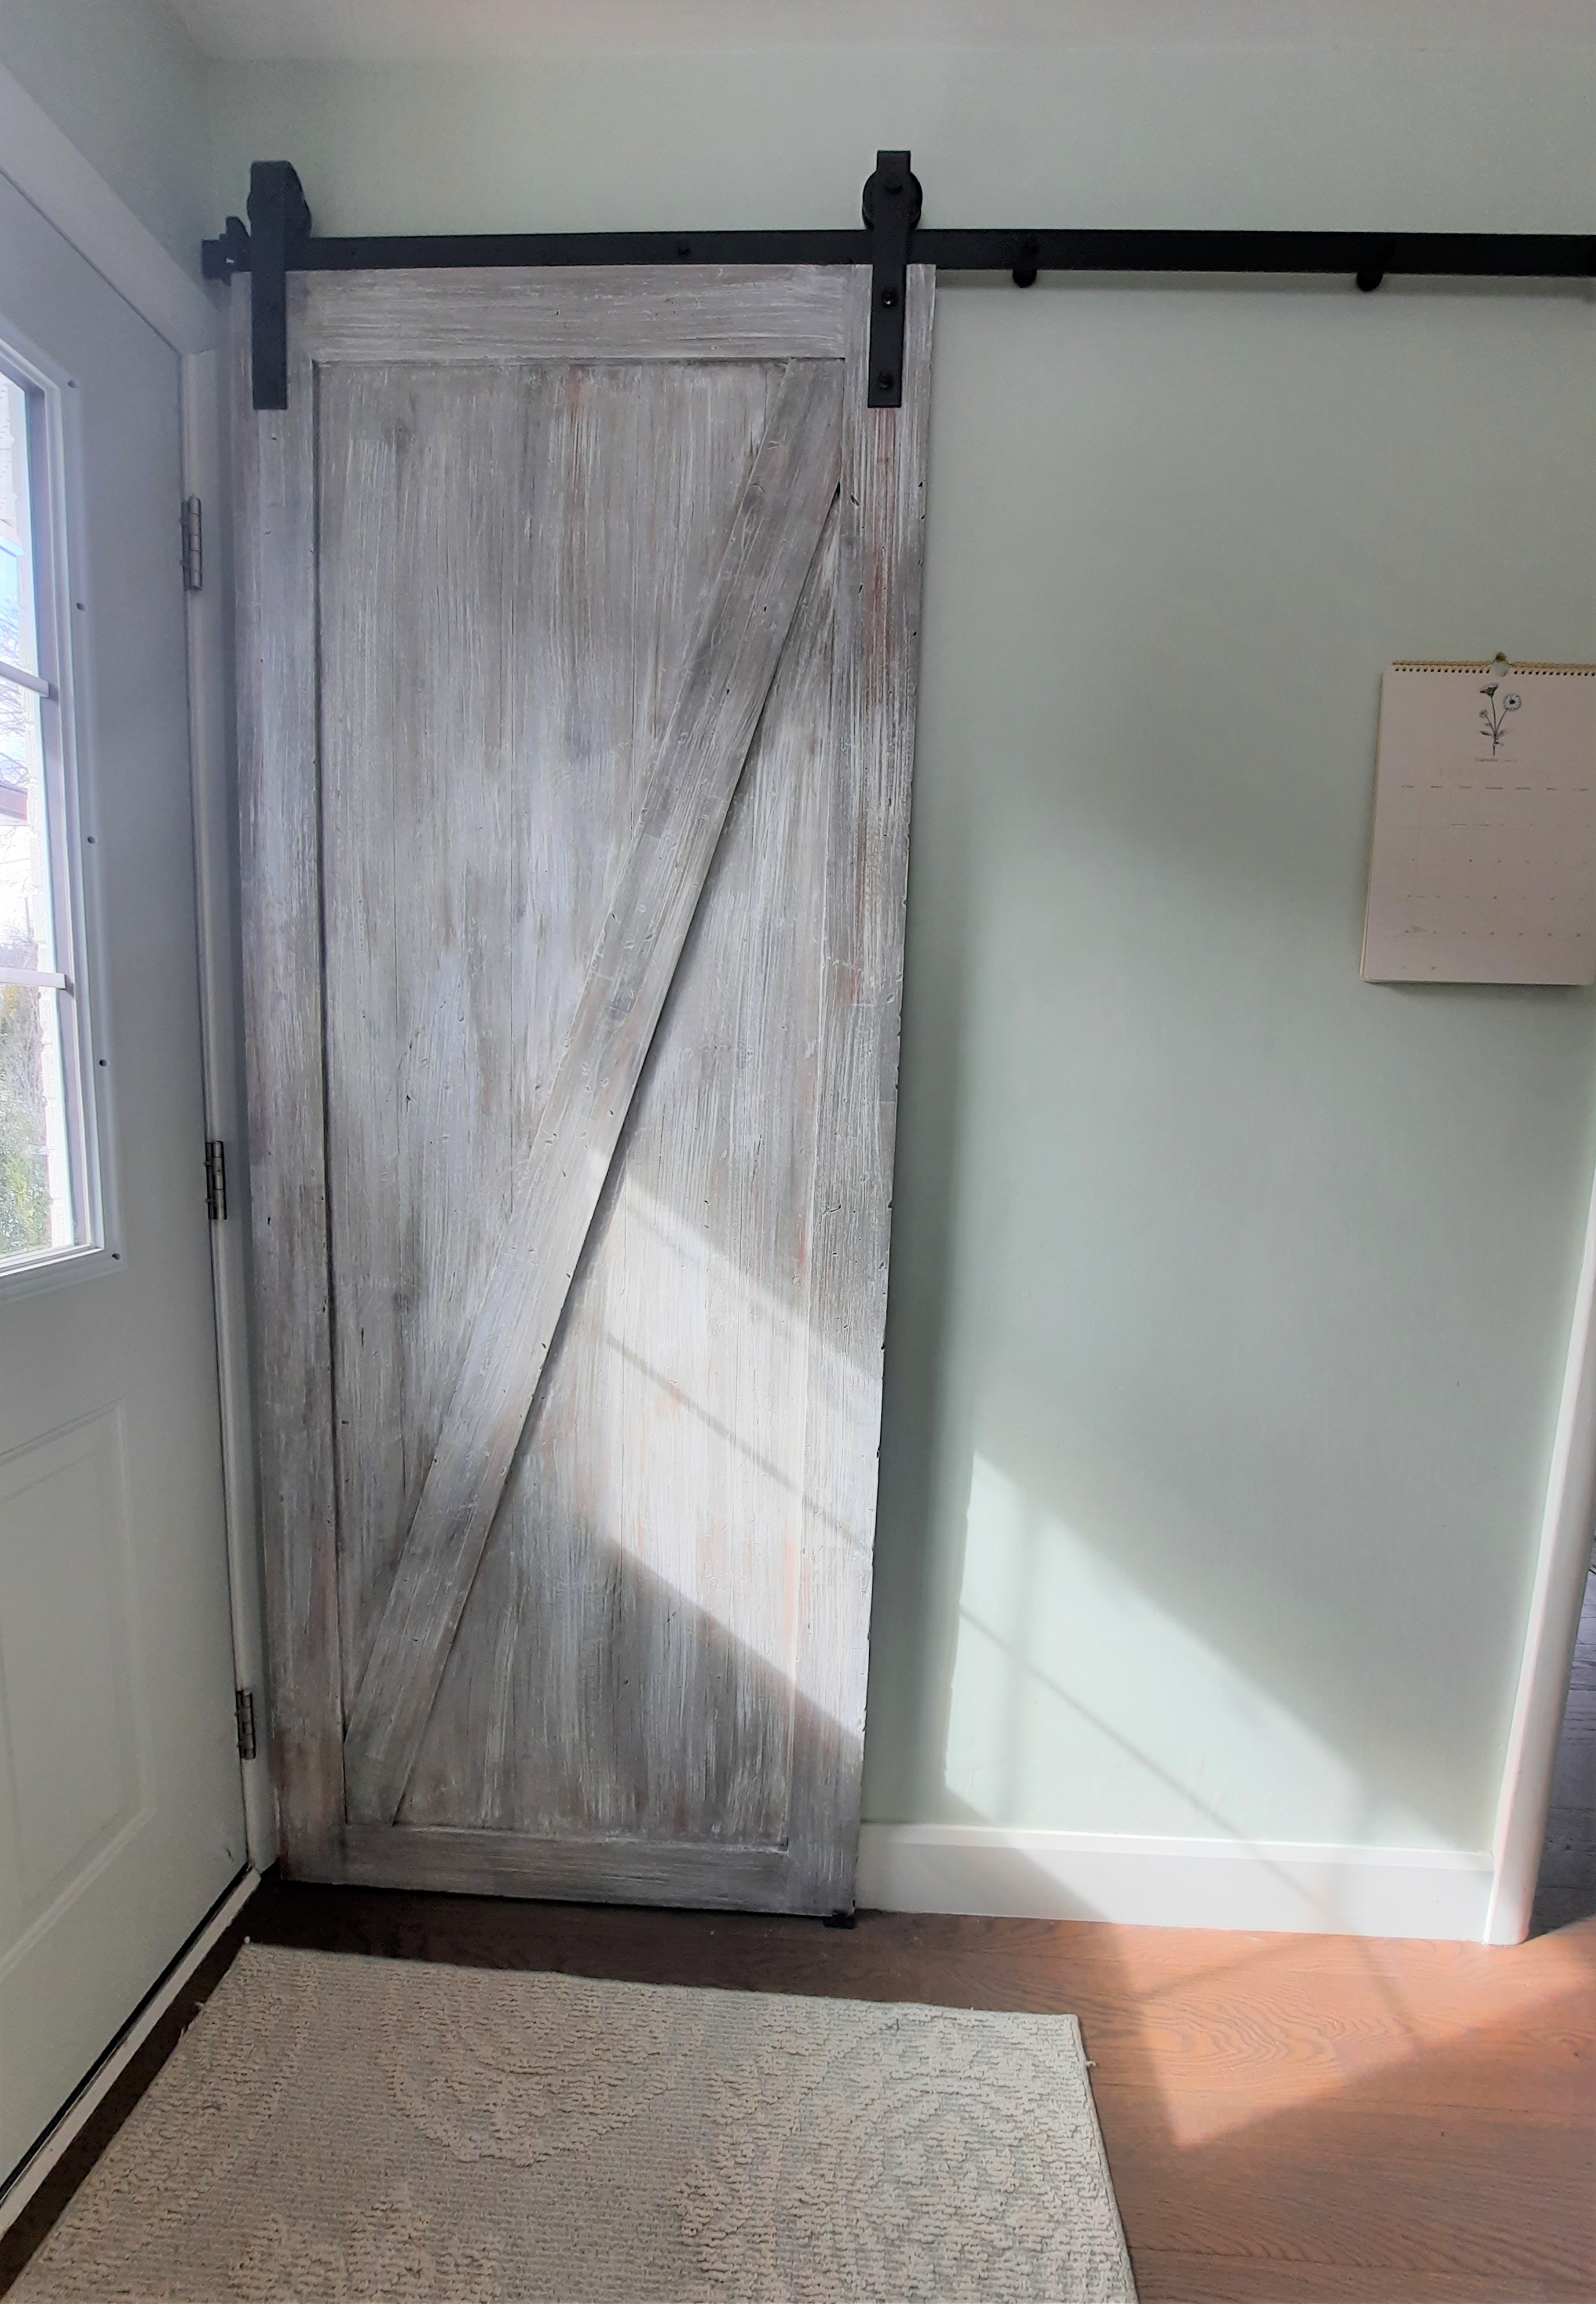
Weathering wood to create a DIY rustic farmhouse barn door is easier than you might think. And the result is a custom door that you created yourself! The best part? No need to be perfect or precise. It’s pretty hard to mess this finish up!
Why should I get a barn door?
Sliding barn doors are everywhere right now. They provide a visual change from standard doors. Barn doors also provide warmth to a space, as well as old-world charm. They can be modern and crisp, but more often have a weathered look, similar to old barn board. And while authentic barn board can be extremely expensive to buy, you can achieve the look with some stain, simple tools, and a bit of paint.
Where do I get a sliding farmhouse barn door?
Since the DIY rustic, farmhouse style is so popular right now, you can find basic, unfinished barn doors in most hardware stores.
Ours was a prebuilt find at Costco, but since I haven’t seen them there since, and to keep it simple for you, I’ve linked one here that is essentially the same one we used for our kitchen. Just be aware that this one requires a bit of assembly to build the door itself.
Before ordering your door, measure your doorway carefully to be sure there is enough room along the top for the length of hardware for the rollers to roll on. Also, check the size of the barn door itself to make sure it will be the right fit! Barn doors come in lots of sizes, so triple-check before you order your door!
Materials needed for DIY rustic farmhouse barn door:
Before you begin, you’ll need a few key items:
- barn door (note this one is a kit which includes all hardware. The door itself comes in panels that are pre-drilled and easy to put together.)
- A dark wood stain. I used Minwax Wood Finish Stain in Dark Walnut.
- A grey wood stain. I used Varathane’s One Coat stain in Briarsmoke.
- White paint. I really liked Rustoleum’s Chalked paint in Linen White, but any white paint will do.
- Small plastic container for mixing paint
- lint-free staining cloths or clean lint-free cotton rags
- fine grit sandpaper
- A chip paint brush (a very inexpensive brush that works well for rough, distressed finishes)
- random tools and items to use to distress wood (ie. screwdrivers, screws, chain, wire brush, hammer, etc). Just collect up items from around your house or shed!
How to distress and finish a DIY rustic farmhouse barn door
First, cover the ground with a protective layer of drop cloth to prevent any damage to your flooring.
With the barn door on the floor, create texture in the wood using whatever tools you have available to you. You don’t have to be precise with this AT ALL, but you do need to trust the process! Simply bang up your door! Hit it with a hammer, drag screws across it, bang it with chain, scrub it with a wire brush…just keep creating dents, notches, and holes all over your board. It should look chaotic and not have a pattern. Just go wild!
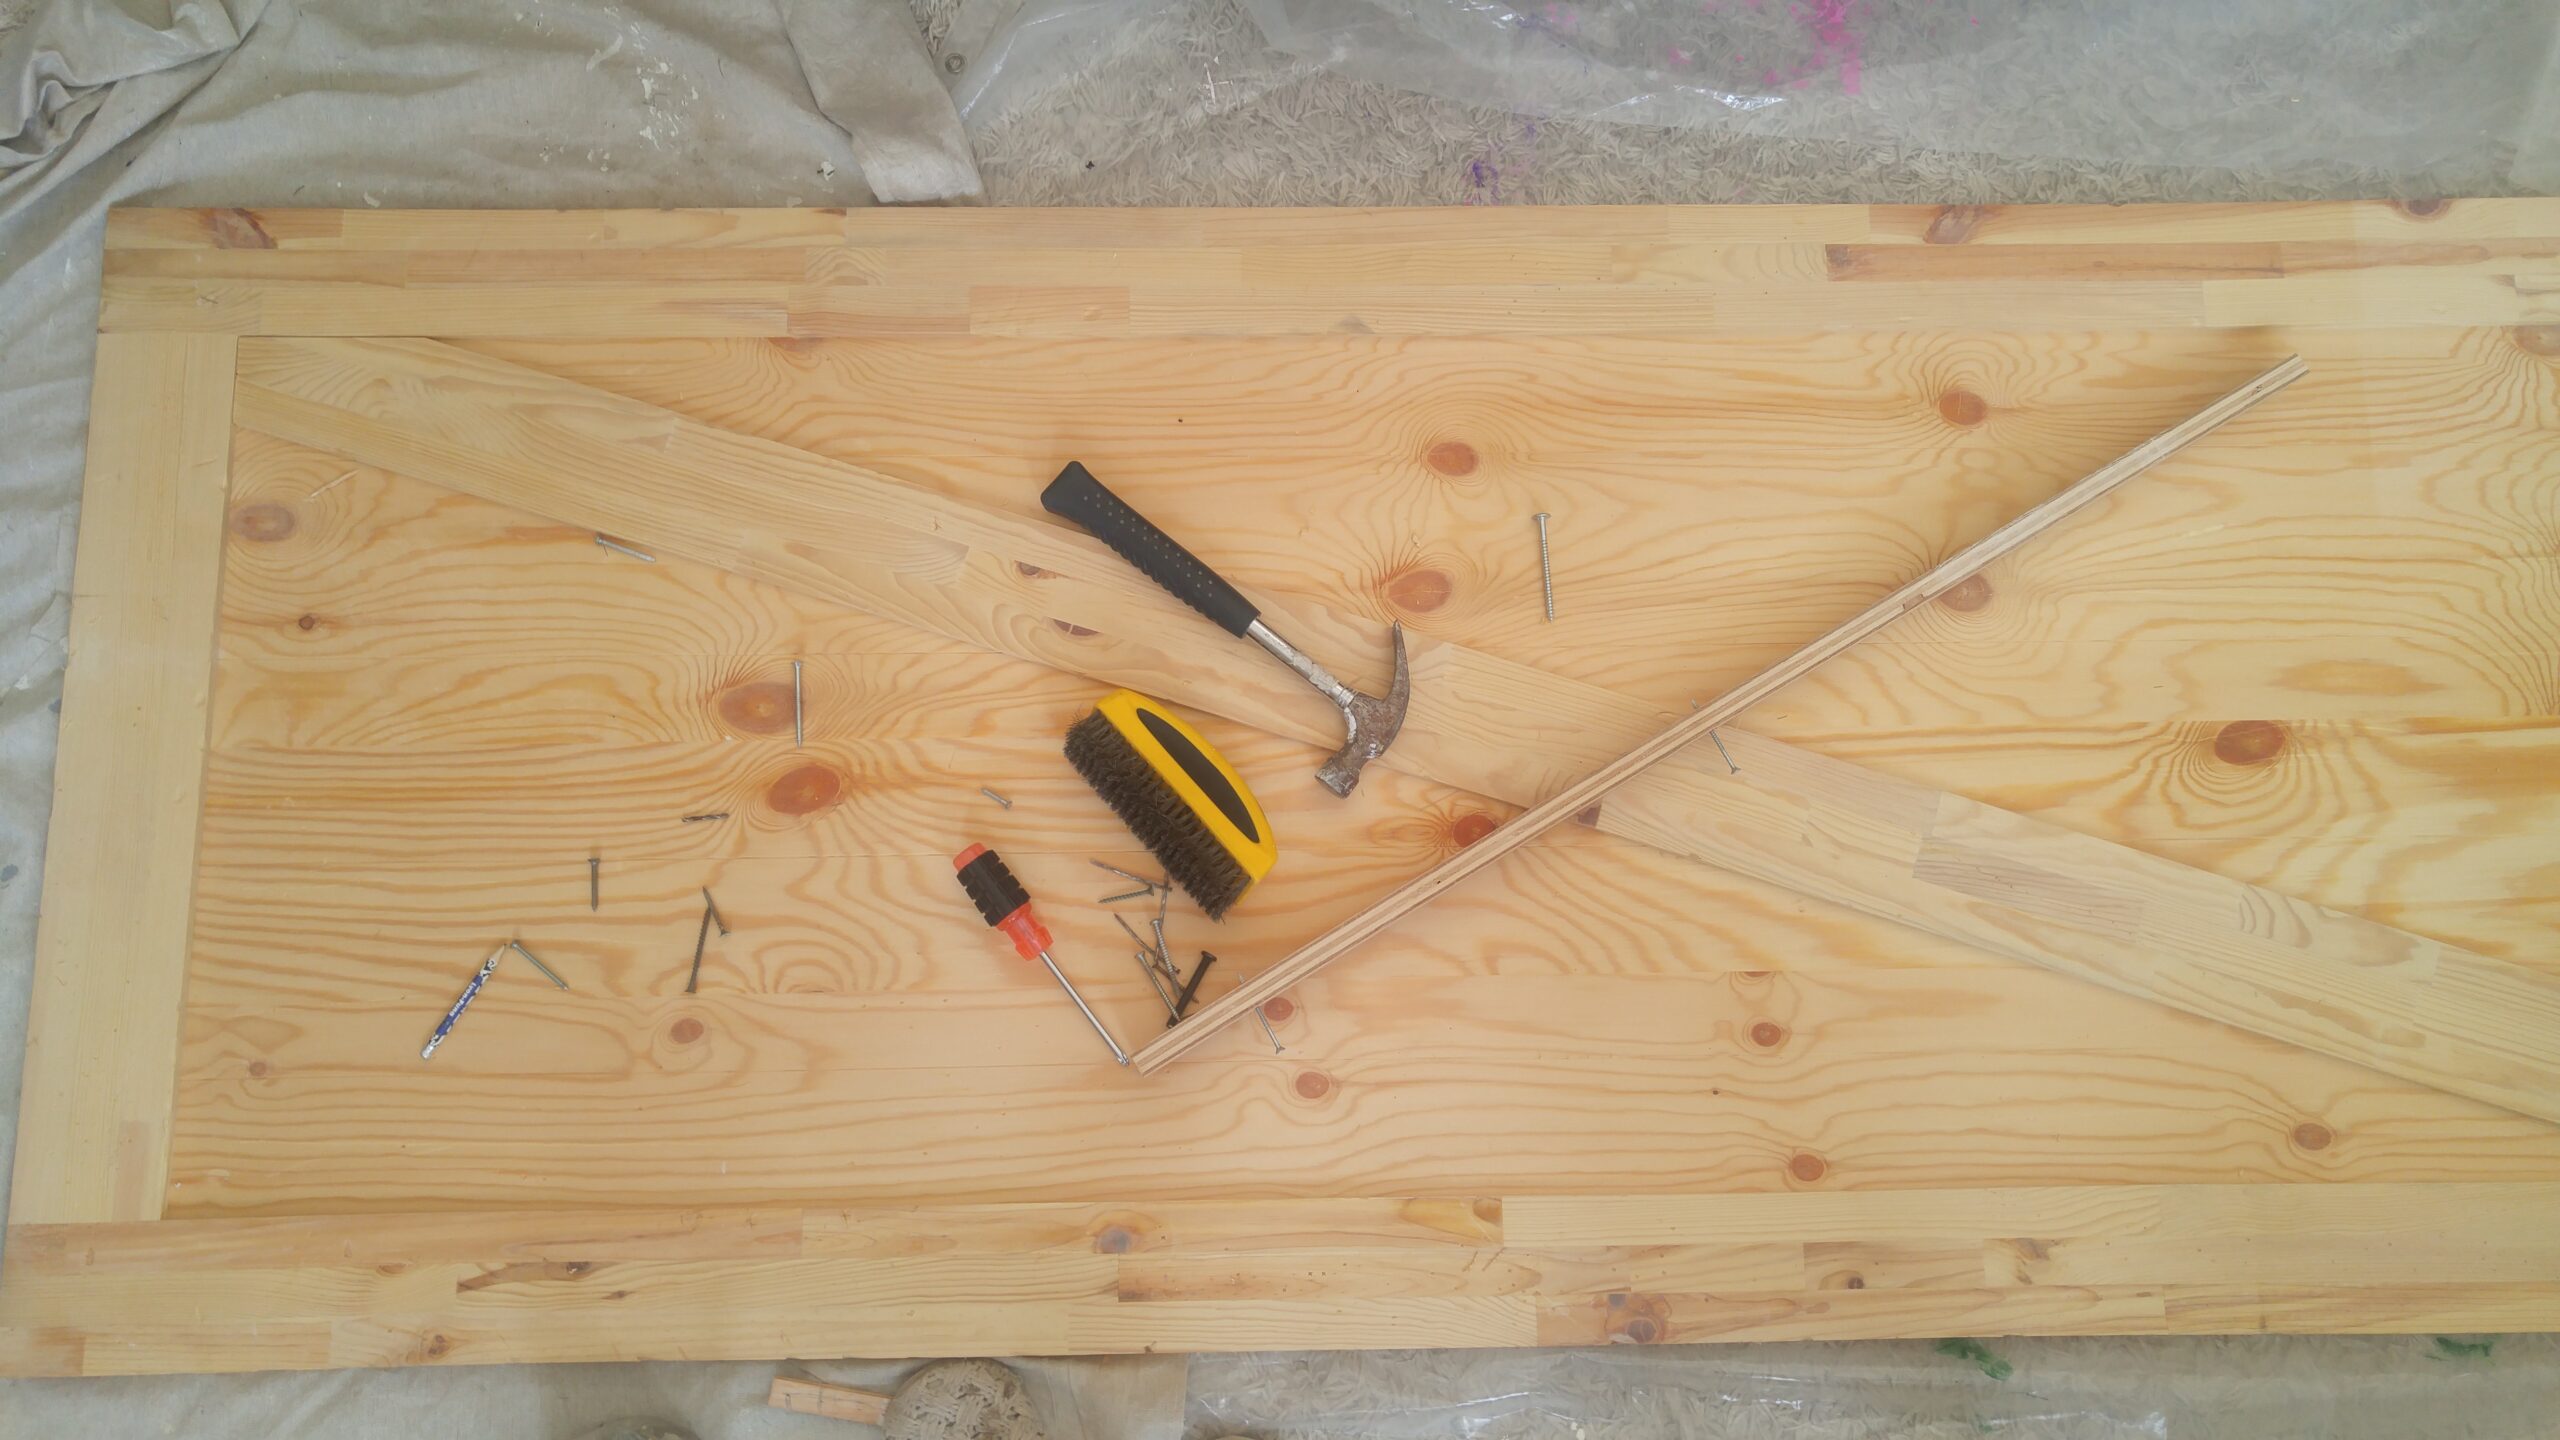
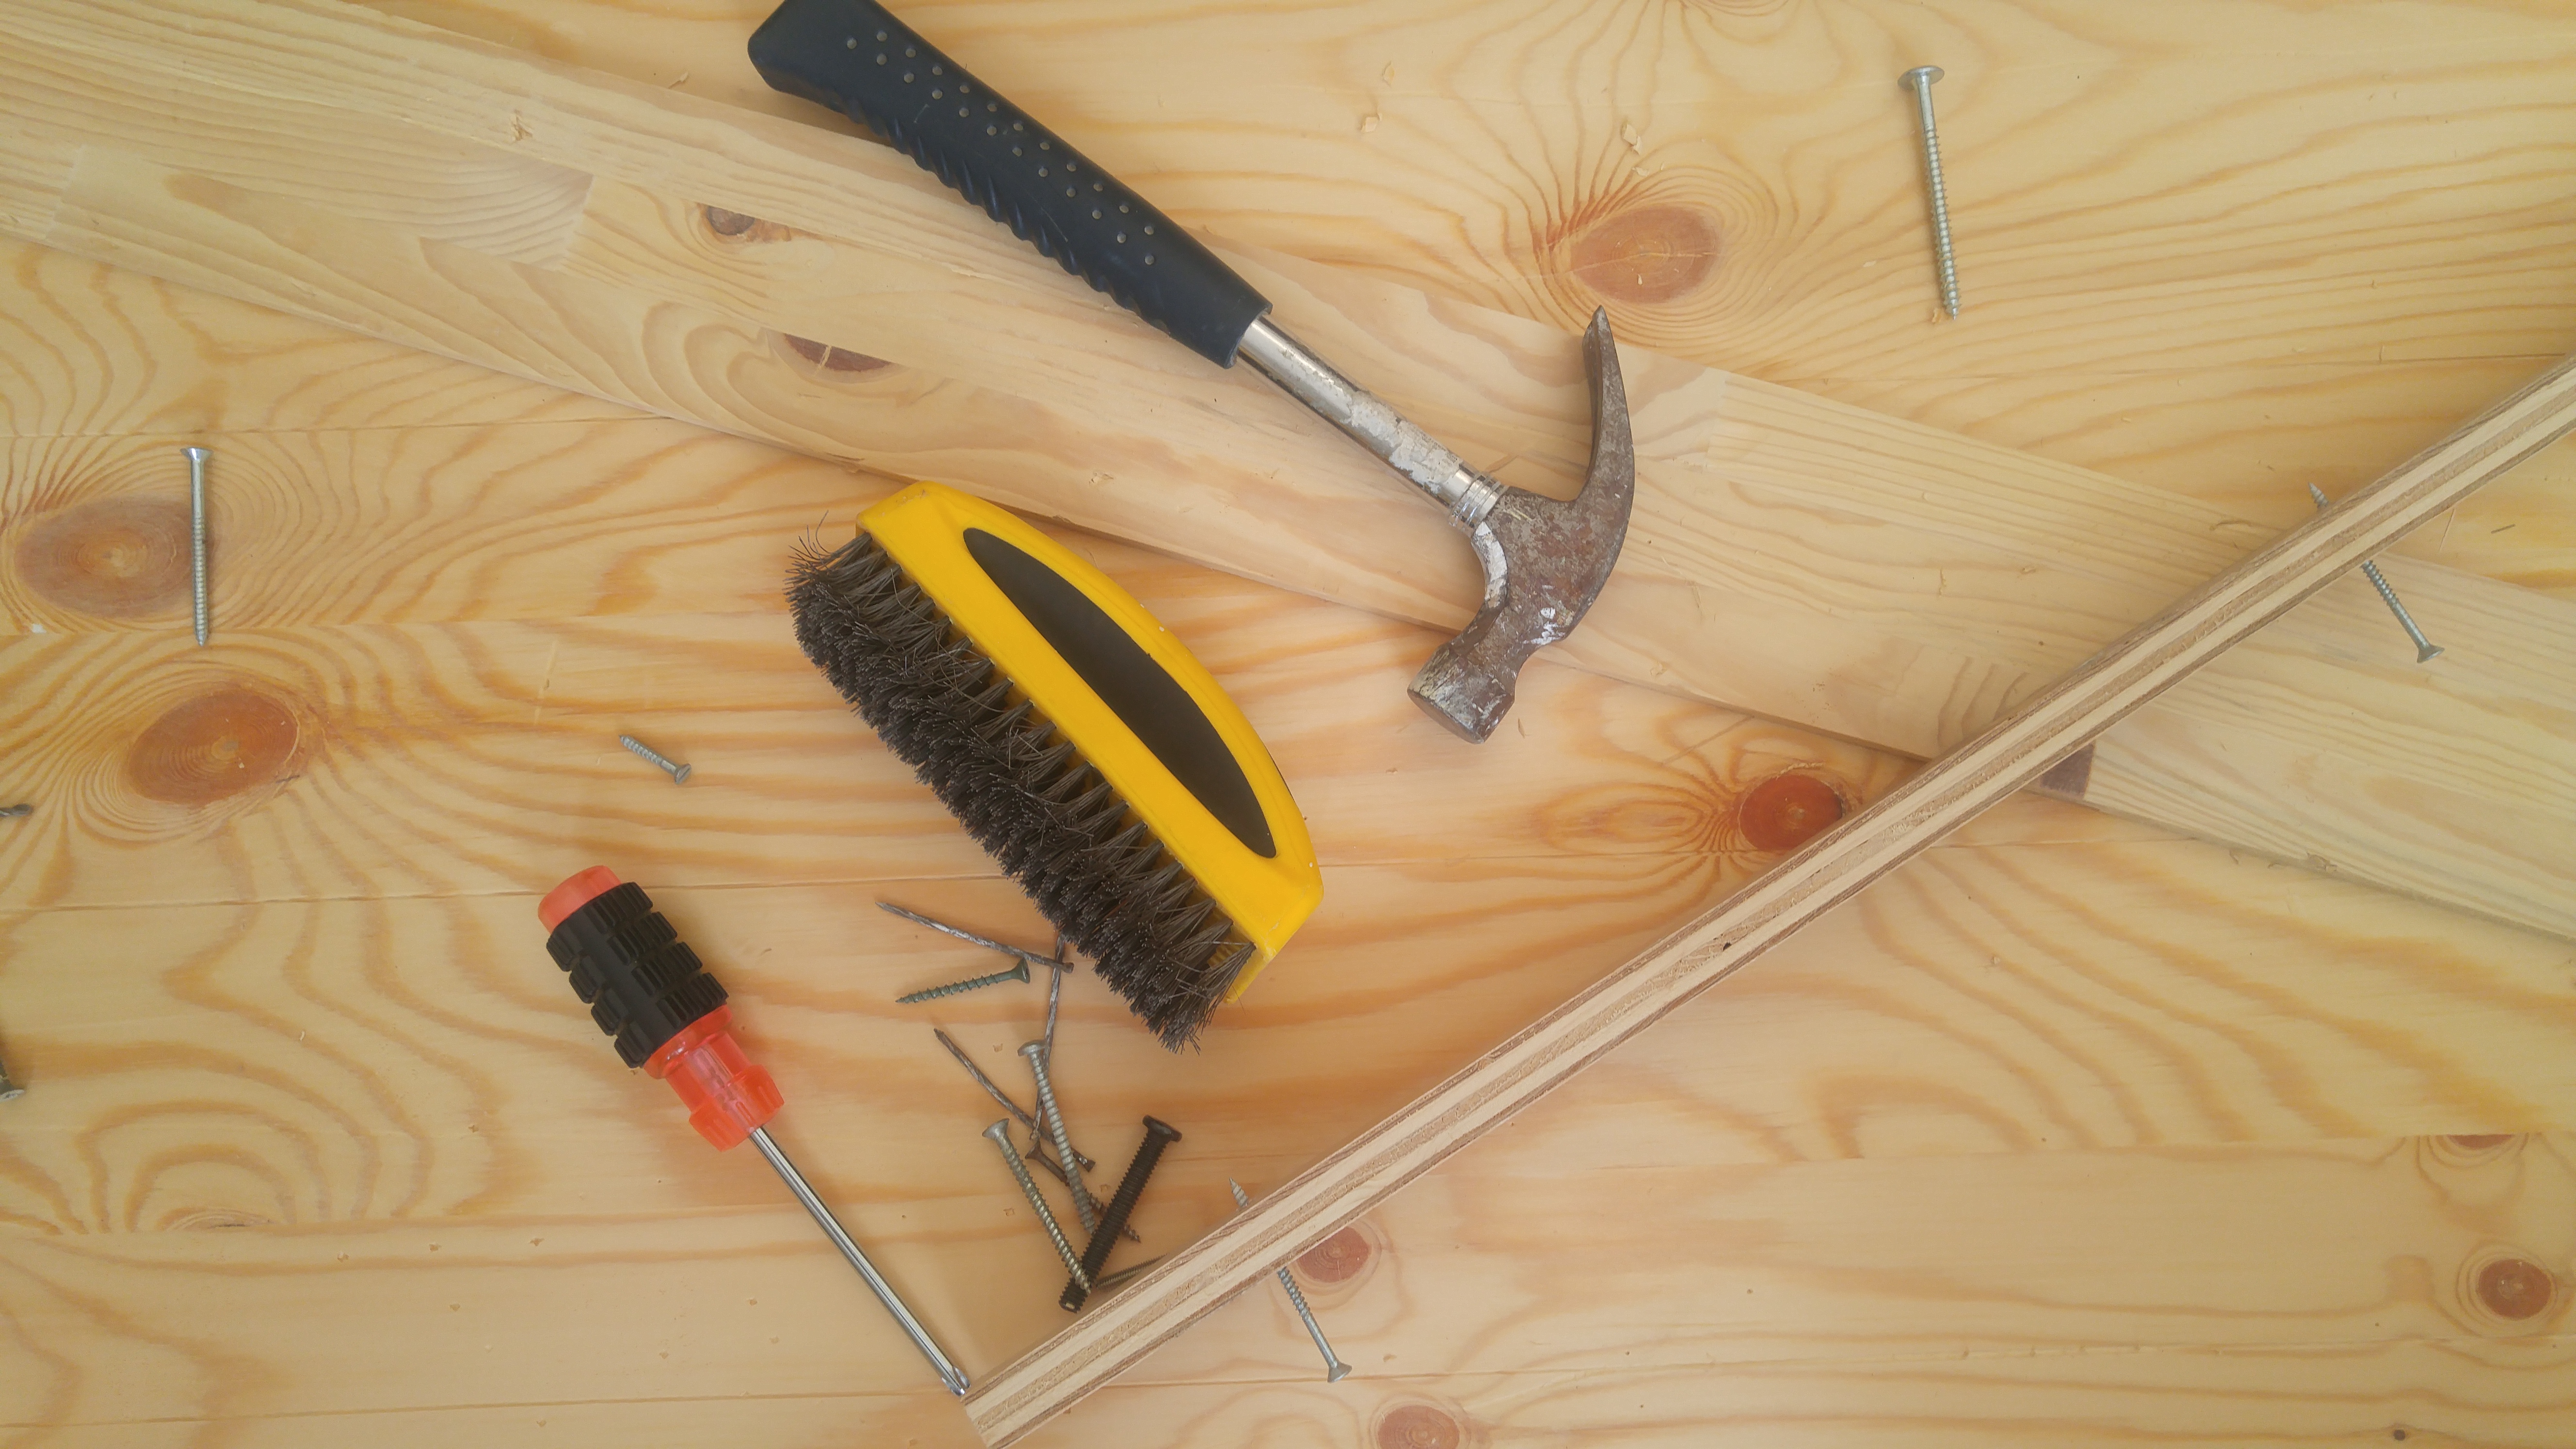
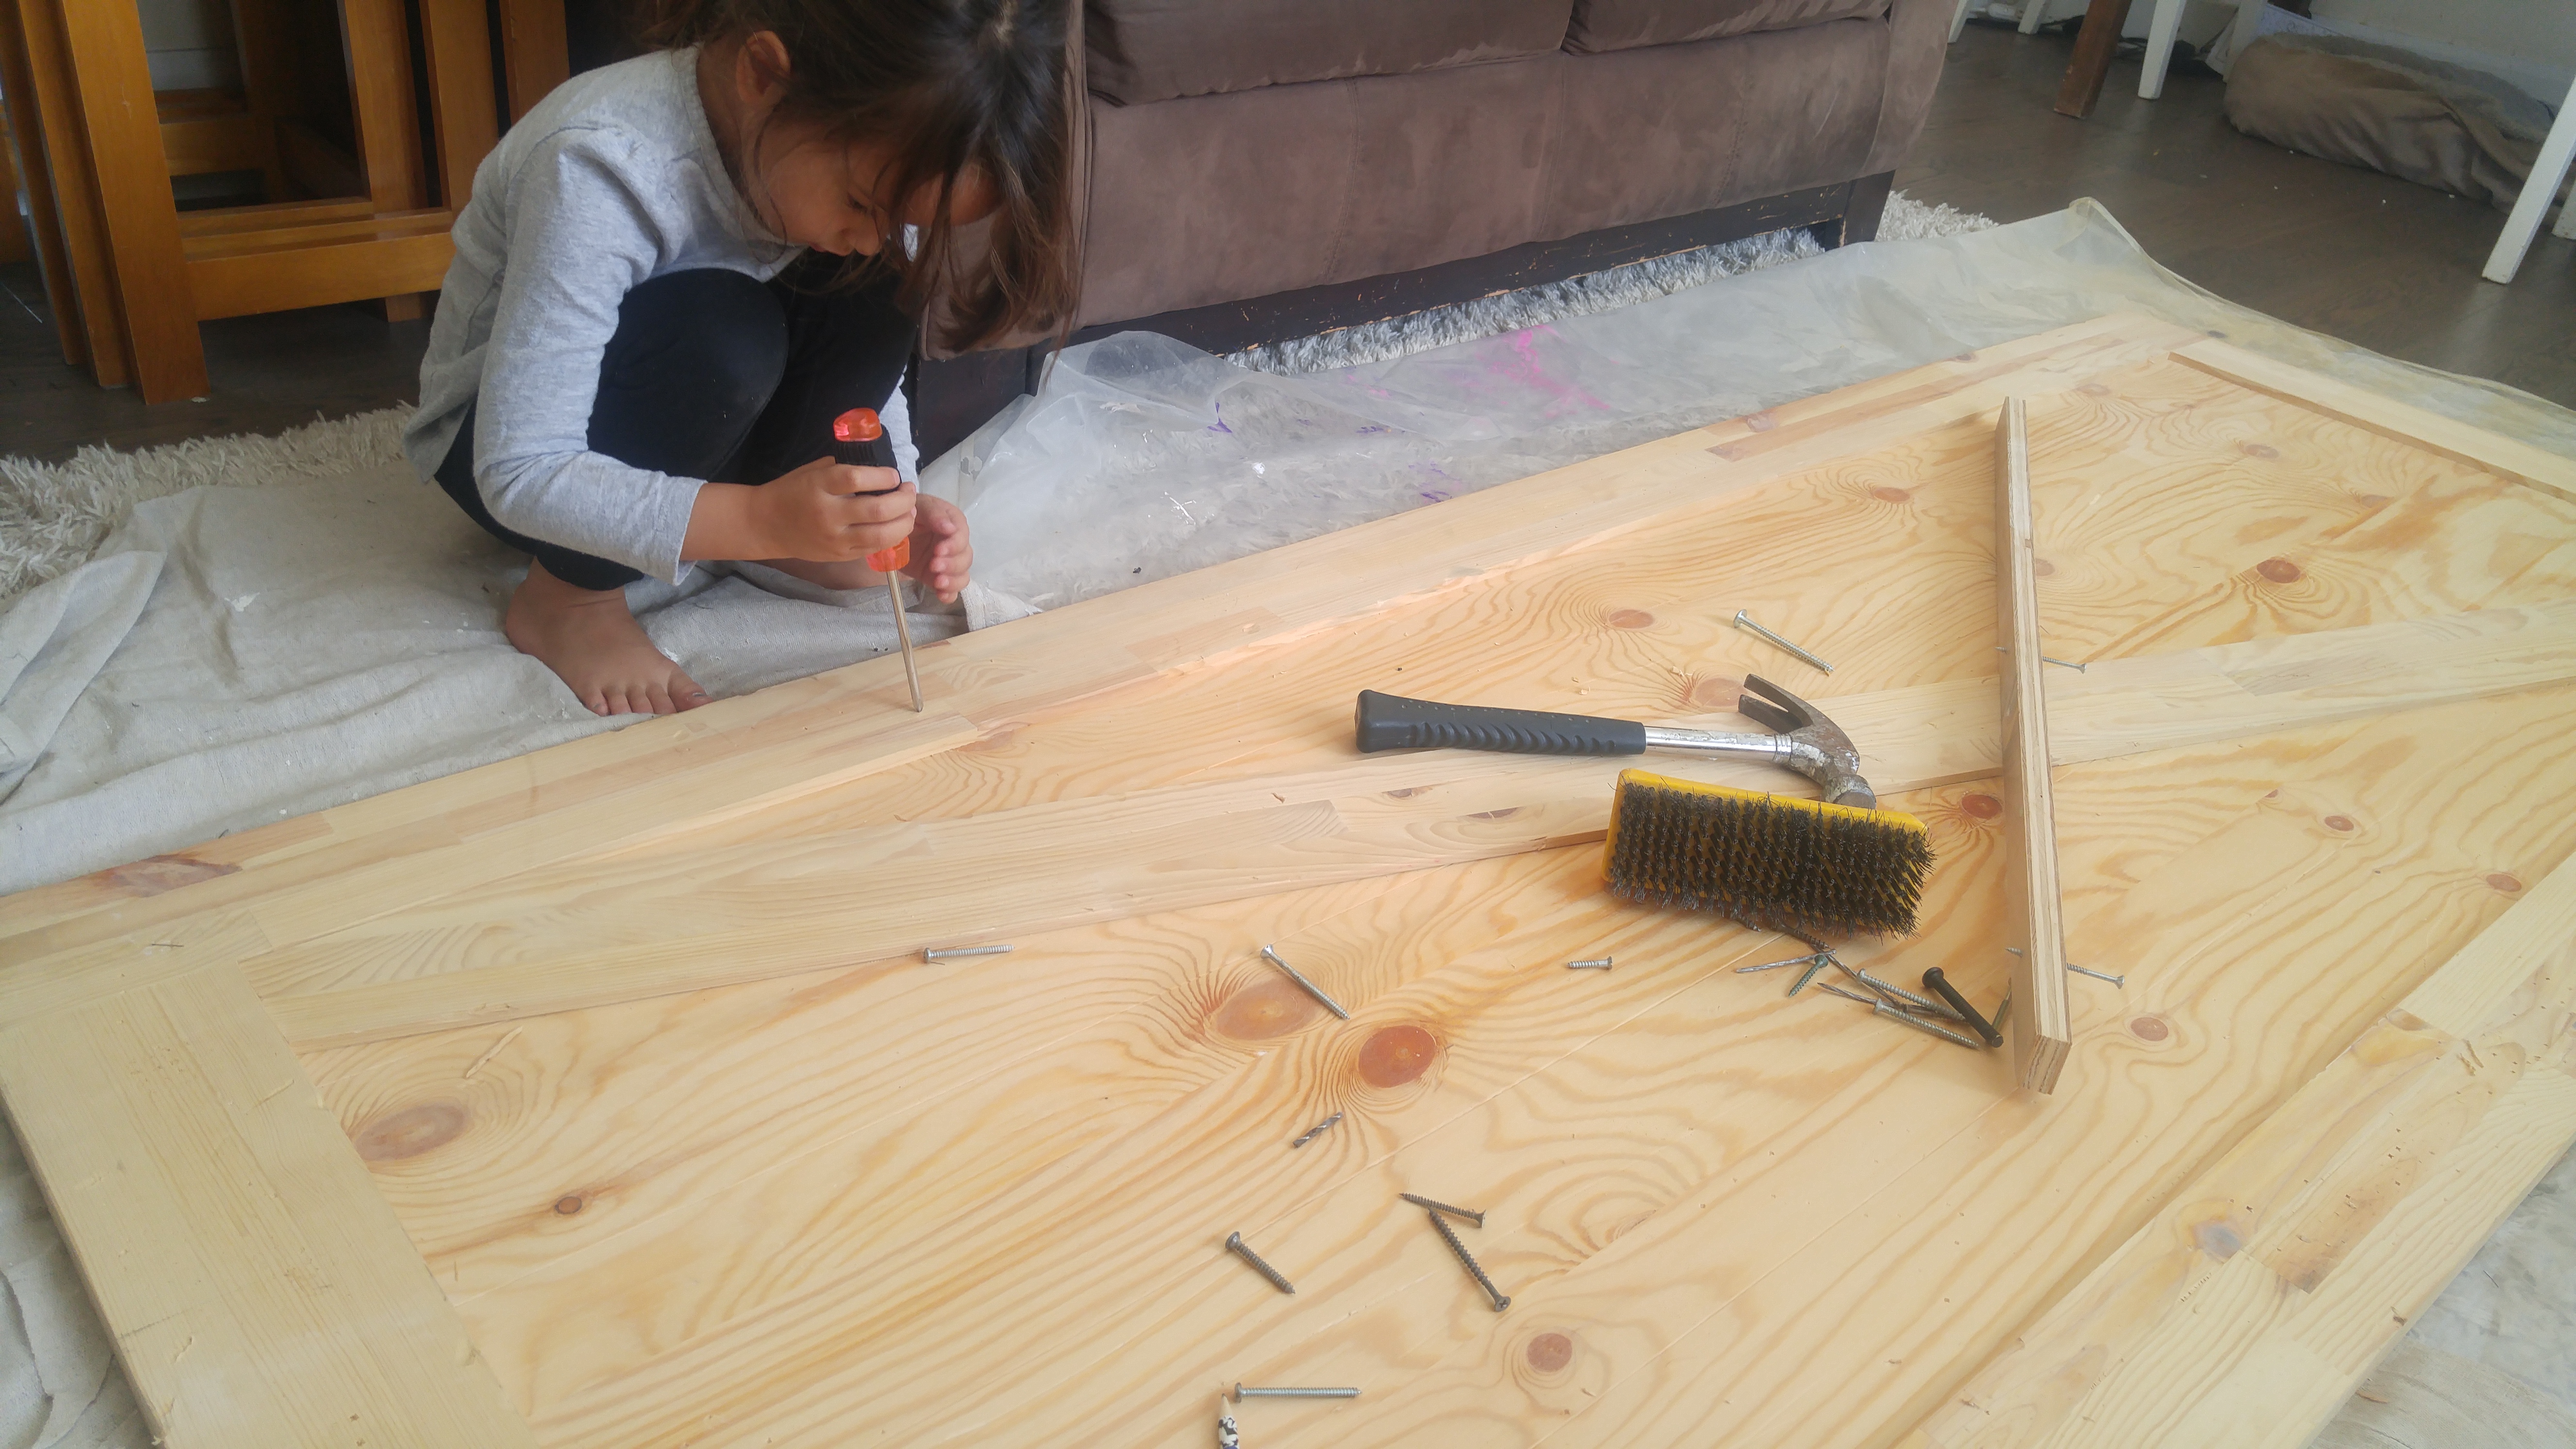
This was a great activity for my kids to help with. They seemed to have no problem banging up a piece of wood however they liked. No idea why that would appeal to kids….hee hee.
Be sure to distress all sides and edges of the door. We want this door to look authentic, and barn wood ages on all sides, so that’s what you’re aiming to recreate.
If there are rough/sharp splinters that have surfaced, you can sand them down slightly to avoid injury to little hands once the door is hung.
Place door onto 2 sawhorses for staining.
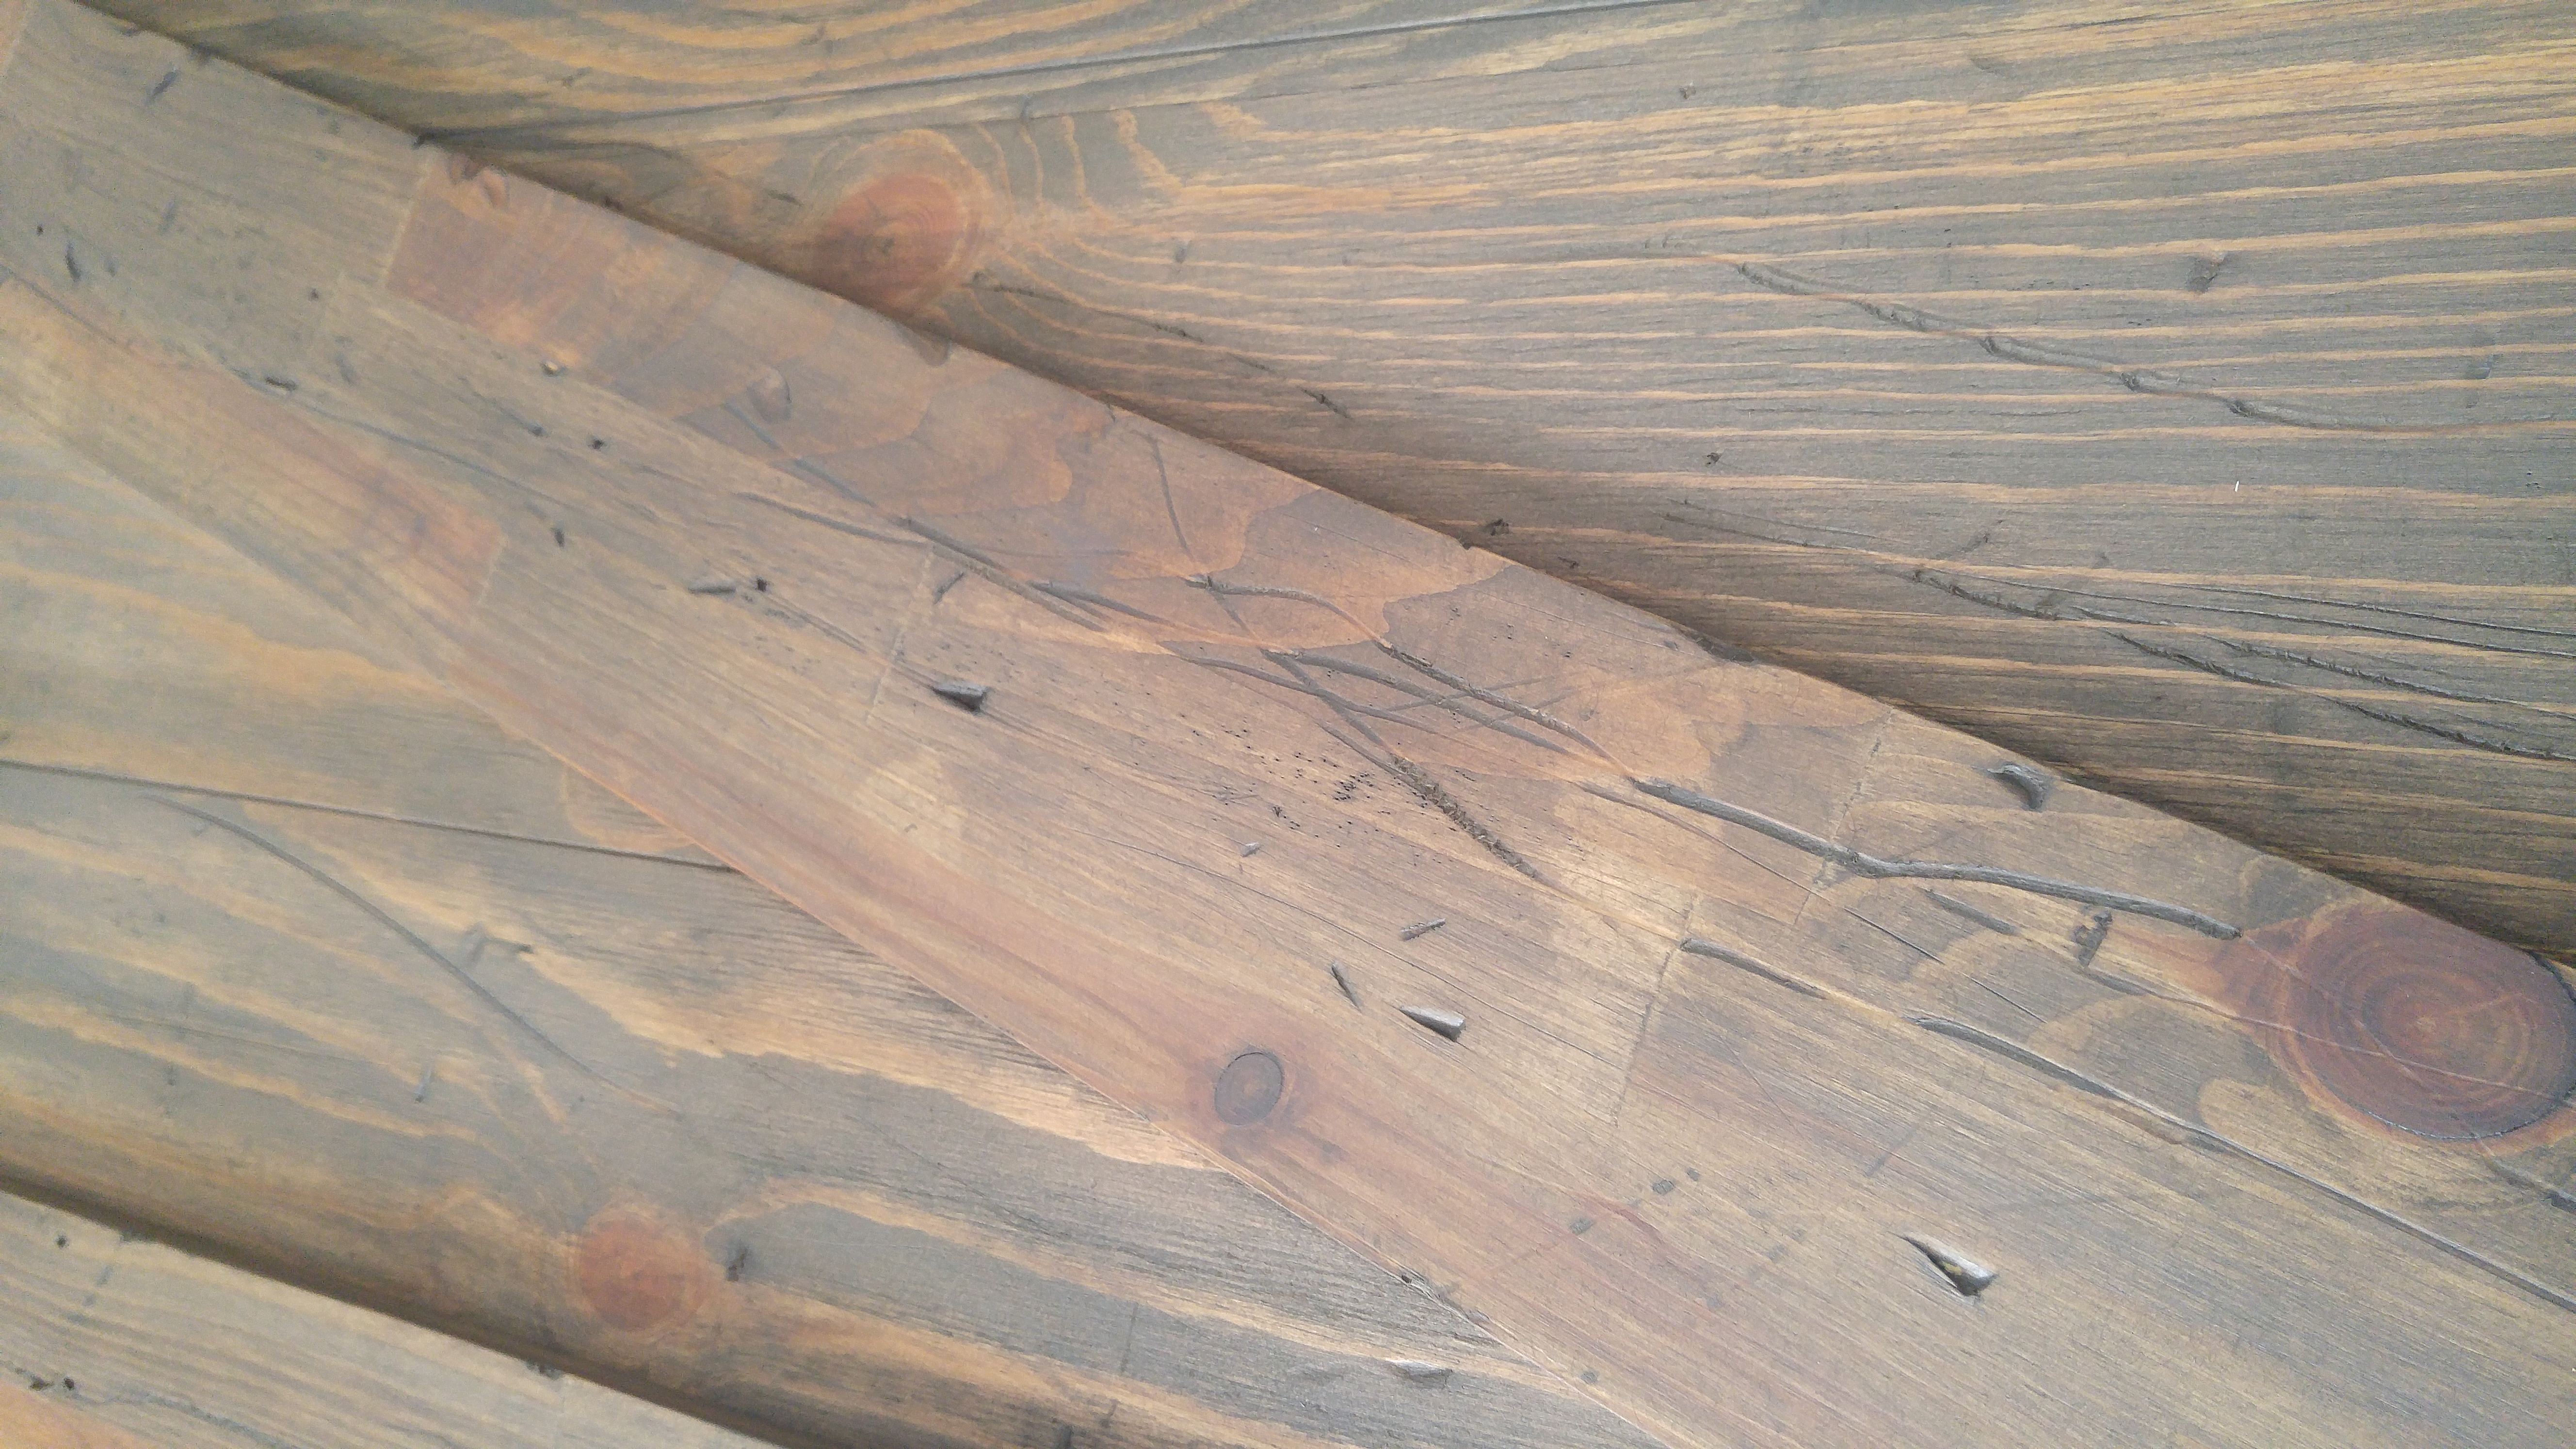
Dip a clean rag into the dark walnut stain. Gently wipe streaks and lines of stain randomly down the barn door, leaving spaces for the second colour of stain (see photo below). You may find working in sections best for these steps, so you can blend the stains before they dry out too much.
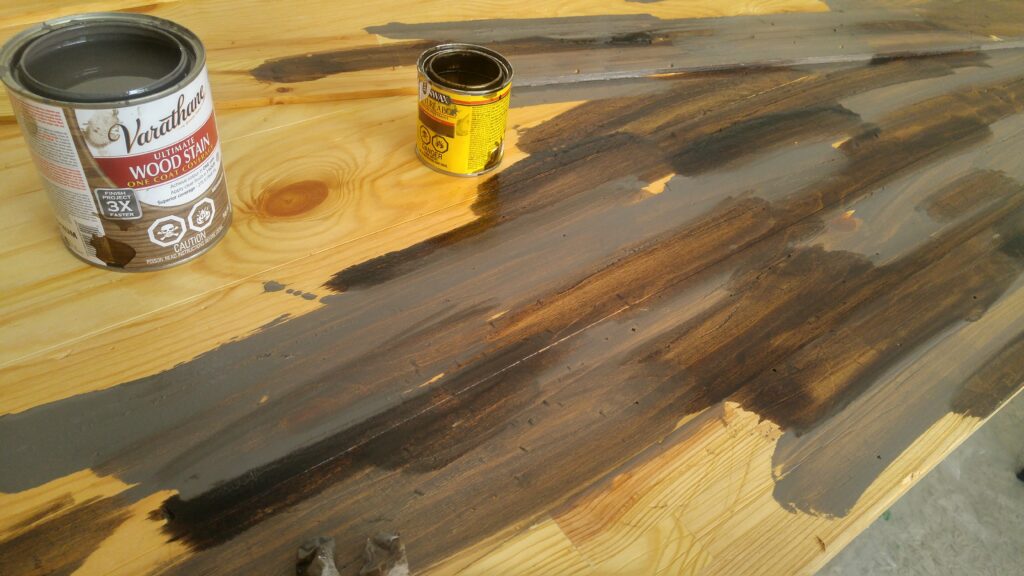
Dip another clean rag into the Briarsmoke stain, and fill in the areas left unstained between the Walnut stain. Basically, you are creating a haphazard blend of both brown and grey stains, that you will be blending to create a more natural wood look.
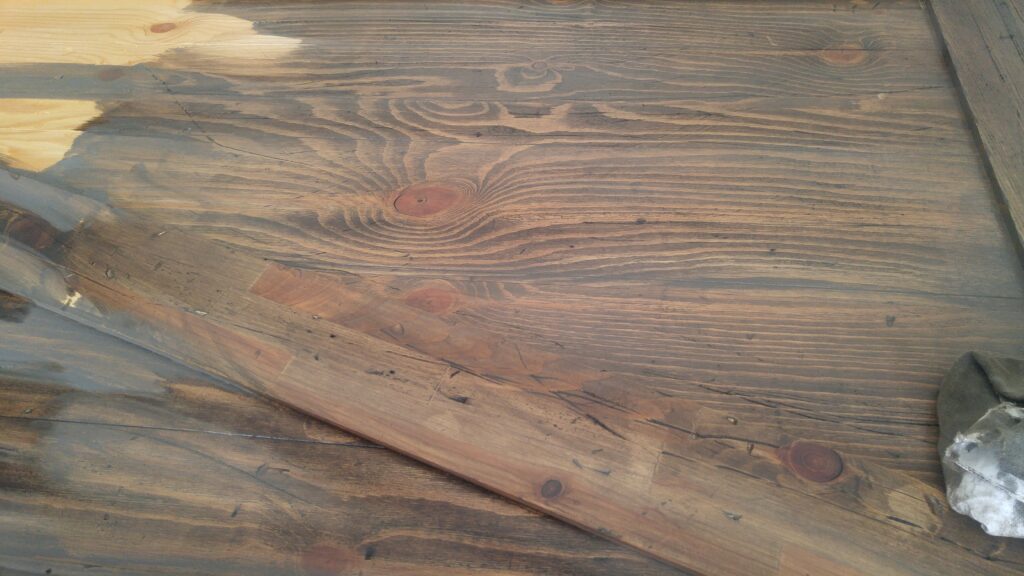
Using another clean cloth, blend the streaks of stain together on the board, rubbing into the grain to help the stain soak in. This will create a unique depth of colour on your barn door. Once dry to the touch, flip the door over and complete the other side as well as the edges of the door.
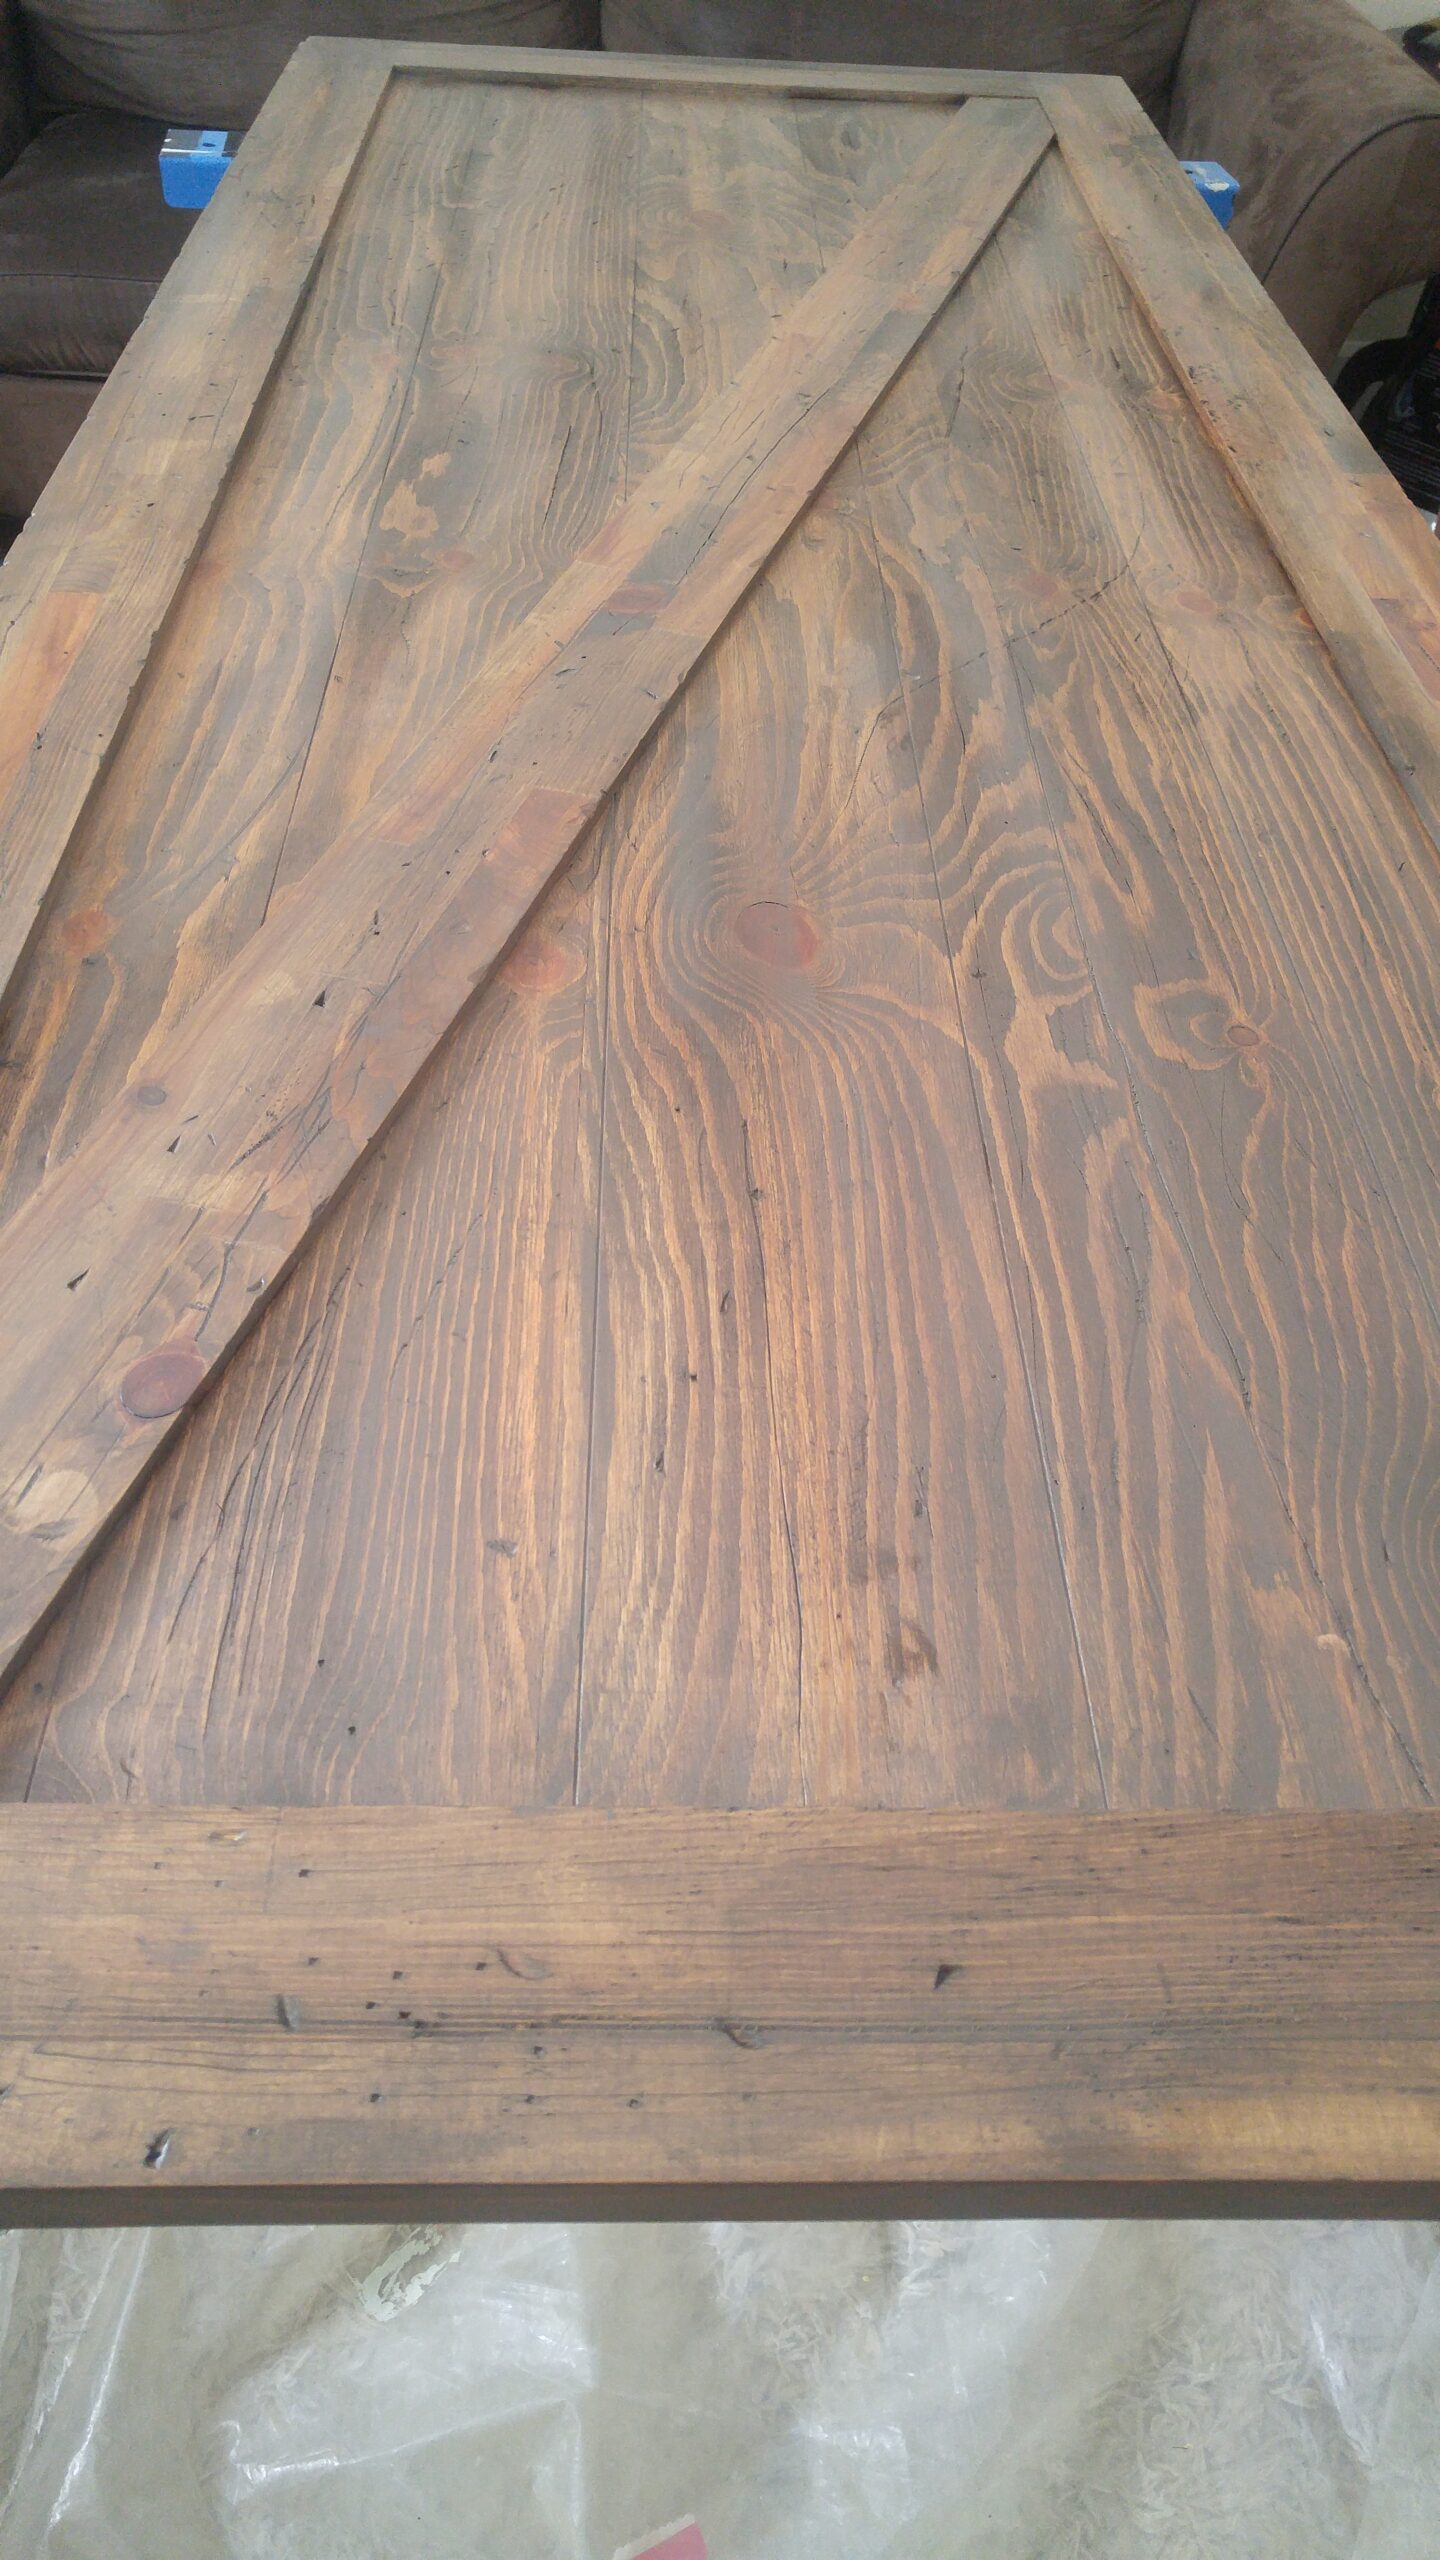
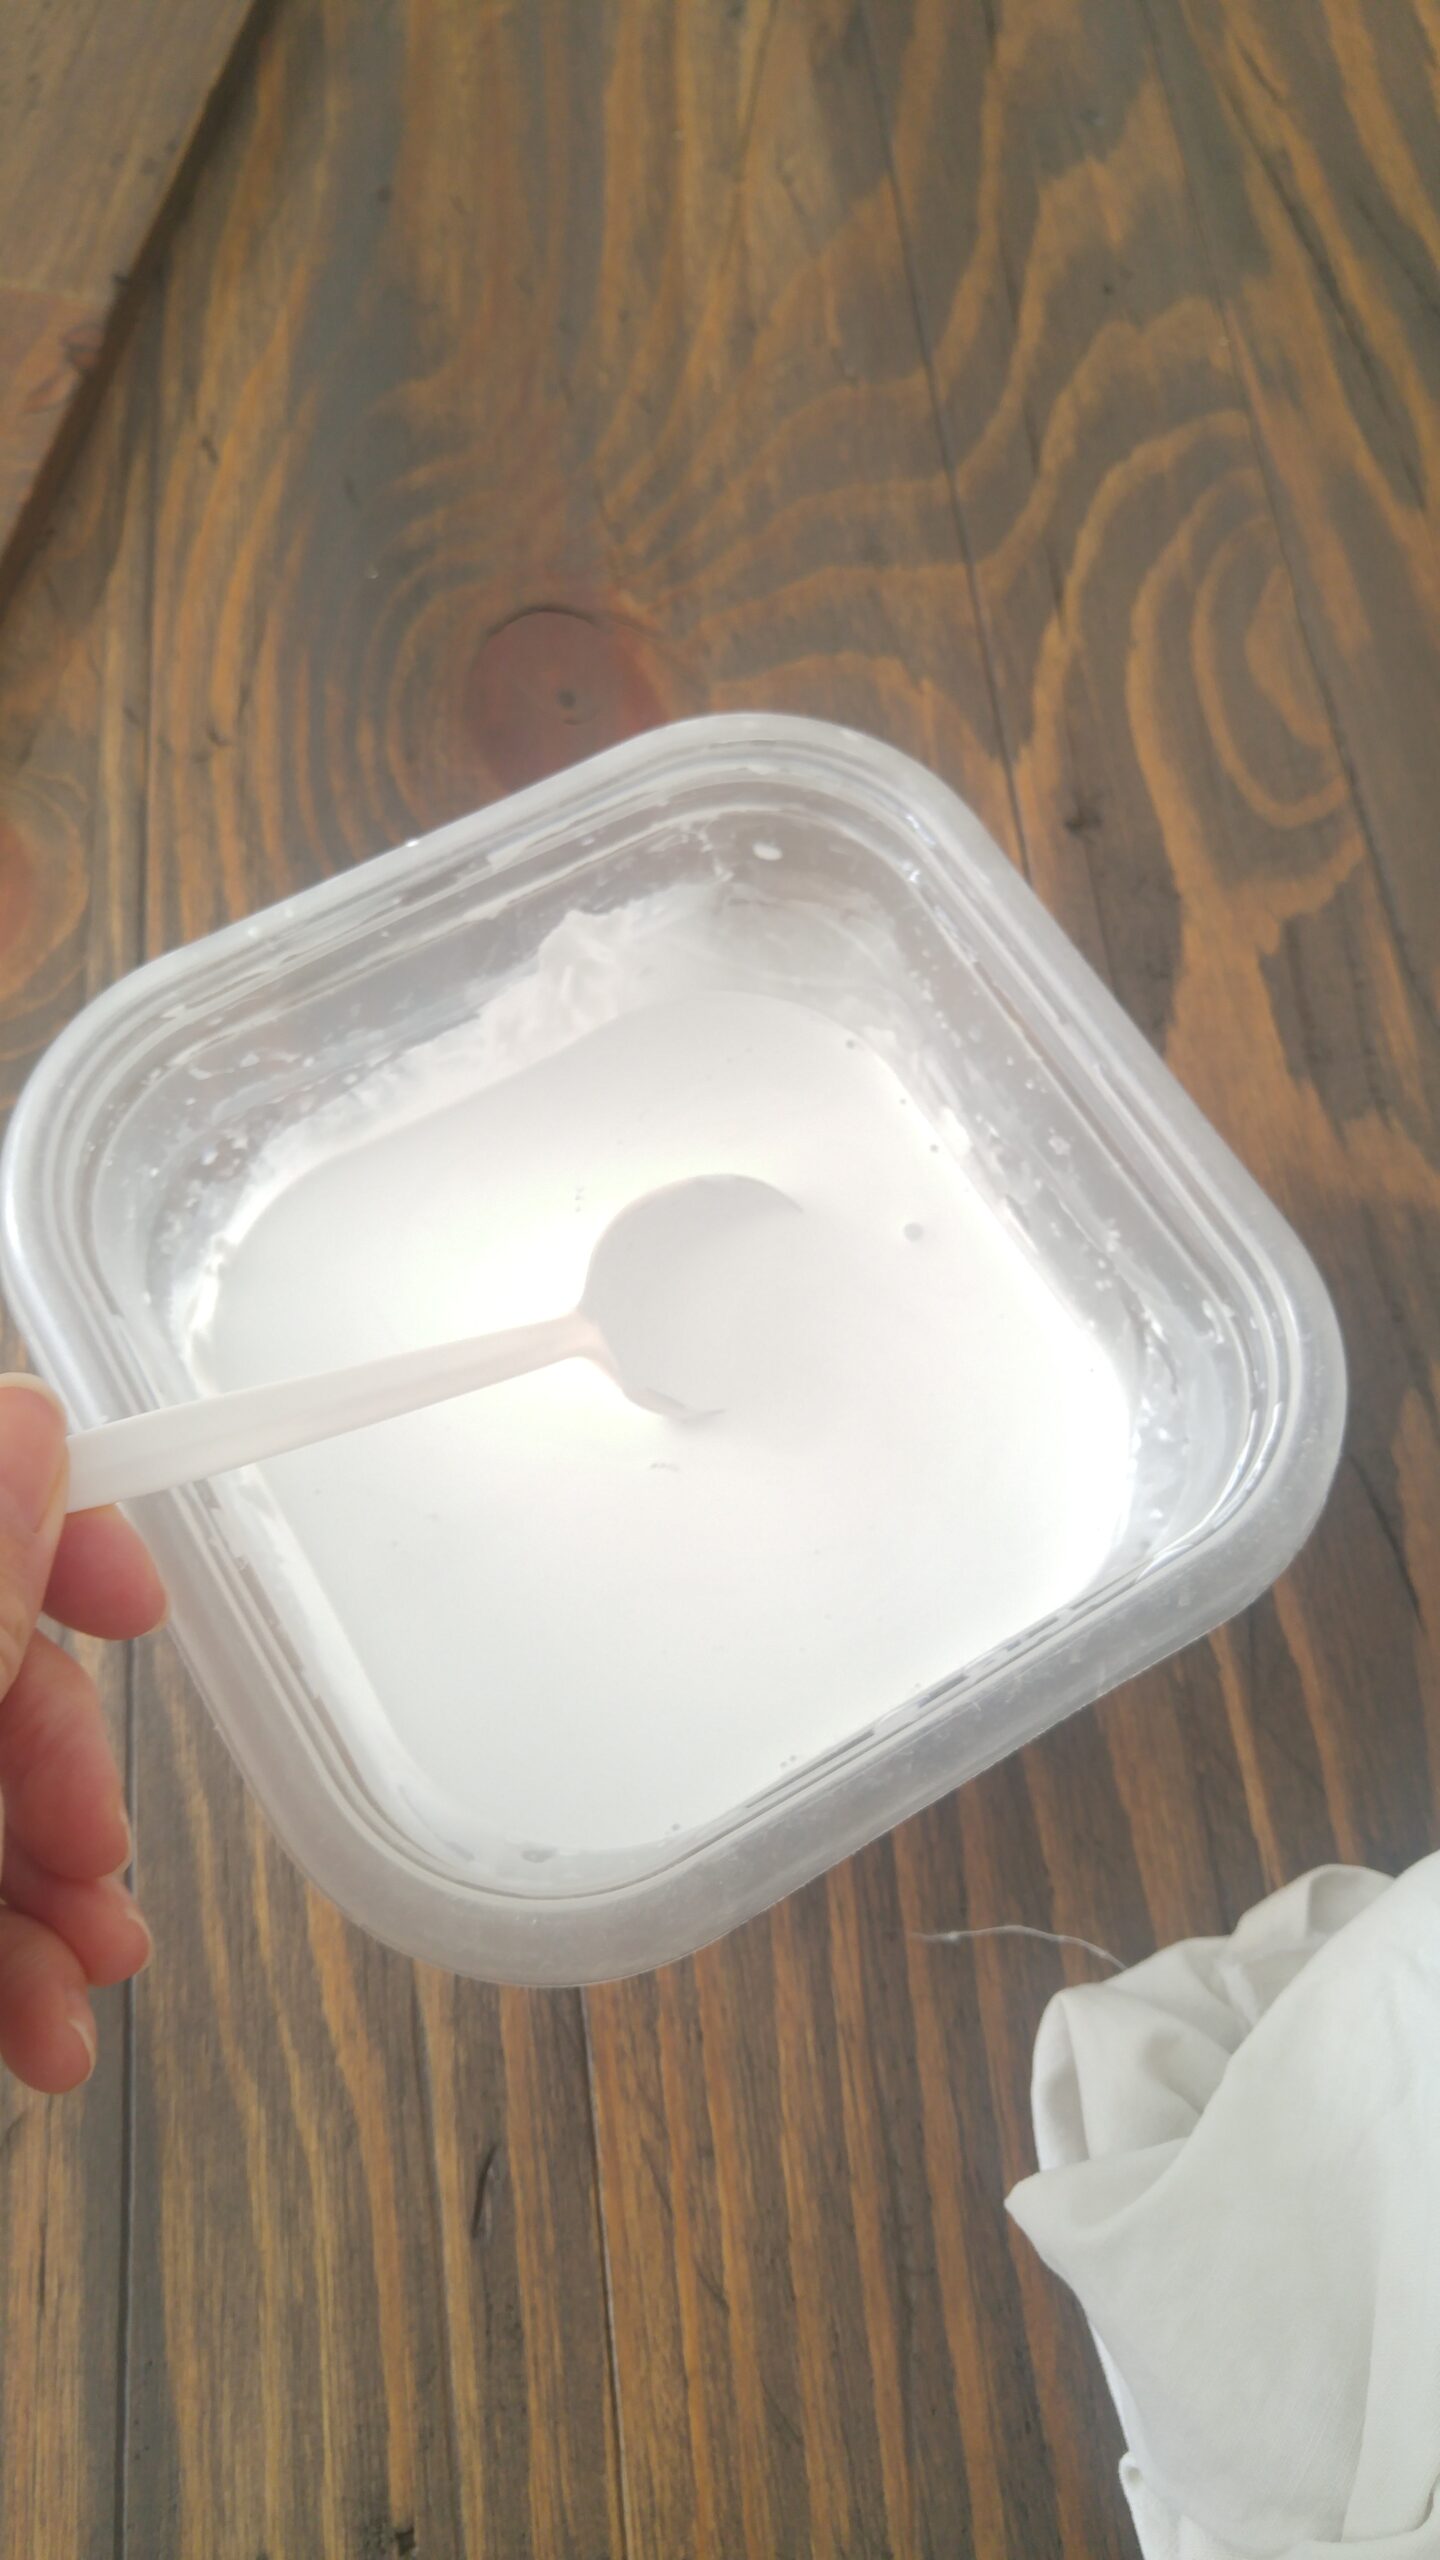
To create a more weathered, rustic look, mix about 1/2 cup of white paint into 1/2 cup of water. This thins out the paint to make it more translucent and easier to wipe down.
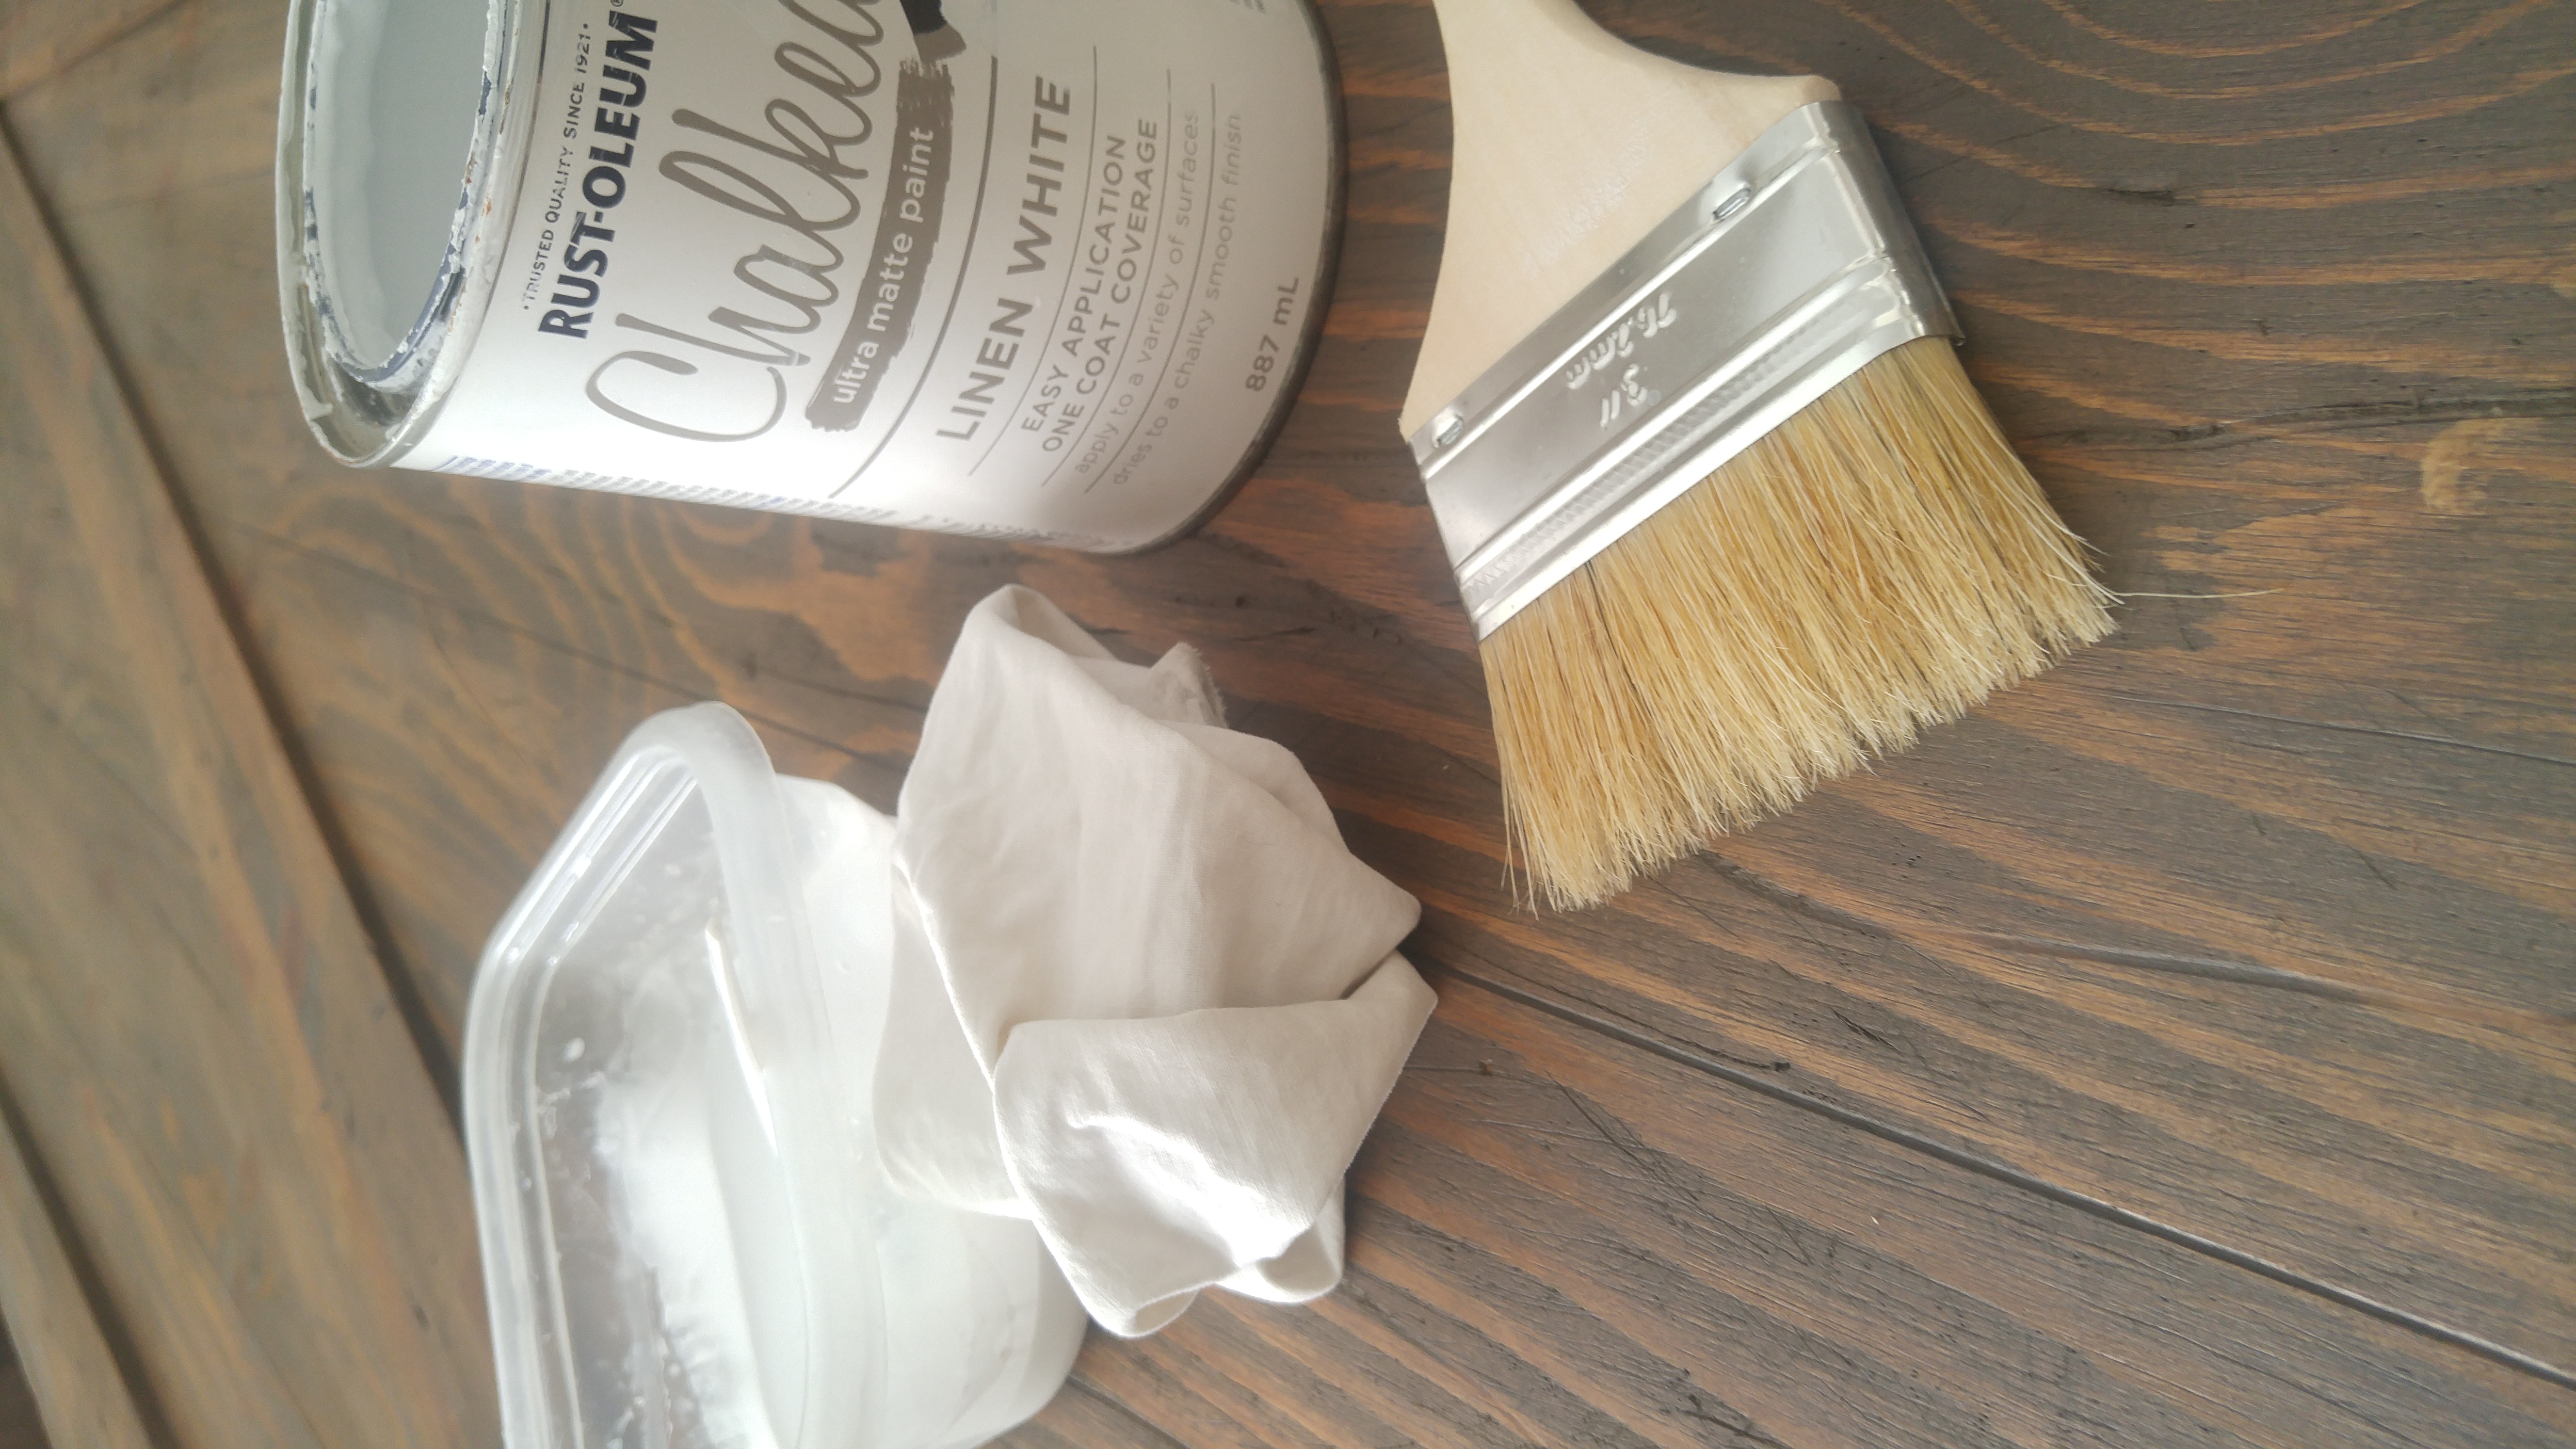
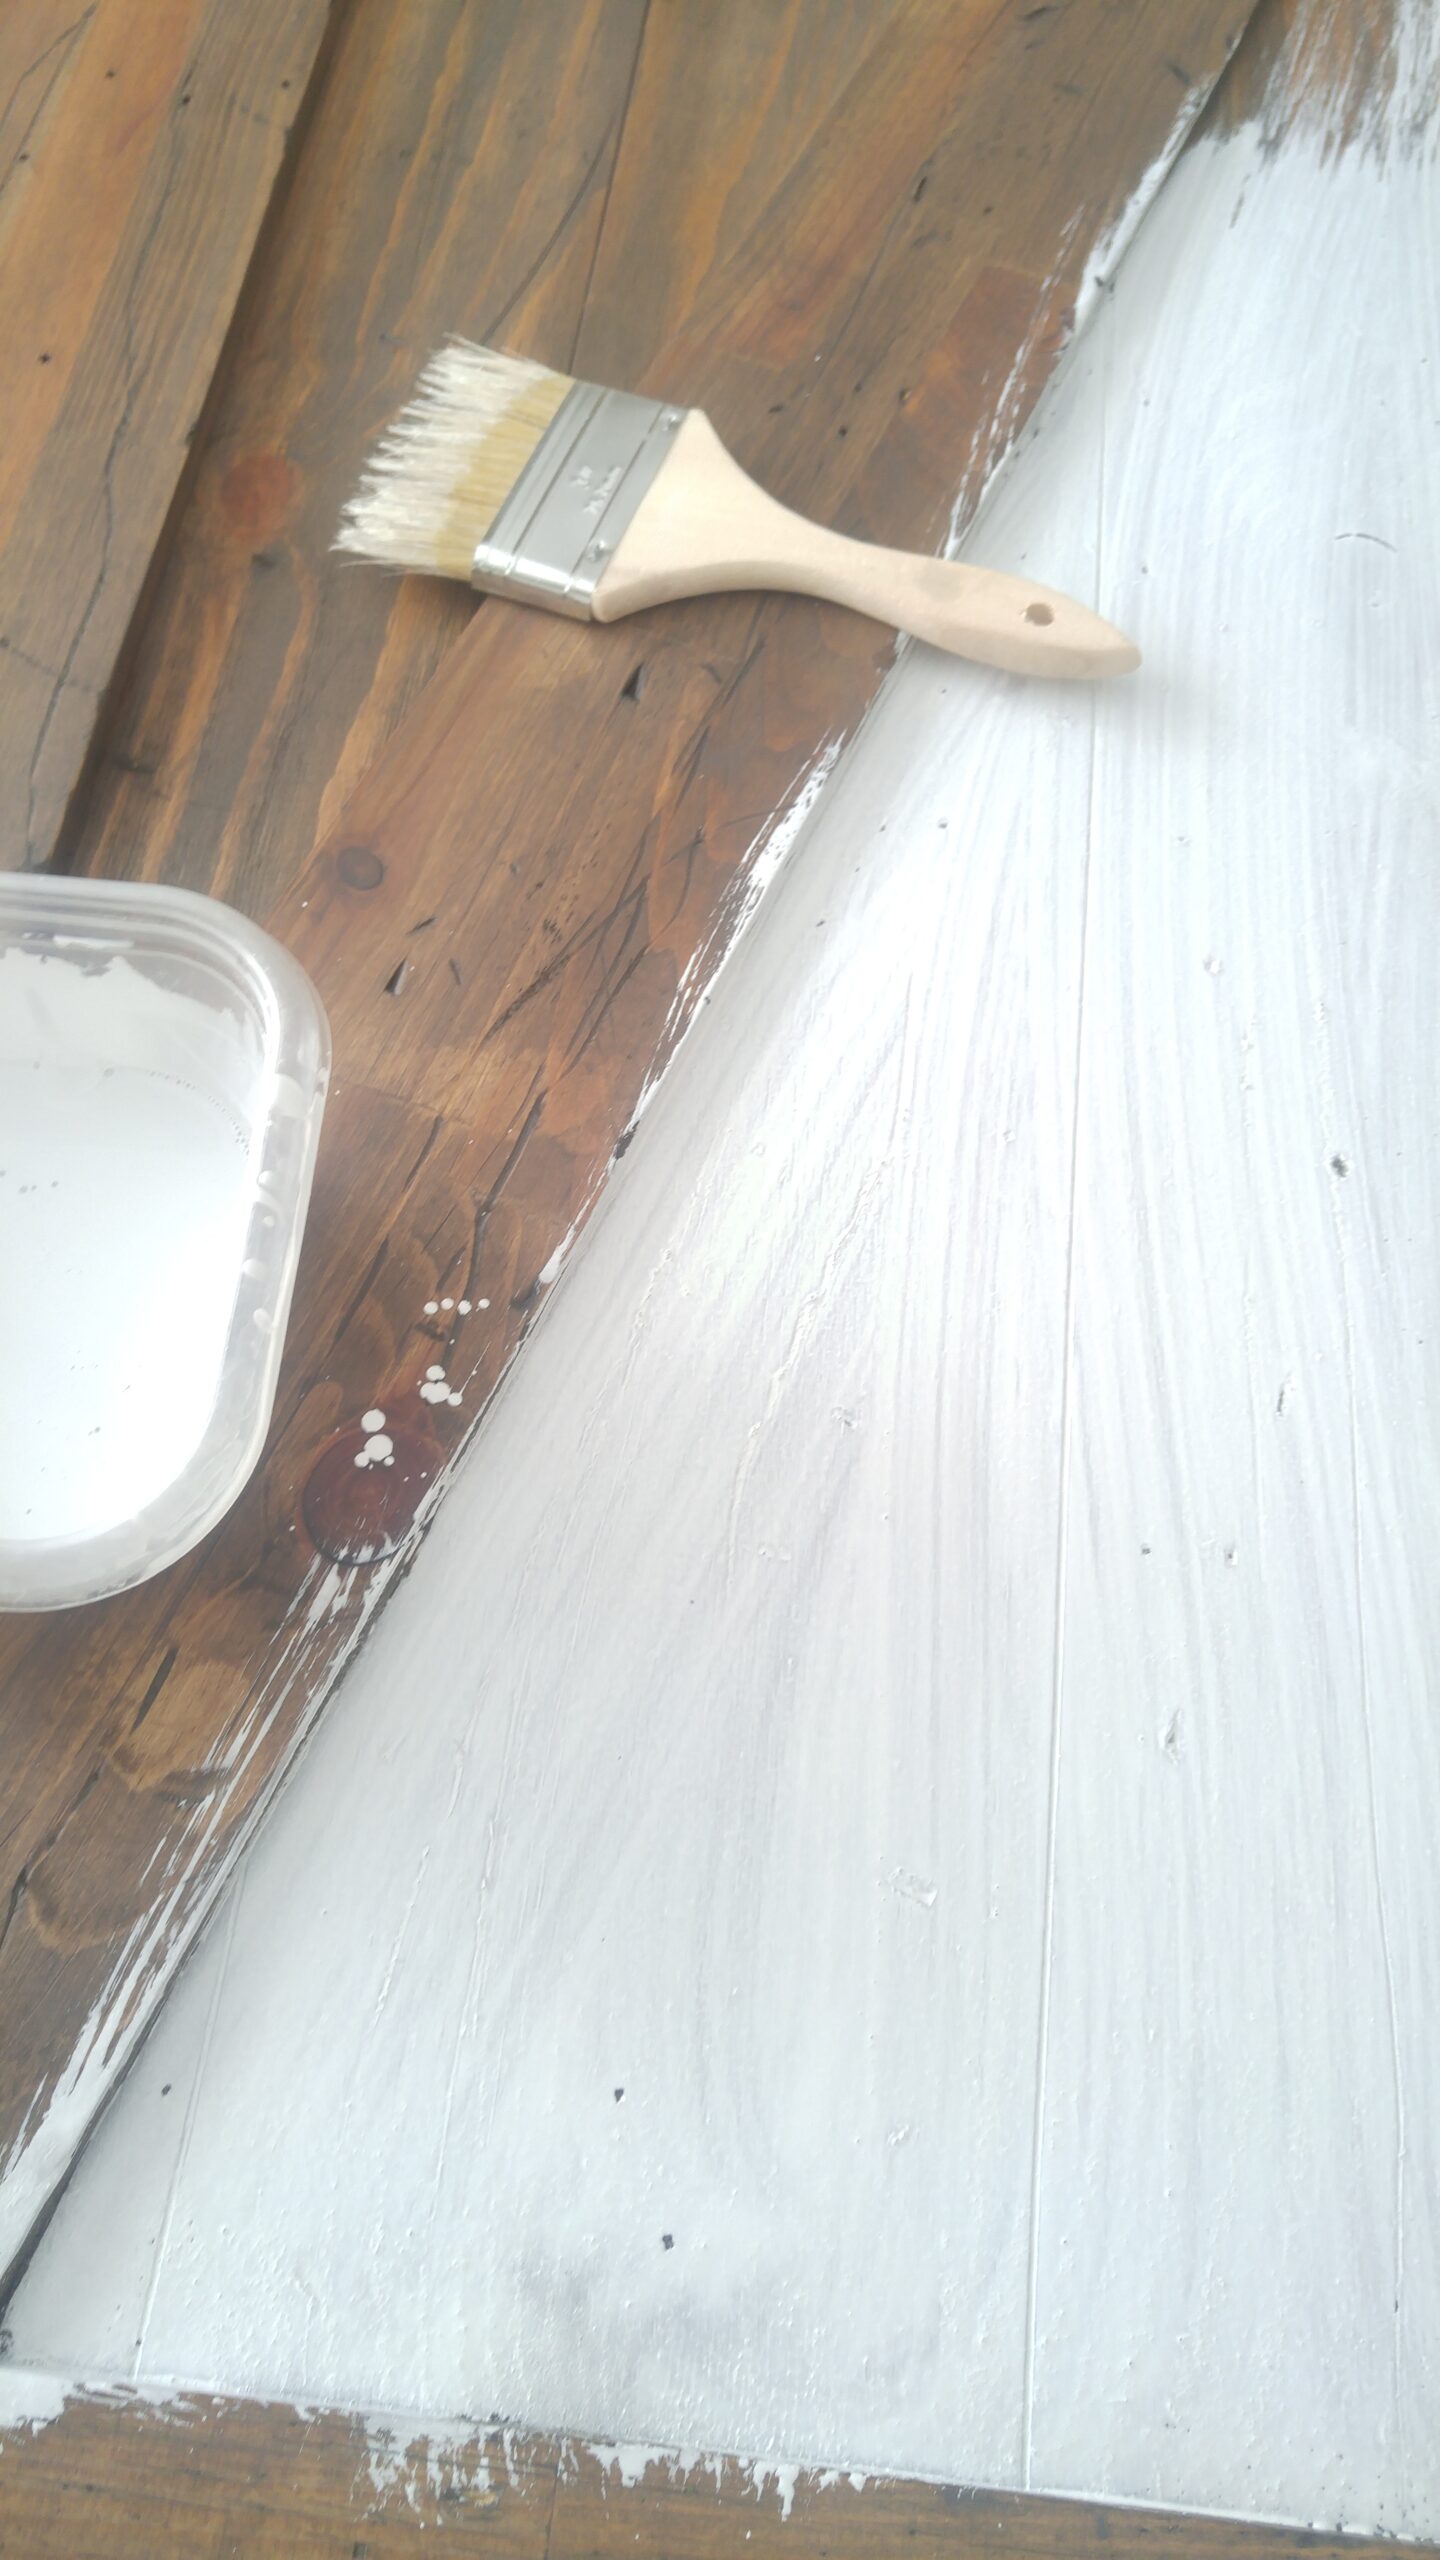
Dip the tips of the paintbrush into the white paint, and paint a thin coat of white over the stained barn door, working in sections.
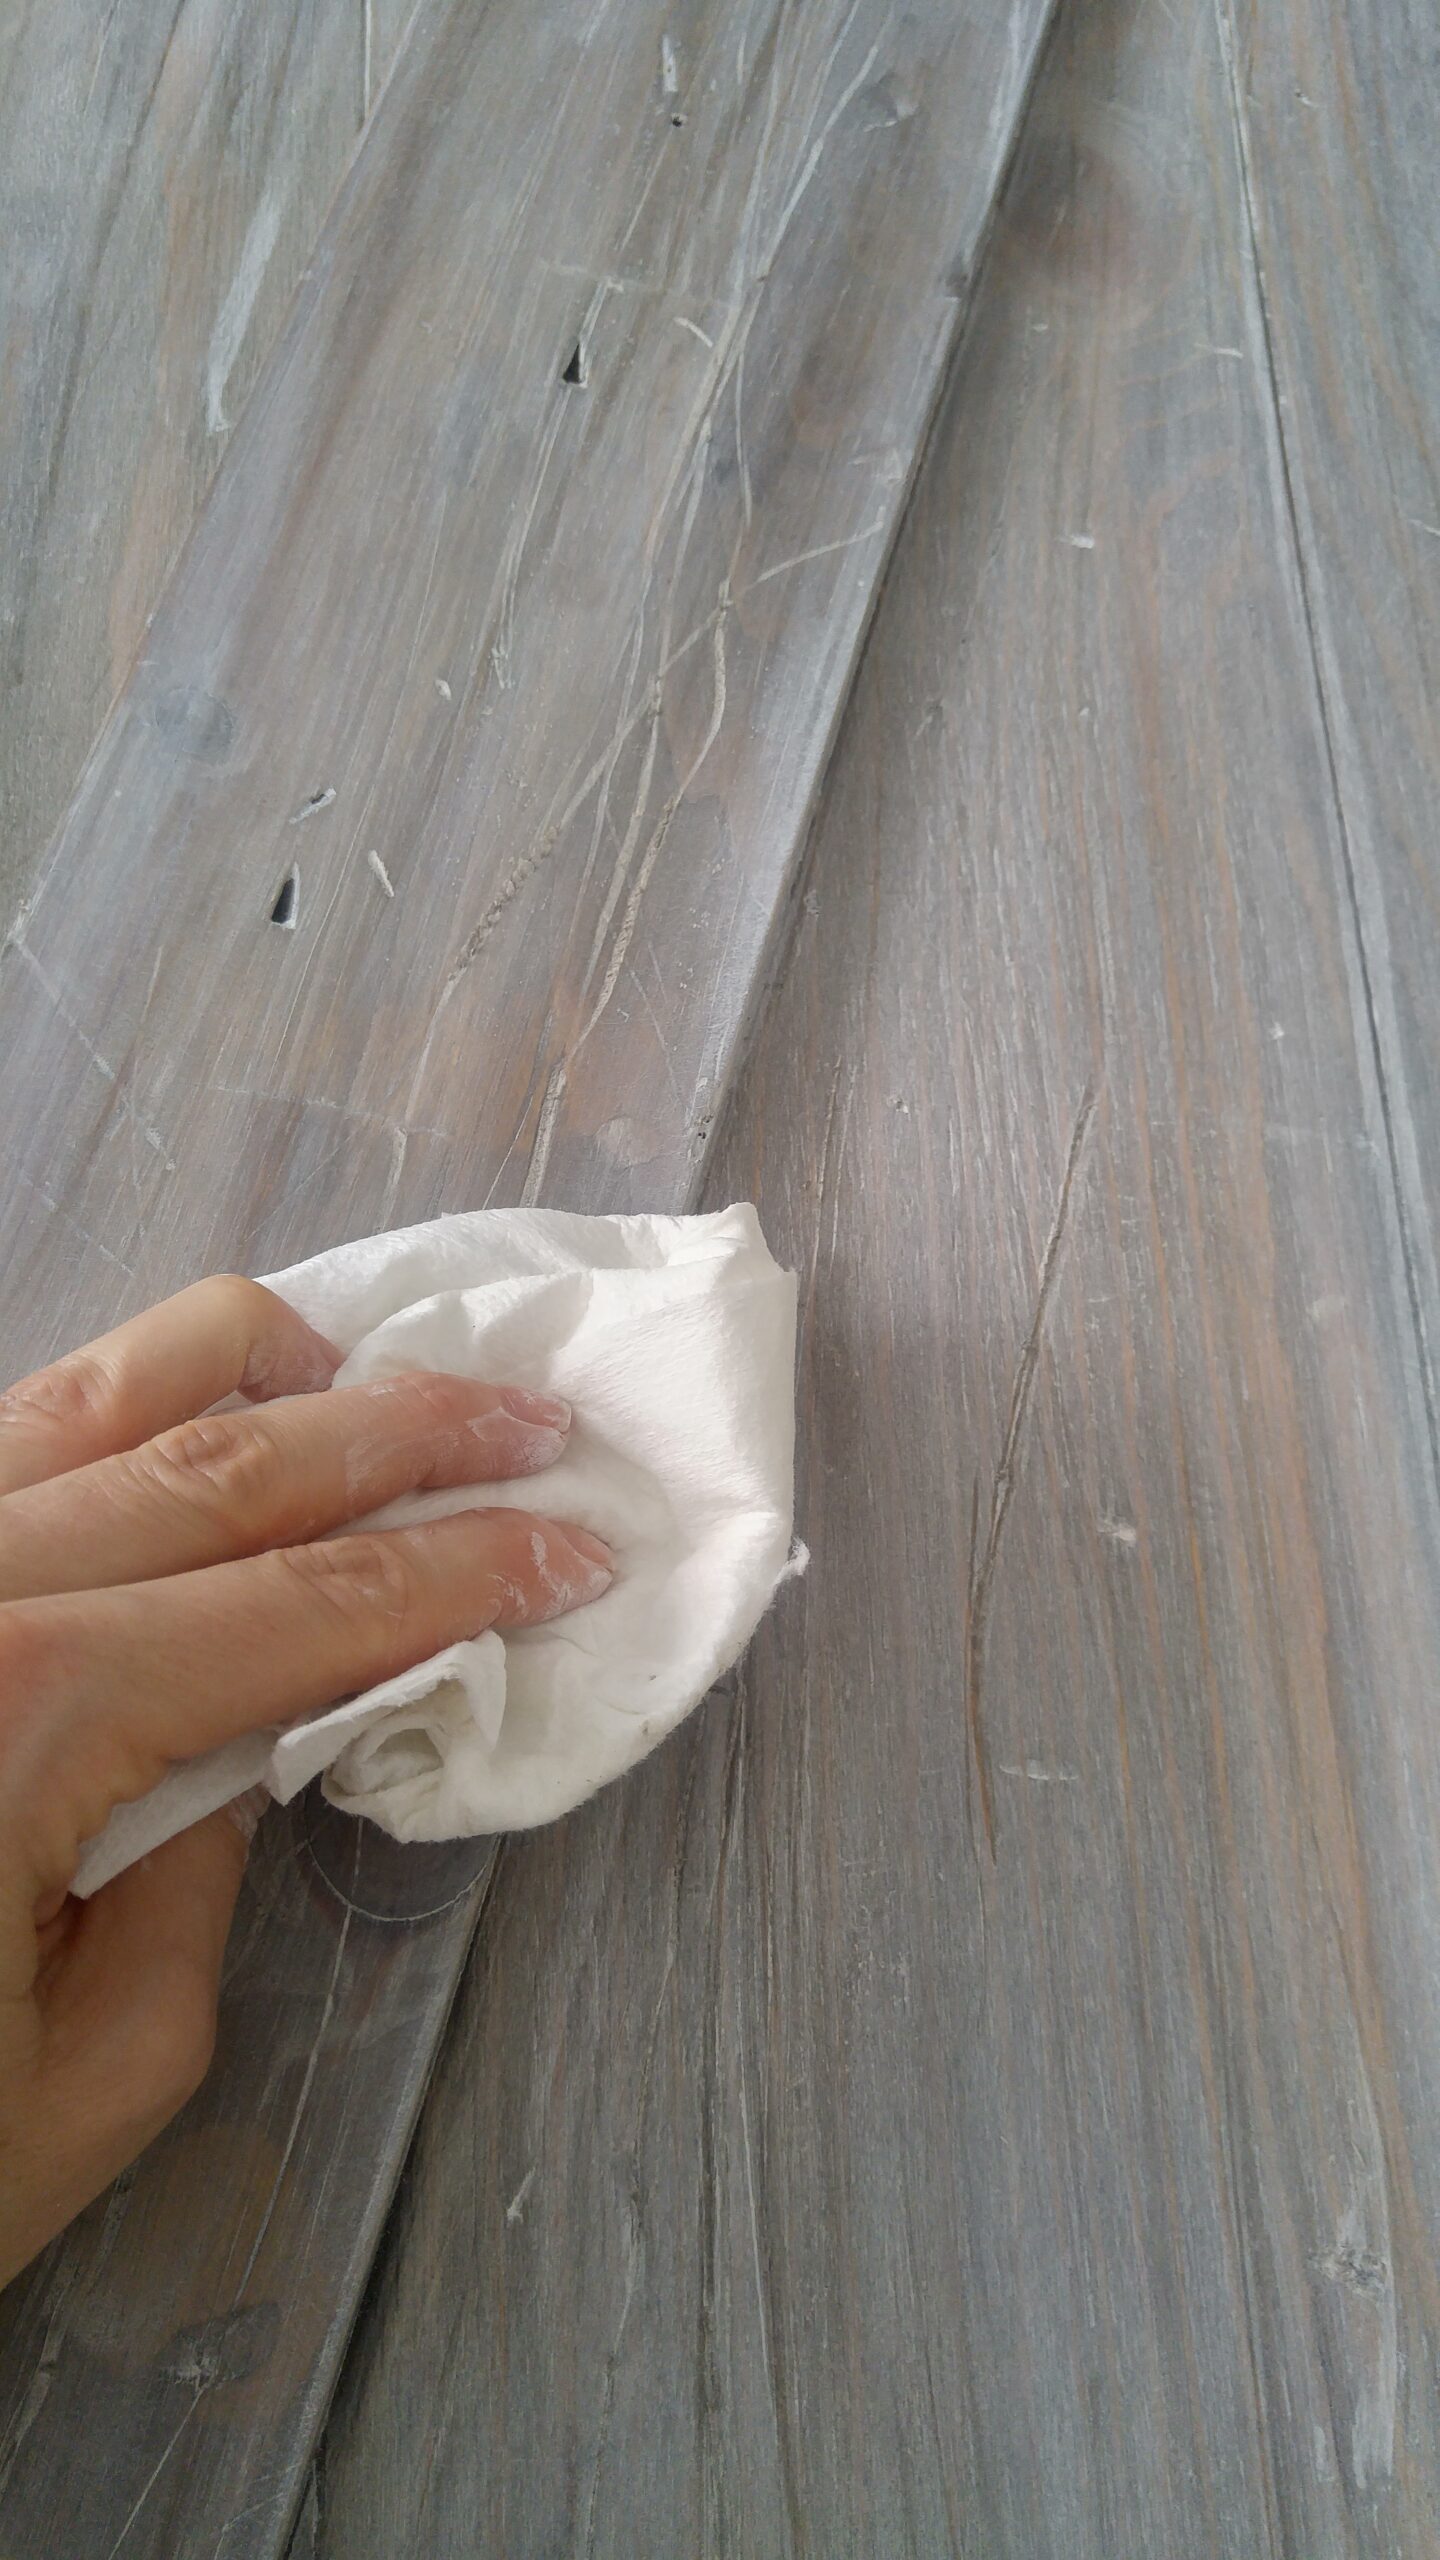
Before the paint has time to fully dry, wipe it into the groves of the wood, while also wiping off excess, to allow some of the stain below to come through. Again, this doesn’t have to be perfect! Aged wood is rough and inconsistent. That is what you’re going for!
Continue painting and wiping away in sections until you have completed the whole side of the door. Once dry, flip the door over and complete the other side.
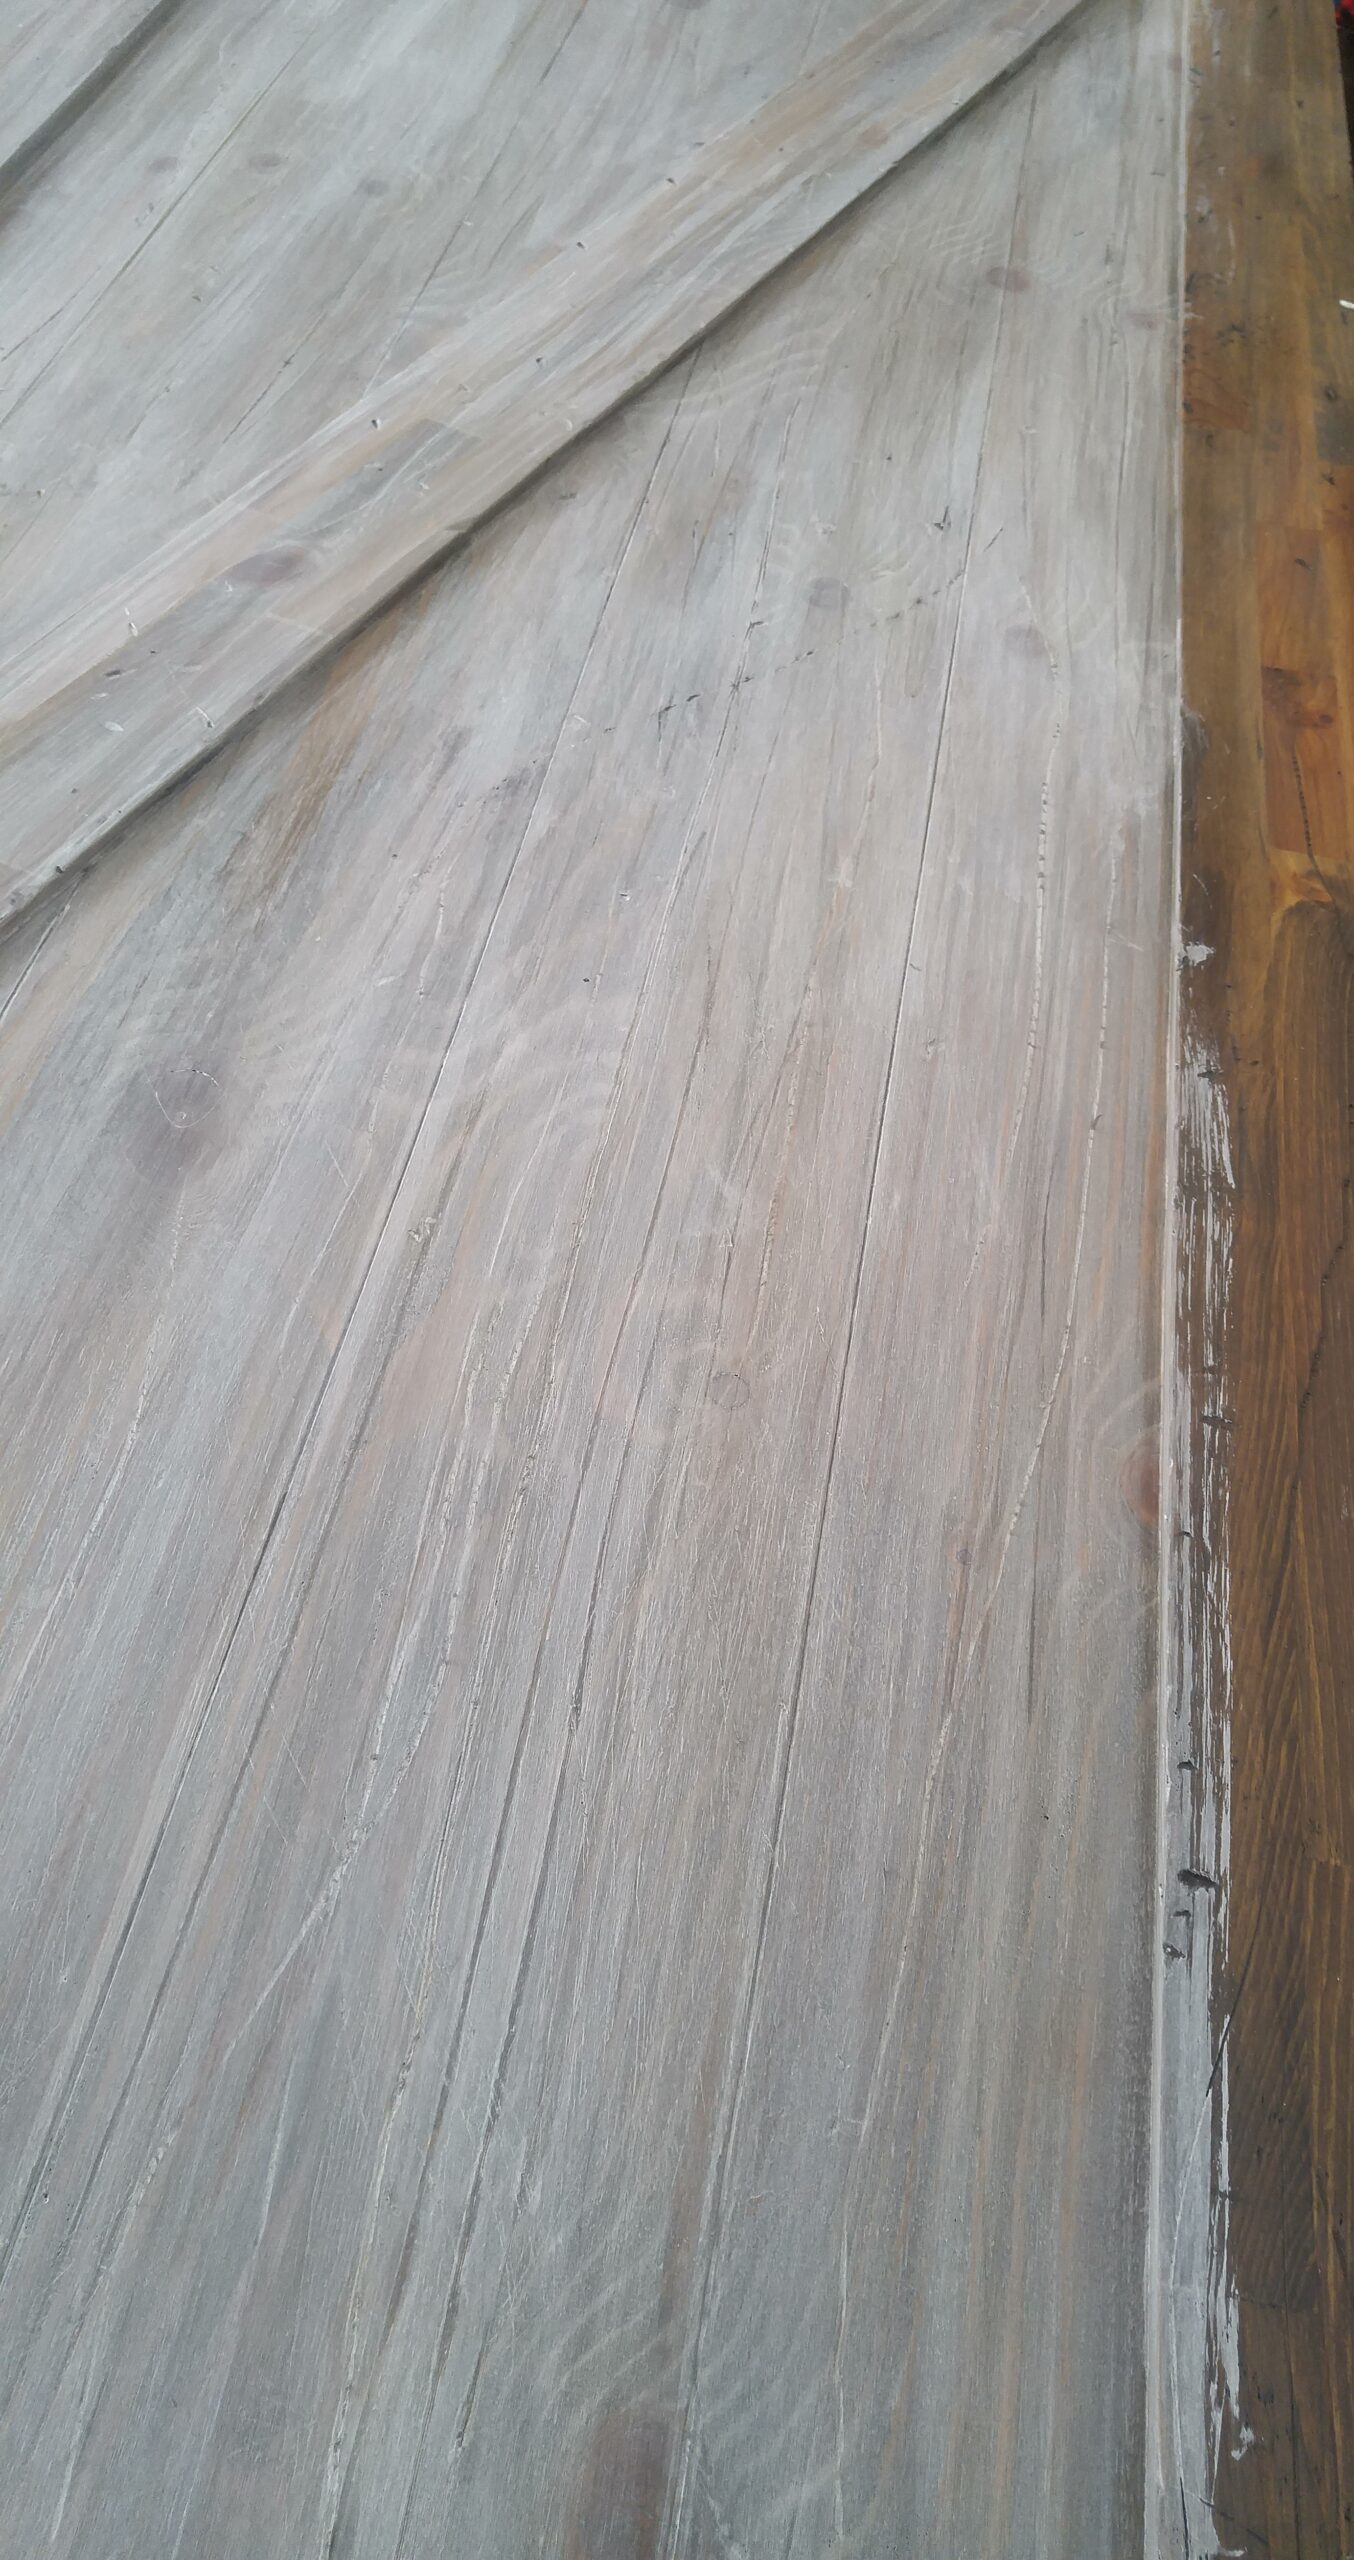
Allow paint and stain to dry for a couple of hours.
Gently sand down the door using fine sandpaper to bring out some wood grain and stain underneath the paint. Basically, you don’t want your door to look painted white. You want a light, whitewashed look, with lots of the brown and grey stain below coming through. The more you sand, the less white your door will look. However, be careful not to sand all the way down to the pine beneath. Just enough so that you see the stain below the paint.
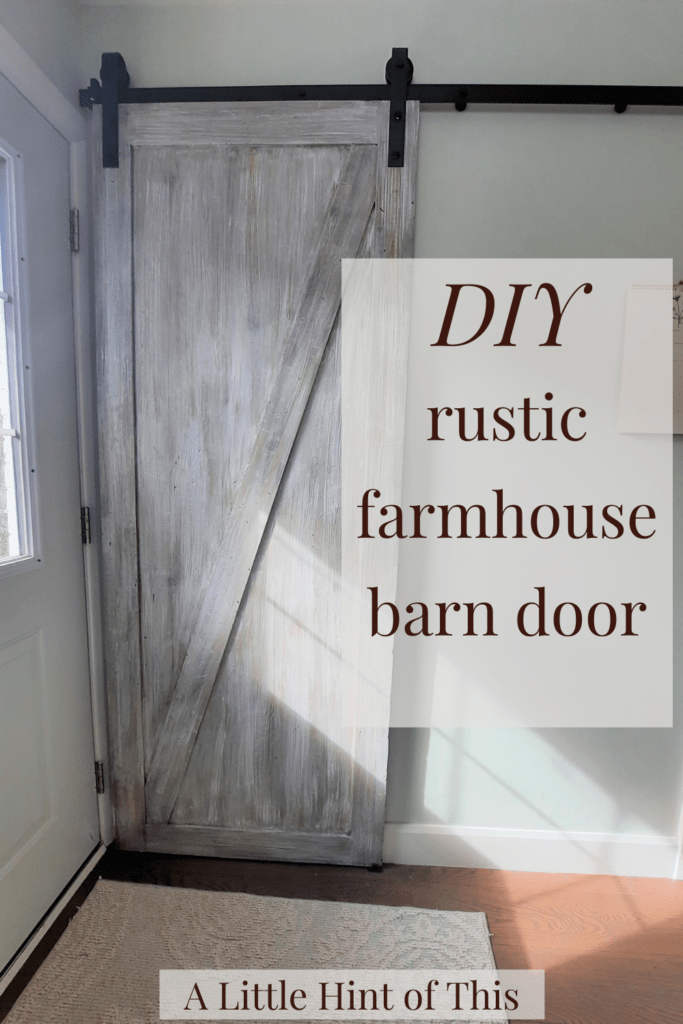
We were going for a pretty light grey weathered wood look, so left a fair bit of paint remaining.
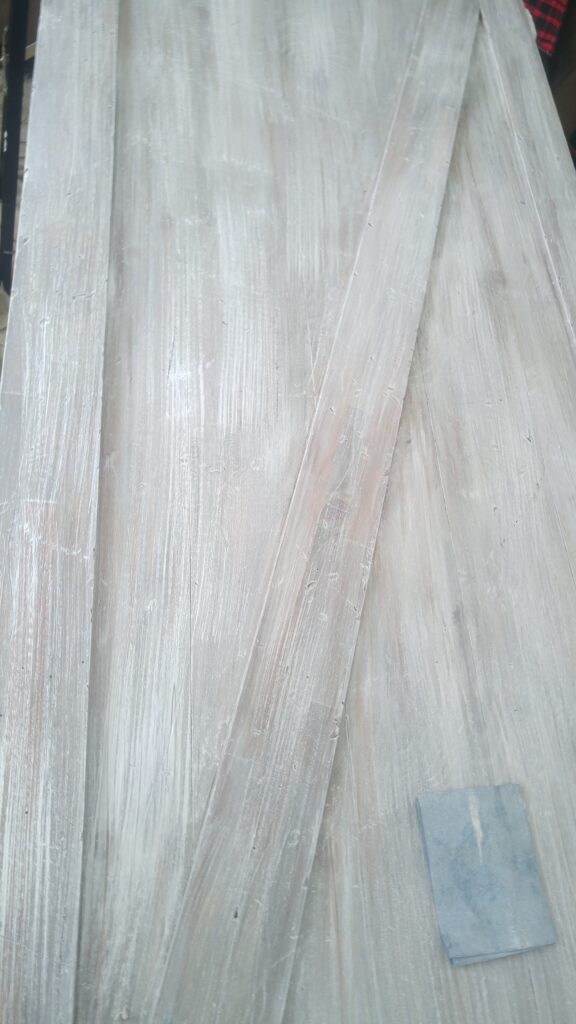
If you like, you can add a top coat of poly or wax, but I really liked the way this rustic farmhouse barn door looked at this point, so I didn’t bother with it.
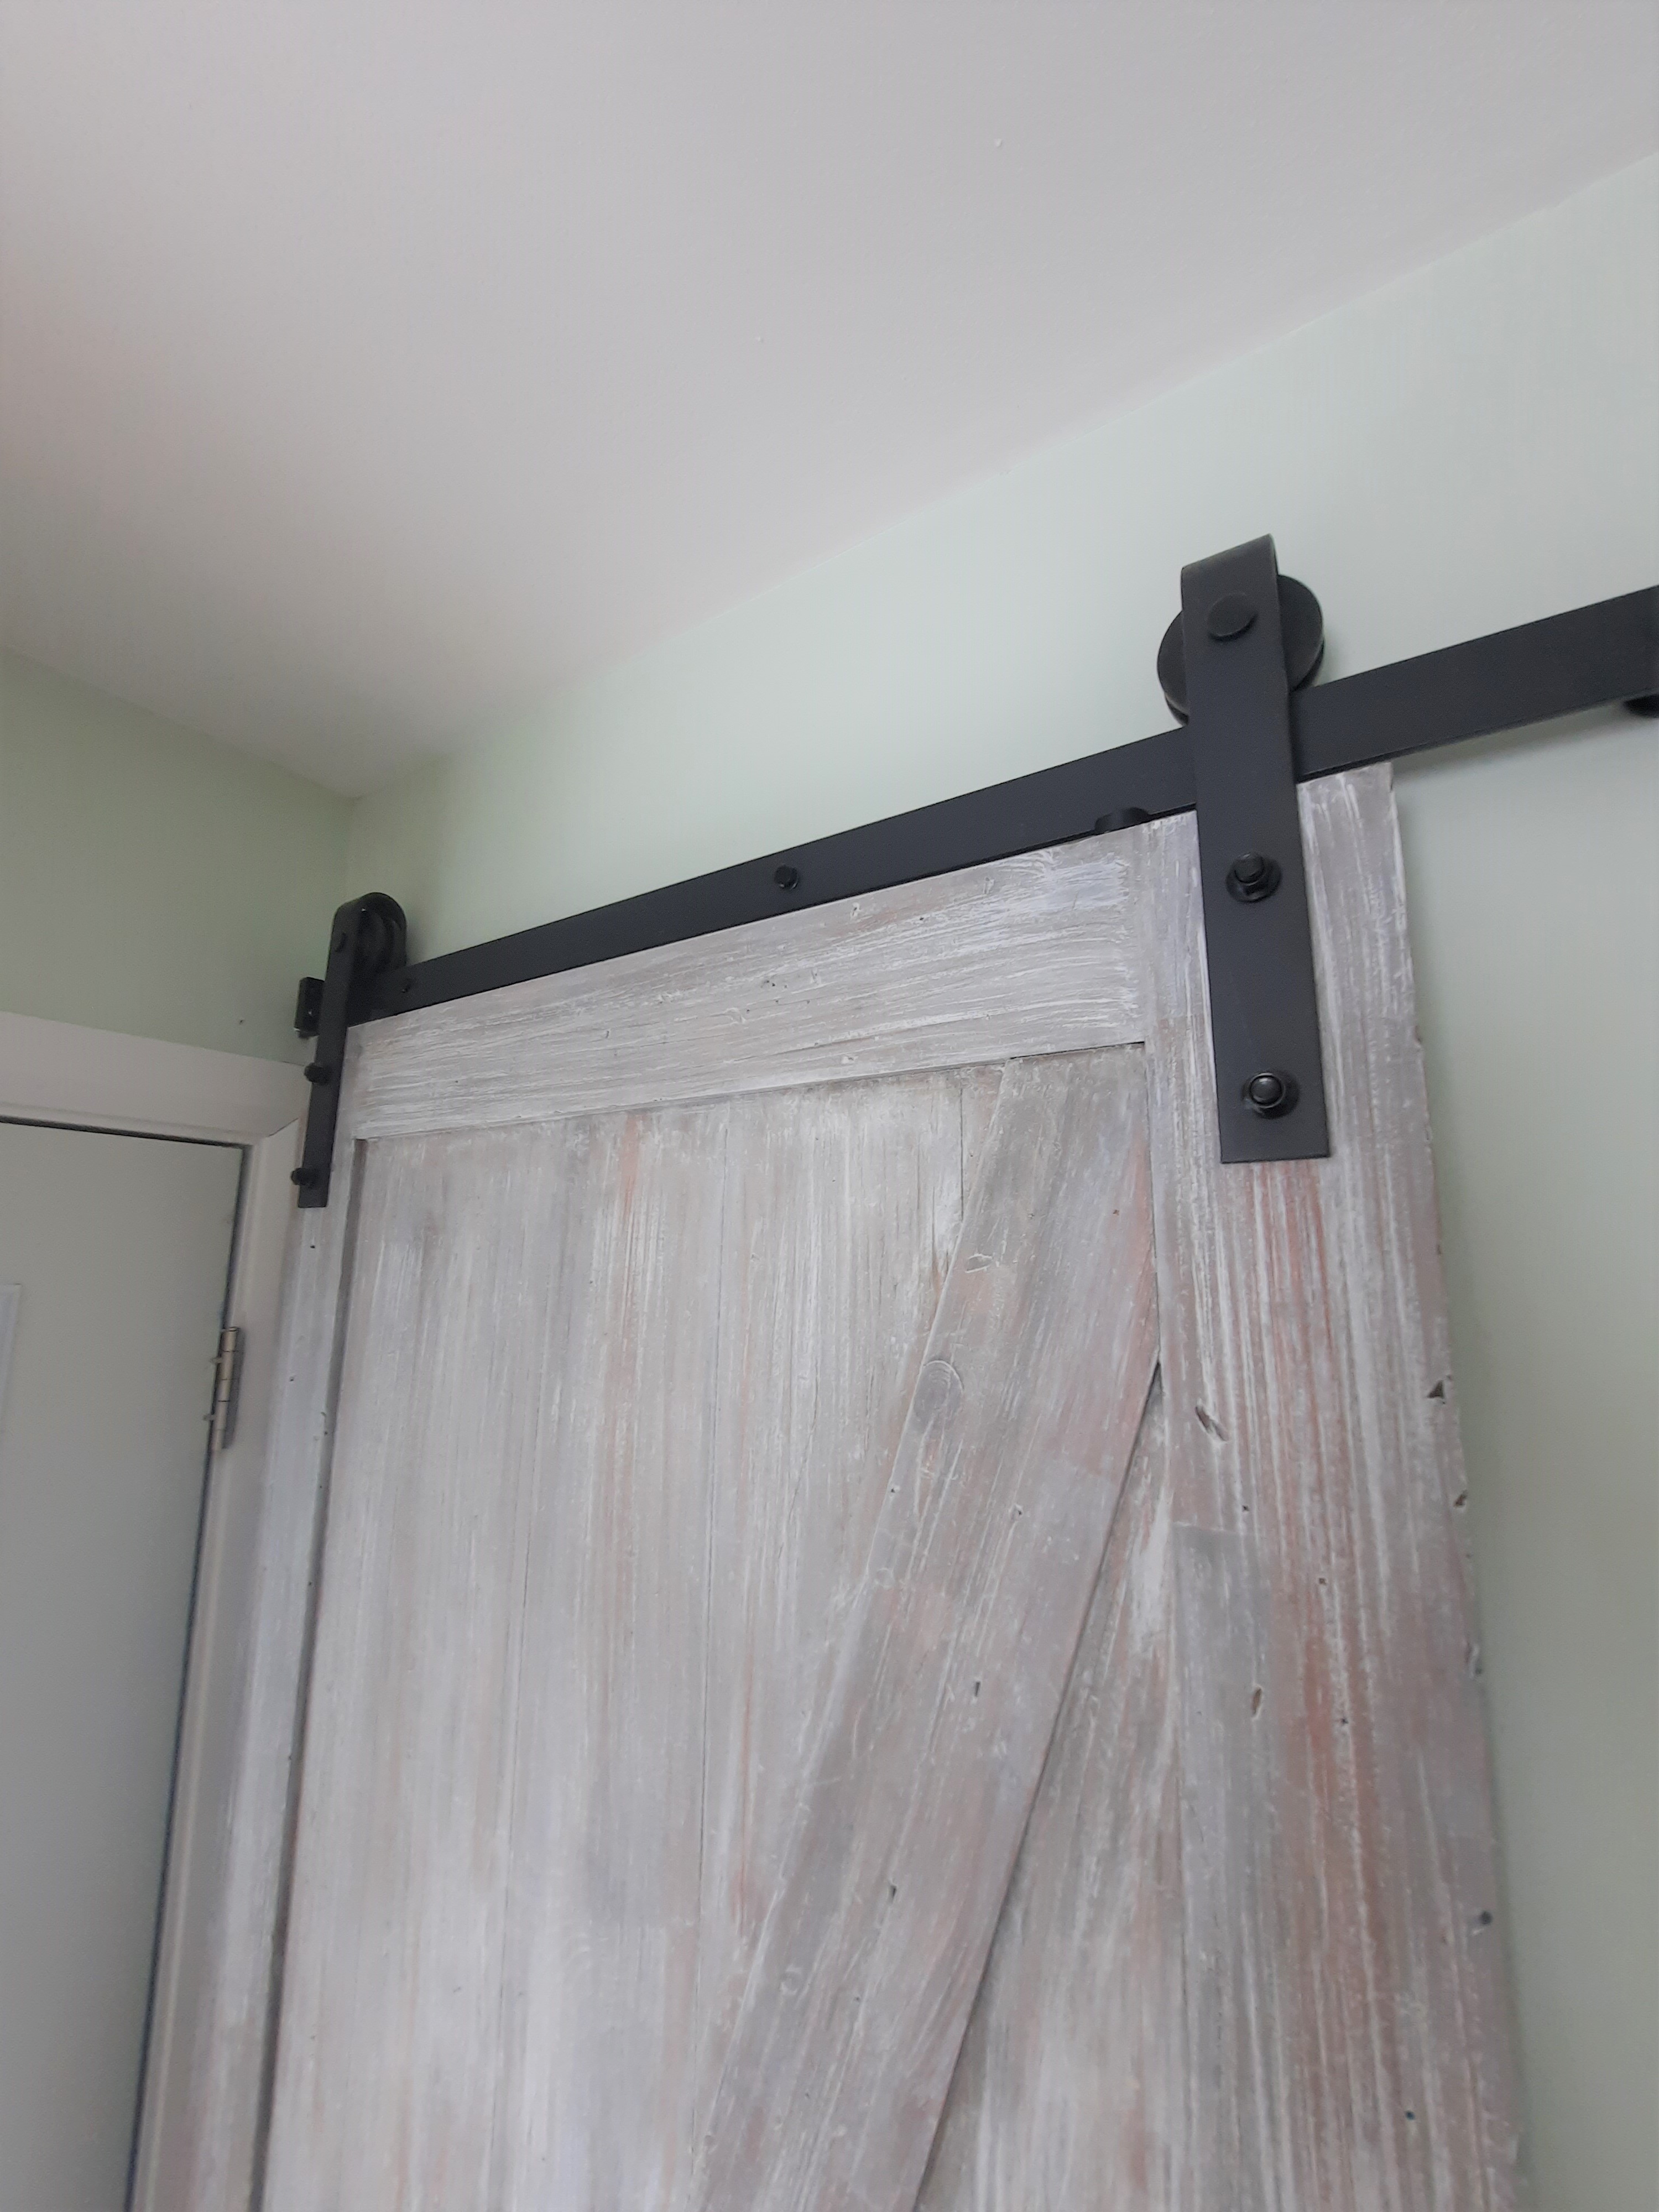
Lastly, install the barn door according to the directions supplied with the door. Add a handle, if desired.

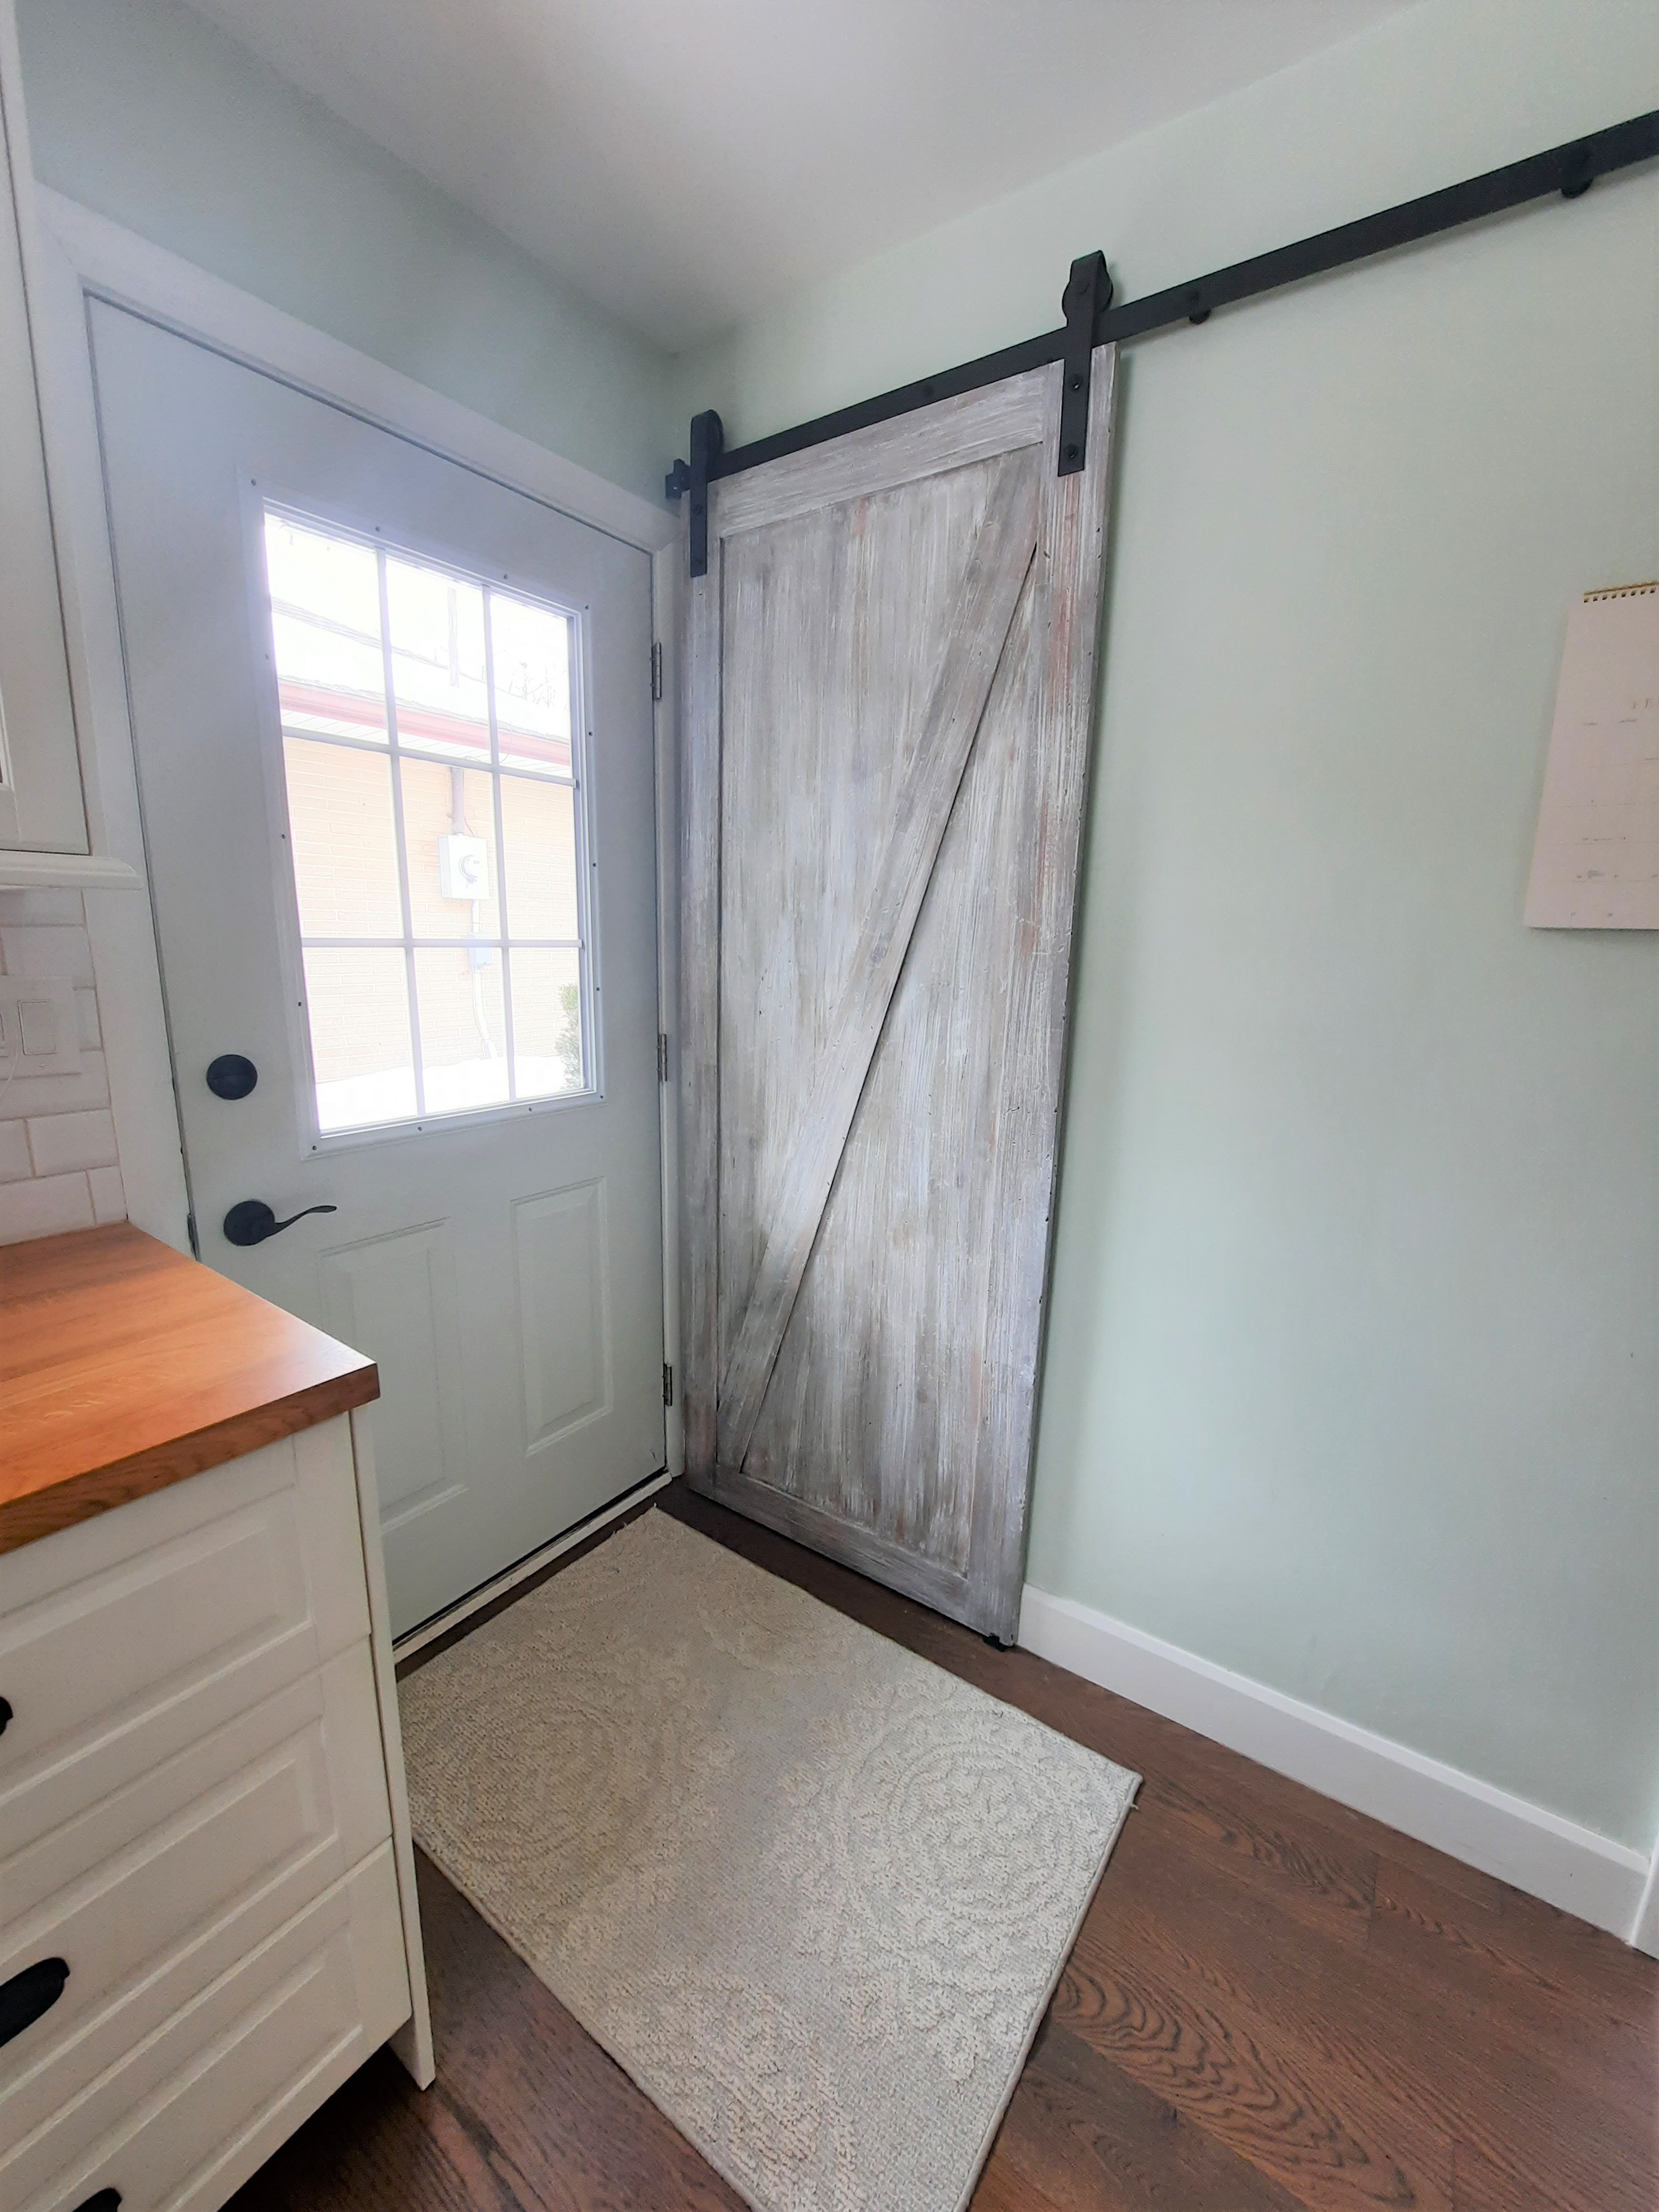
We LOVE this door in our kitchen. It is rustic, warm, cozy, and fits so well in a tight corner (beside the exit door). Furthermore, because it’s a weathered look, it doesn’t matter if it gets dinged up with 3 little kids running around the house! Win!
Recommended items from this post
Give it a try!
You can use this finishing technique for more than just this DIY rustic farmhouse barn door. Any unfinished wood can be treated this way. It would work really well for a mirror frame, or a side table in a living room. You can also play around with different colours of wood stains to develop your own custom look.
Let us know in the comments below if you’ve tried working with stain and paint to create a weathered finish on items in your home. And if you try out this finish, be sure to share a picture! We love to see your work!
Looking for more?
Here are some more projects from around our home!
Pin it for later

Leave a Reply