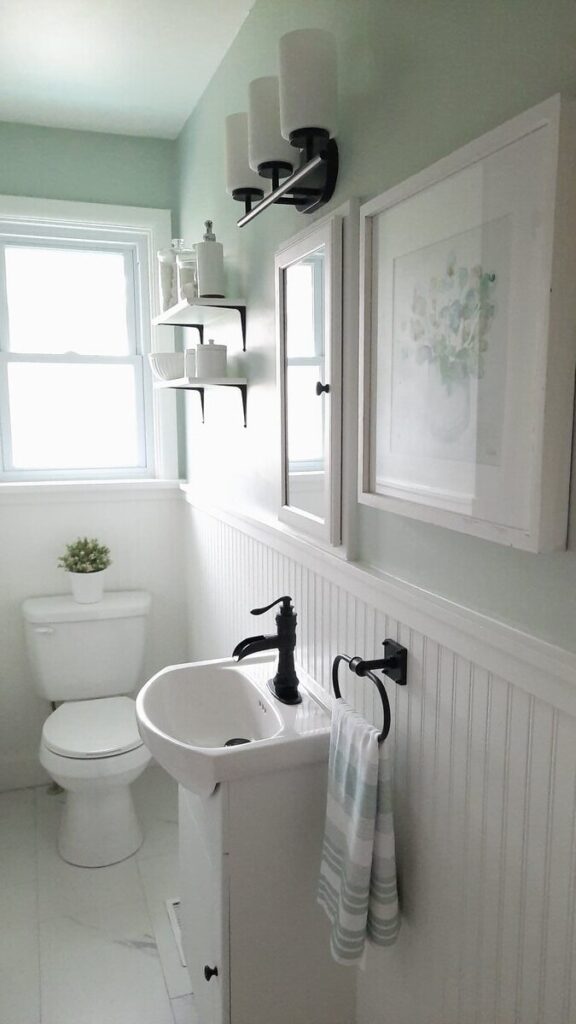
See how we gave our bathroom a makeover on a small budget! Soft greens, blues, warm white, and accents of matte black give this bathroom a nod to Farmhouse, English Cottage, and French Country styles all in one. It’s bright, airy, fresh, warm, and clean, and we absolutely love it!
Small bathroom makeover – before:
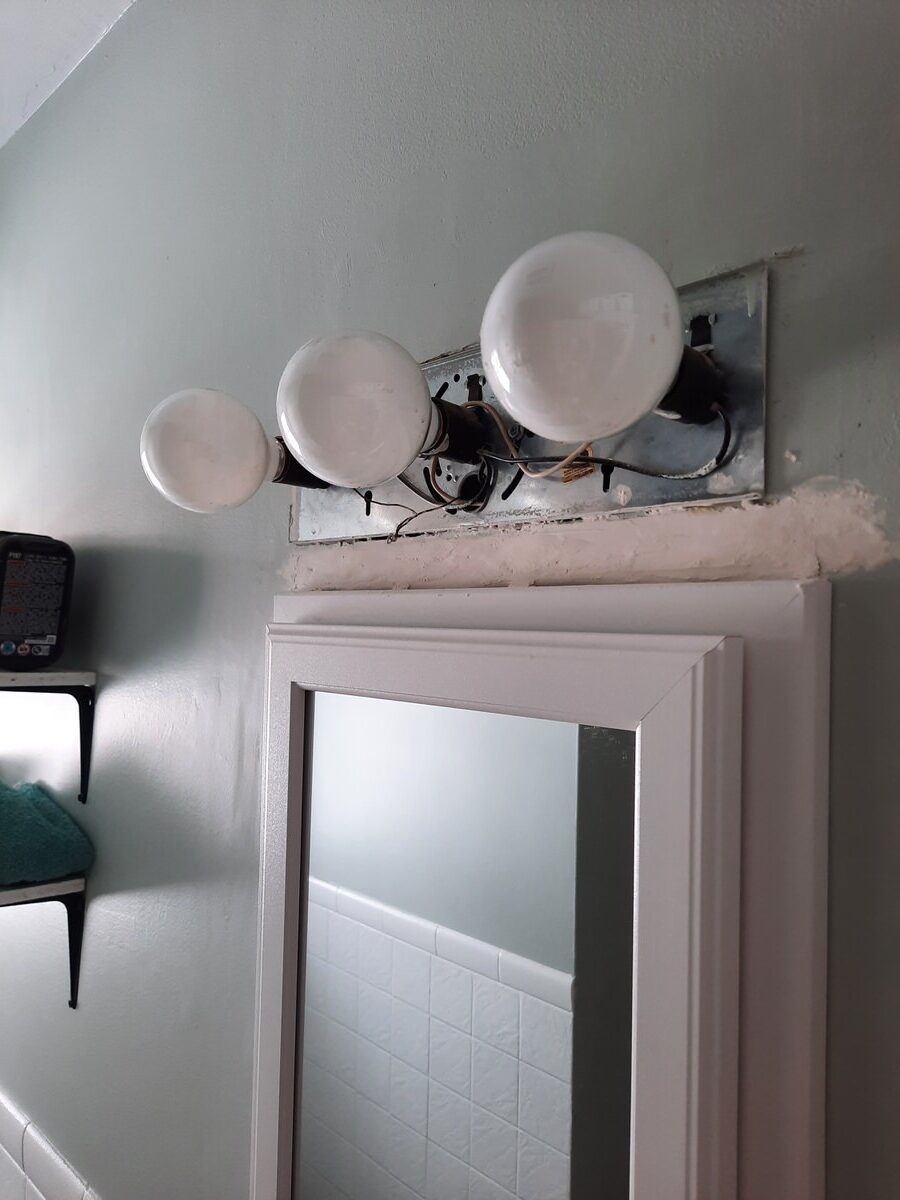
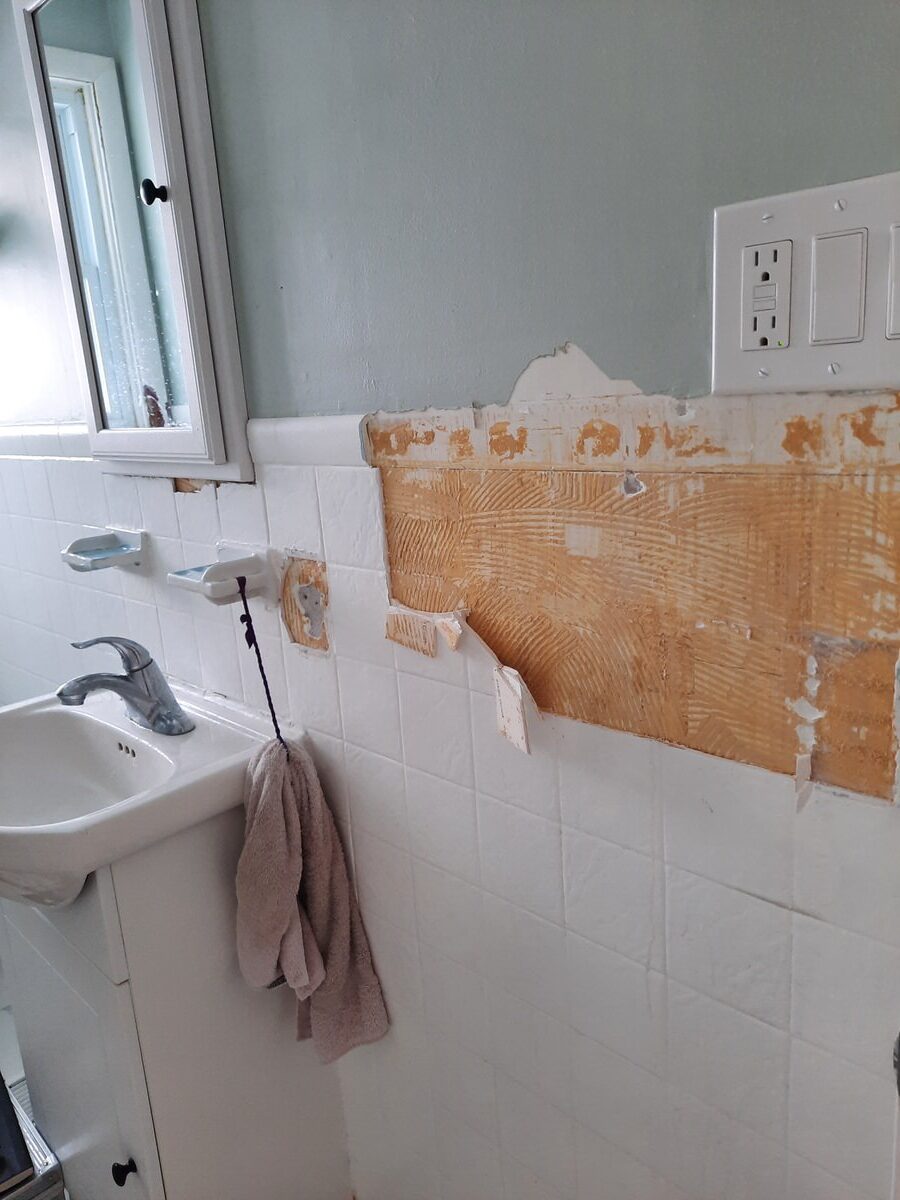
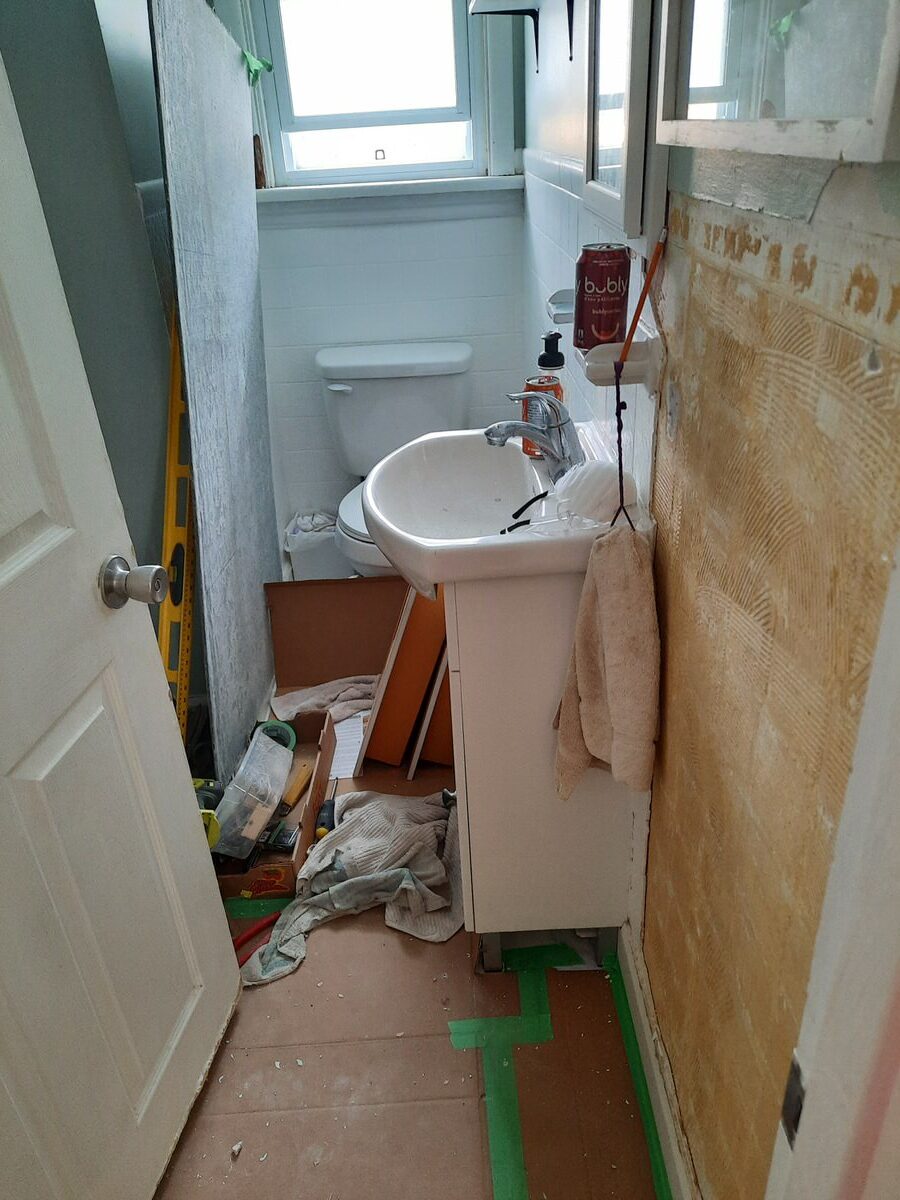
I think you need to know what we were working with. Because the house was a rental, the landlord had put little to no effort to make it remotely nice. The tile around the bottom half of the walls was original to the house but was covered in layers of paint and was chipping. This picture already has the new flooring. The old was brownish red stick-on tile that was also peeling off. The walls were an ugly peach colour.
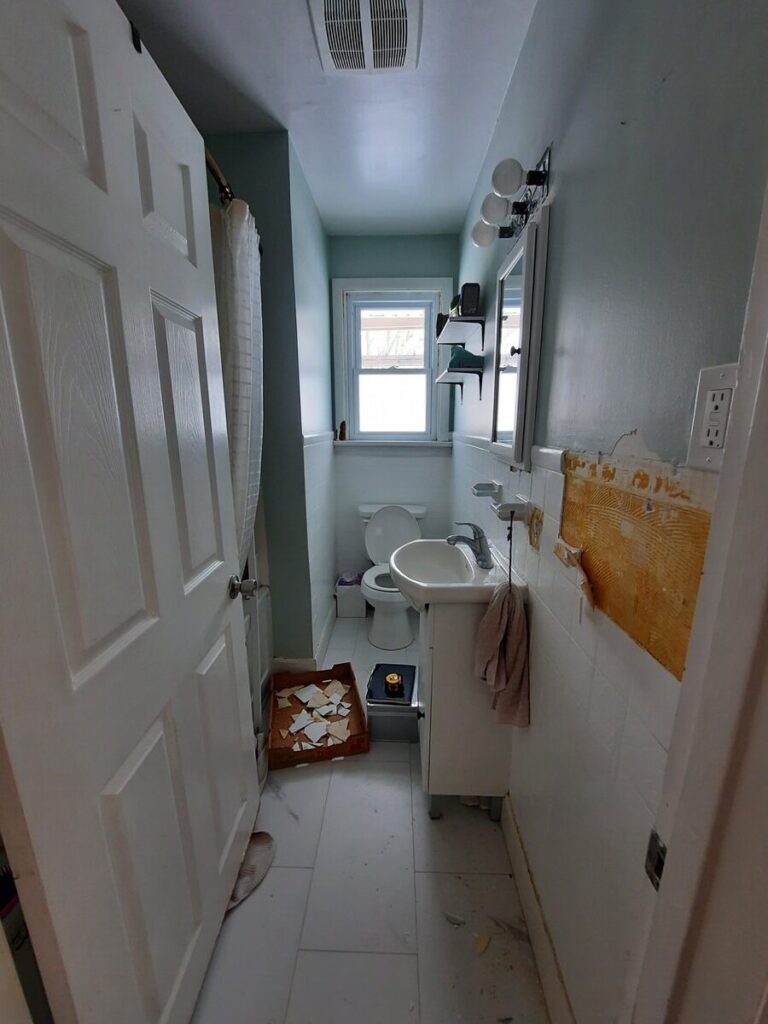
The light fixture was rusty. The toilet was old. The bathtub…gross. The whole thing was grimy, broken, and completely outdated. I put up with it for the duration of renting it (adding a bit of paint to help where I could), but as soon as we took ownership (yay!), it was time to do something about it!
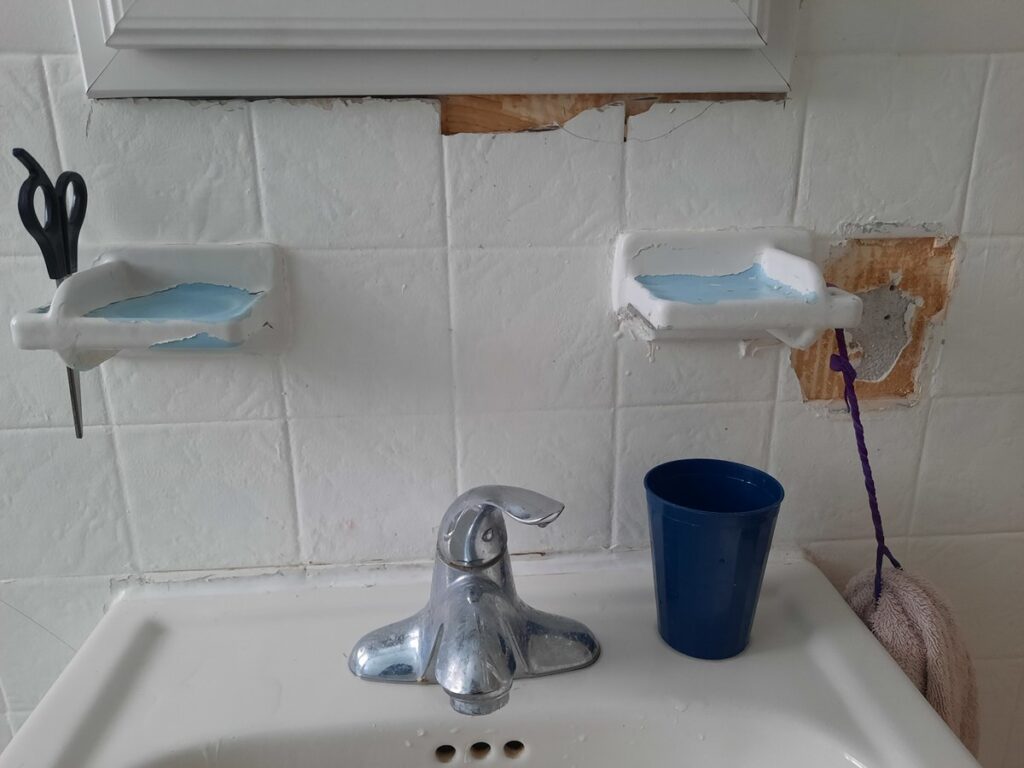
Like with to our small kitchen remodel, we were working on a tight budget. The challenge was to keep what we could salvage to keep costs down and makeover what we could to brighten the bathroom up and give it a fresh look.
Small bathroom makeover – after:
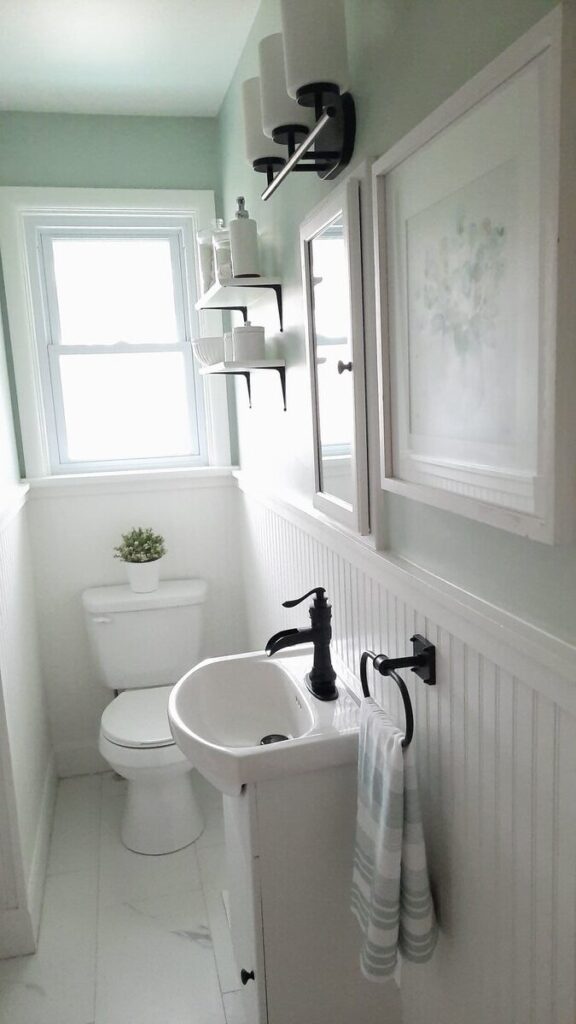
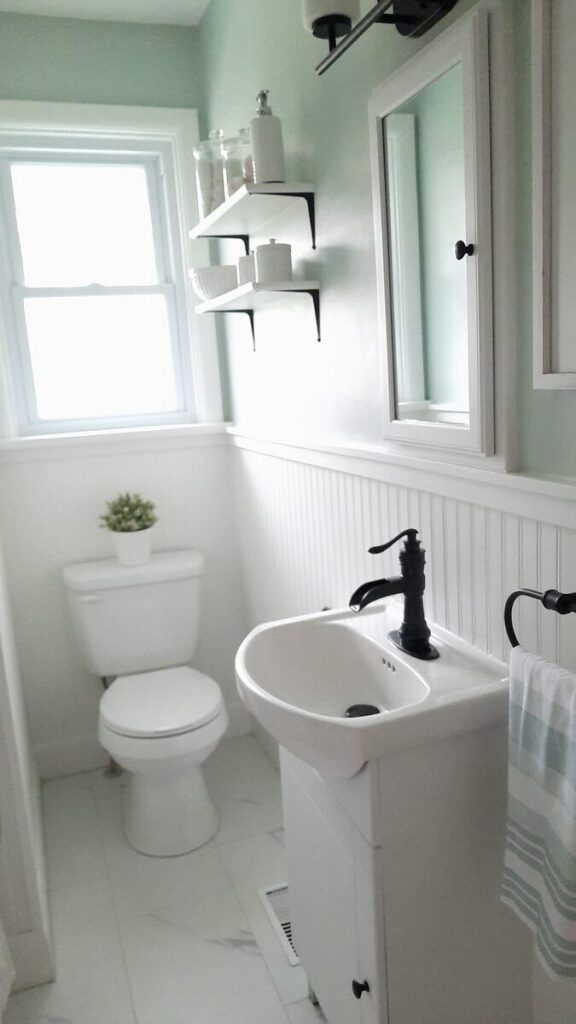
I am so happy with the result of this small bathroom makeover! I can actually have a bath without being completely grossed out! This new bathroom is light, airy, and fresh. Soft blues, greens, and whites give this small room a larger feel, and the newly-tiled tub feels more like a spa than a regular bath.
To get this new, beautiful bathroom, here’s what we did:
The walls:
We decided to tear out the old tile and replace it with beadboard. This was a great solution to hide the mess behind the tile so we wouldn’t have to drywall the whole thing over. I also love the cozy feel of beadboard in a bathroom. We painted it with white bathroom paint that would protect it from any moisture. We bought beadboard panels that were pre-primed at Home Depot, cut them to size, and added trim at the top for a slight ledge that finished the look.
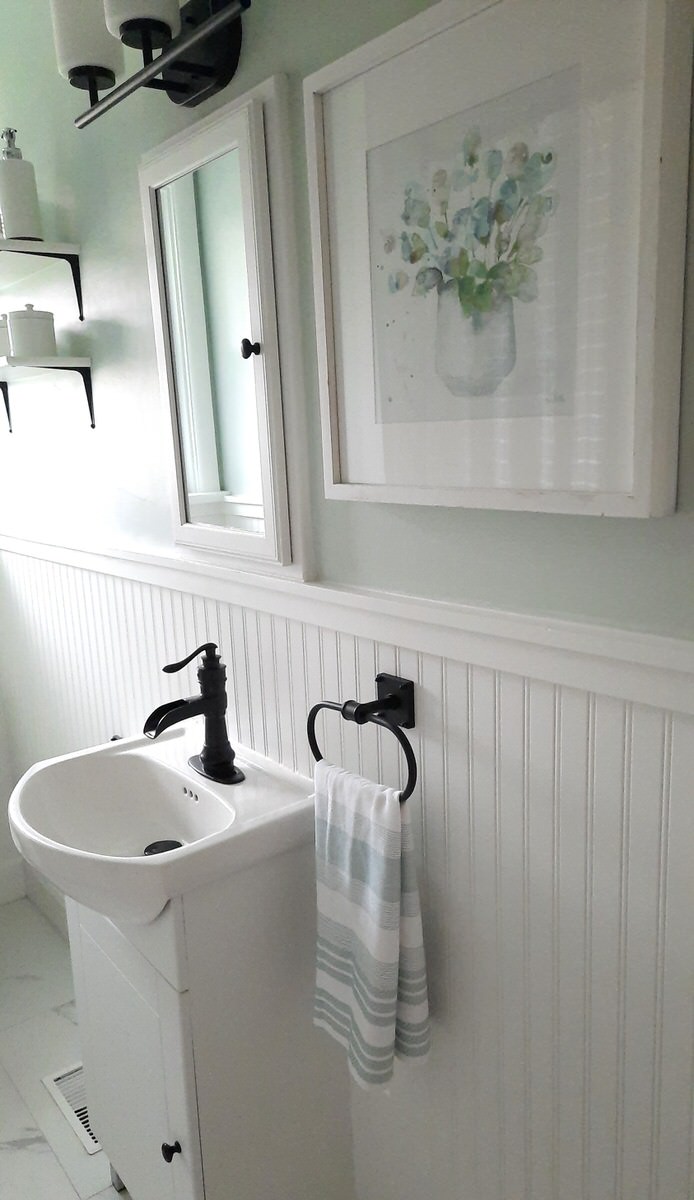
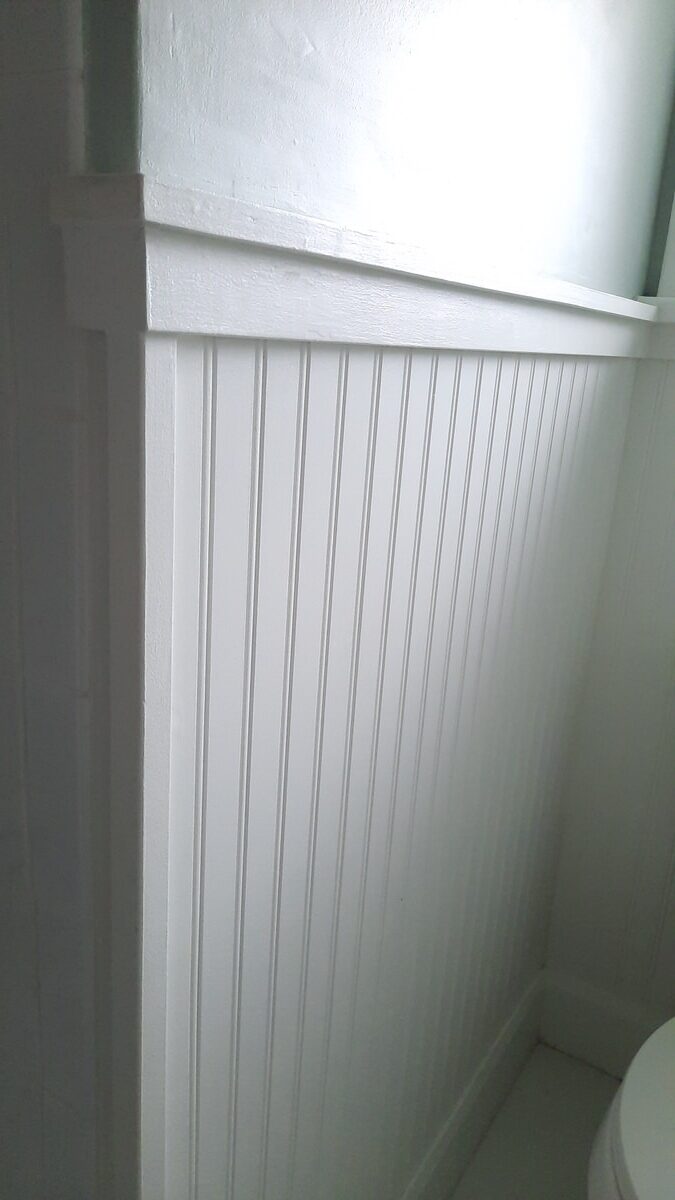
After filling any nicks and holes in the walls, I painted all the remaining bathroom walls with Sea Salt by Sherwin Williams. I am IN LOVE with this colour! It’s perfect for a bathroom and gives it a fresh and airy feel, something you might find in a coastal cottage or even an English cottage. The watercolour painting I found at Homesense was a perfect match for this newfound favourite colour of mine.
The floor:
On the first day of 2020 our house flooded, thanks to a burst pipe in the kitchen….don’t even ask…it was a MESS!
But sometimes blessings come in disguise, as in this case, insurance covered new flooring on the main floor of our little bungalow. For the bathroom, I decided to go with a predominantly white luxury vinyl tile that had streaks of grey throughout. Luxury vinyl tile (LVT) is a great options for bathroom as it’s durable and isn’t affected by moisture. It also comes in tons of colours, sizes, and patterns to fit whatever style you’re going for.
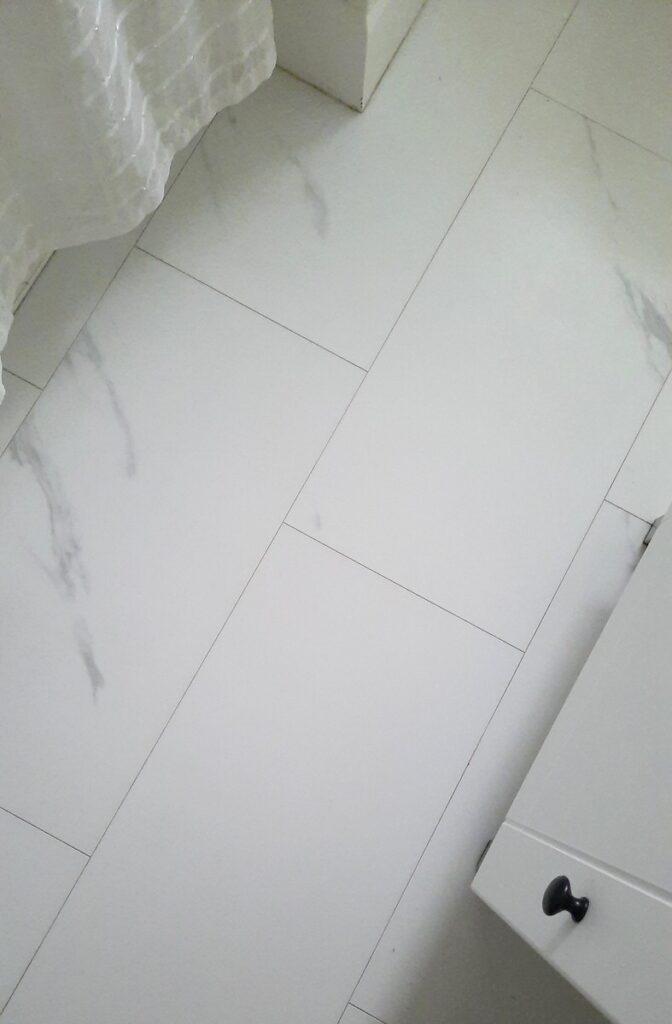
While I did intend the tile to have more grey in it, I am more than happy with the way it turned out! It makes the bathroom feel bigger than it is and lends a spa-like feel to the space.
And before you ask, yes, it shows dirt. But luxury vinyl tile is so easy to clean, and the bathroom is so small, it has never been an issue to quickly clean it up. For stubborn spots, a magic eraser does the trick, but most days, all it needs is a sweep and a quick spray with my natural floor-cleaning spray (part of my collection of safe cleaning recipes).
Fixtures & Lighting:
I decided to use matte black for the fixtures and the light to offset and ground the soft colours in the rest of the bathroom. Clean lines mixed with soft curves give this bathroom a nod to farmhouse style without being too fussy or stuffy.
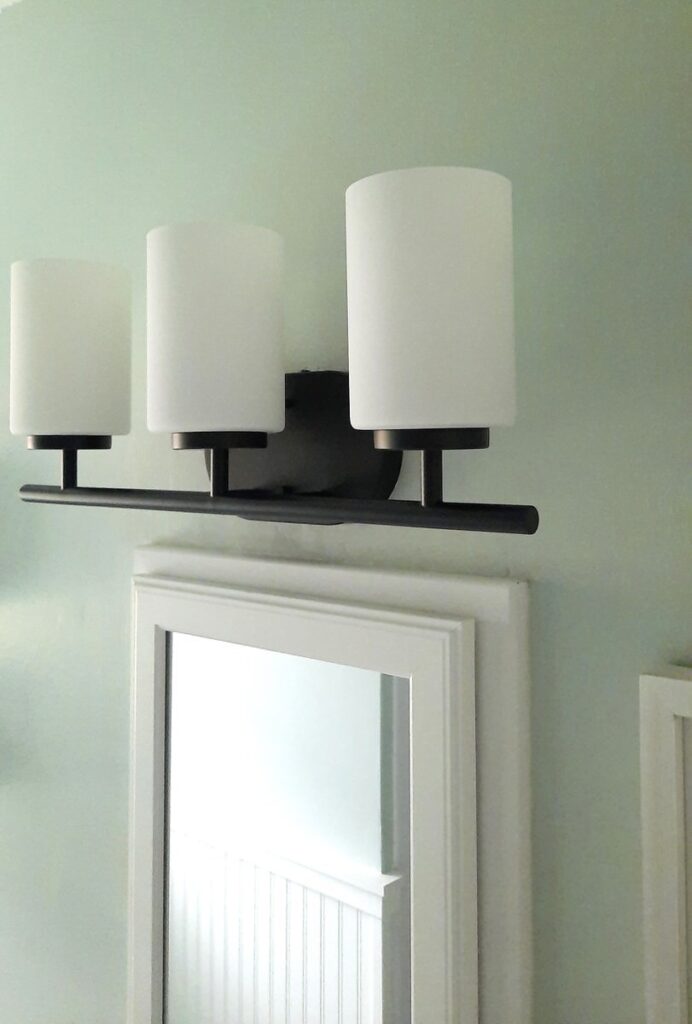
It took forever to find the right light fixture on a budget for the size of the space, but I’m really happy with it. The lighting is softened by the frosted glass, which is nice when having a bath or during early mornings.
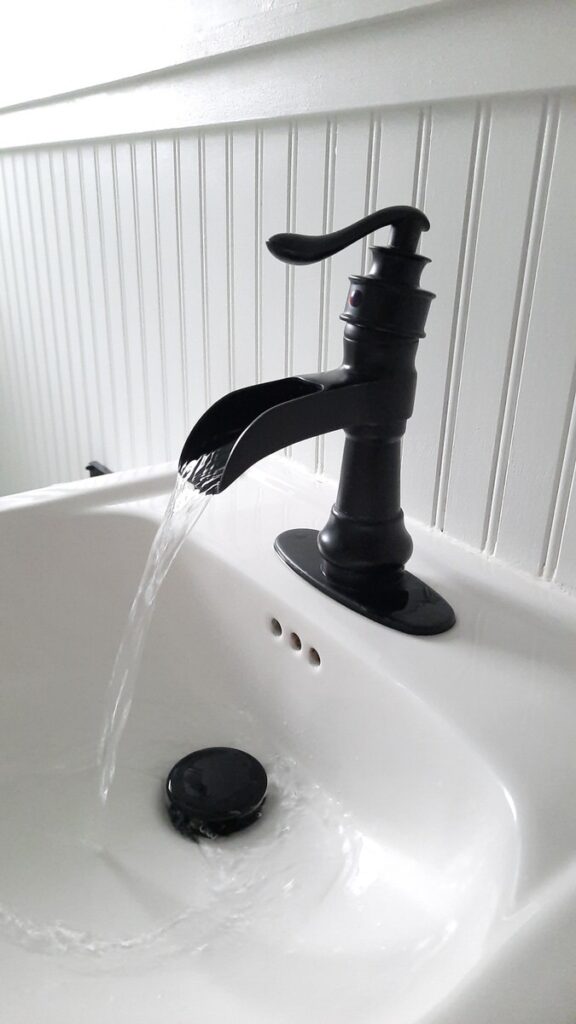
The faucet is a favourite find of mine. Something about the waterfall-style faucet is so charming (and kids love it 😉 ). We decided to keep the sink and vanity that was already there, but changing out the faucet made it feel like new.
Storage:
Because storage is so limited in our small bathroom, we had to make use of it wherever we could. This meant installing a traditional medicine cabinet instead of a simple mirror. It’s able to hold all the kids’ brushes etc, and something about it adds to the old-world cozy charm I was also going for. We switched out the knob on the cabinet with a matte black one we had left over from our kitchen reno. We also put an electrical outlet inside the cabinet to easily plug in the electric toothbrush chargers!
While there is storage underneath the sink, it really wasn’t enough for our busy family. We decided to solve this by hiding a shelf above the door! A simple piece of wood and some L-shaped brackets were all we needed to add space to store all those bath toys (we bought bins from the dollar store which fit perfectly). Problem solved!
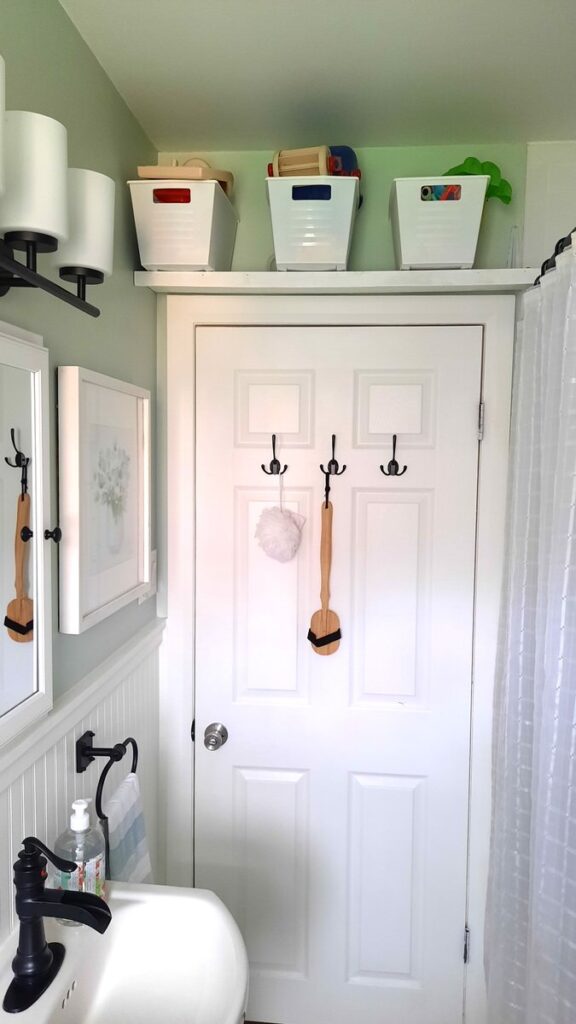
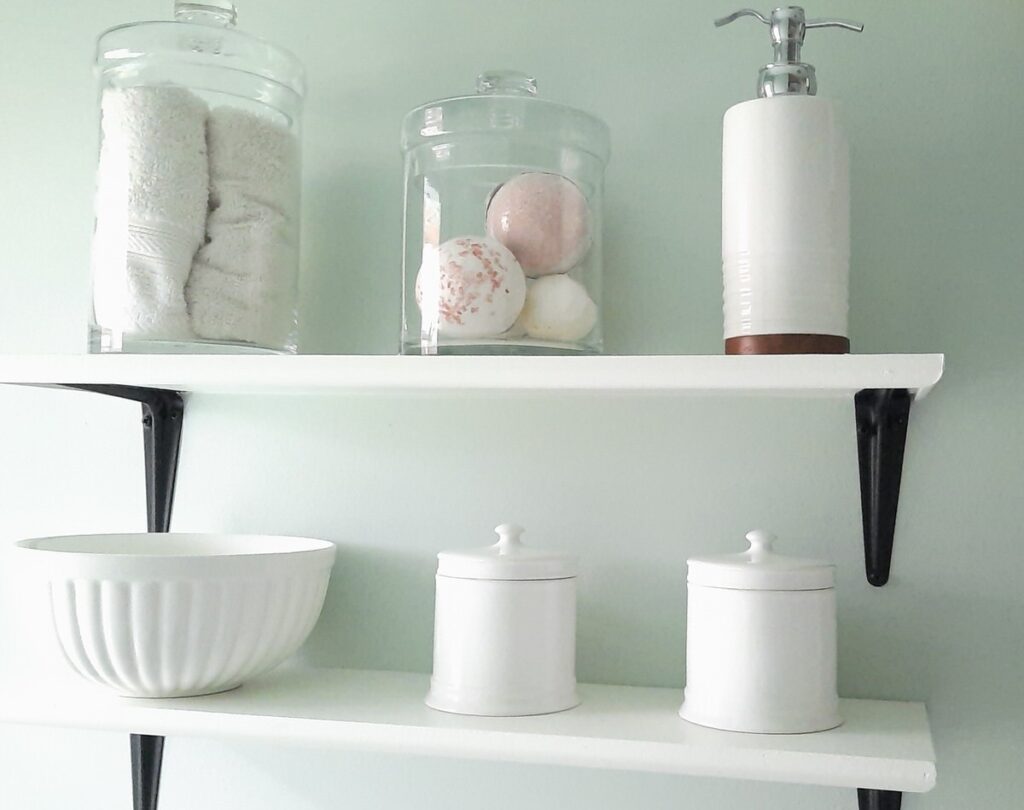
We used the same idea to build inexpensive shelves for the wall. We cut a simple piece of wood to size, then edged it with a bit of trim, and attached them to the wall with matte black L brackets. A few glass jars and bowls act a as storage for the prettier items I like to display, like bath bombs, face cloths, and lotion.
The bathtub:
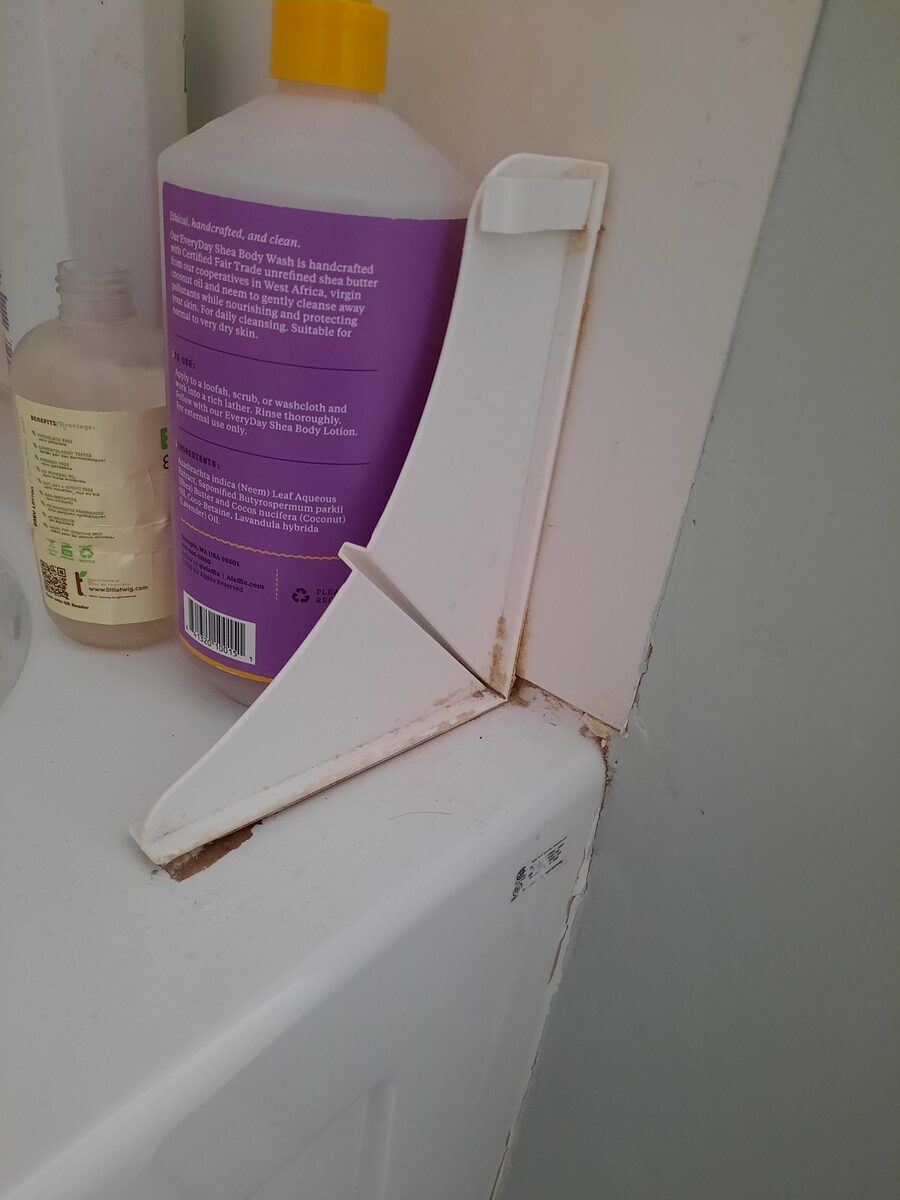
This was a bigger job. The original tub was a cheap wraparound piece of…plastic…? Whatever it was, it was old, mouldy, and gross. Peeling it off was wonderful. Here’s a few pictures of the process:
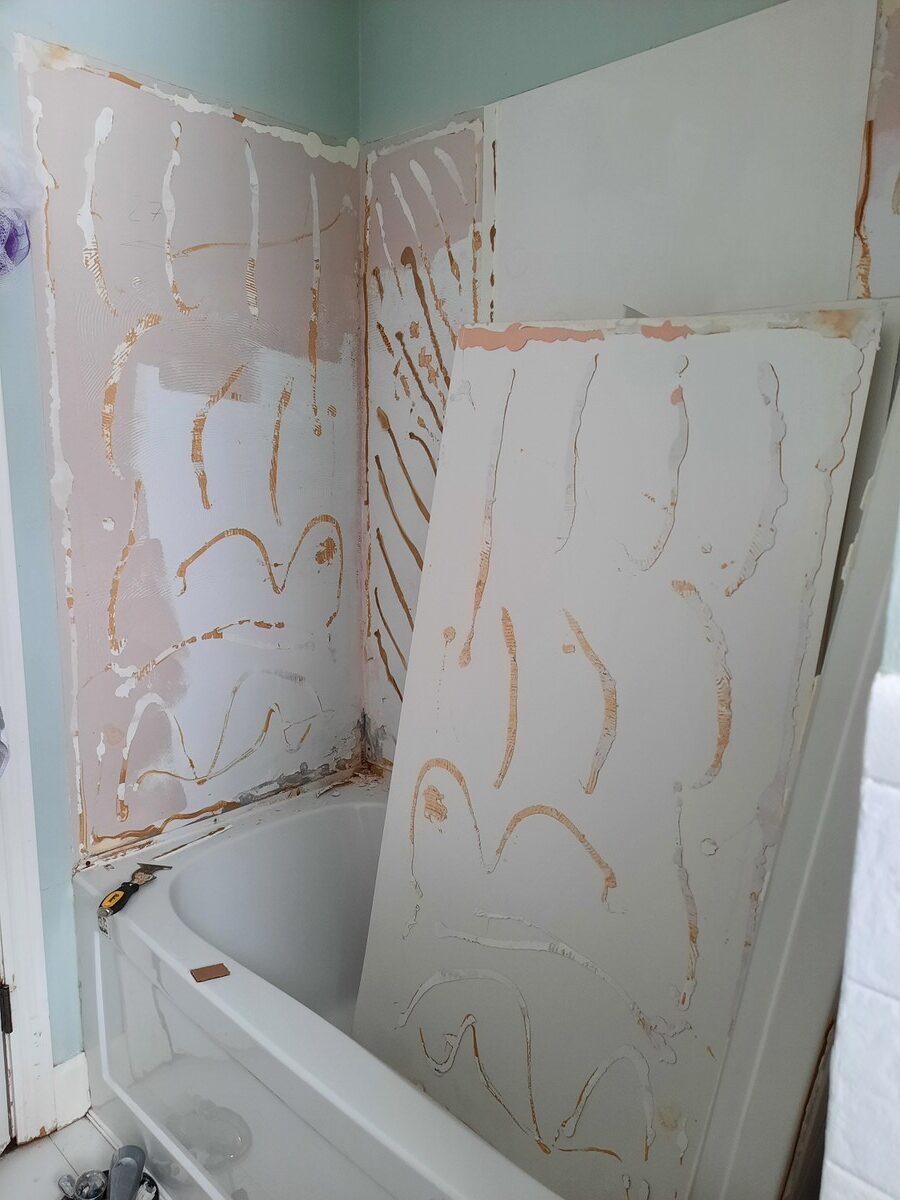
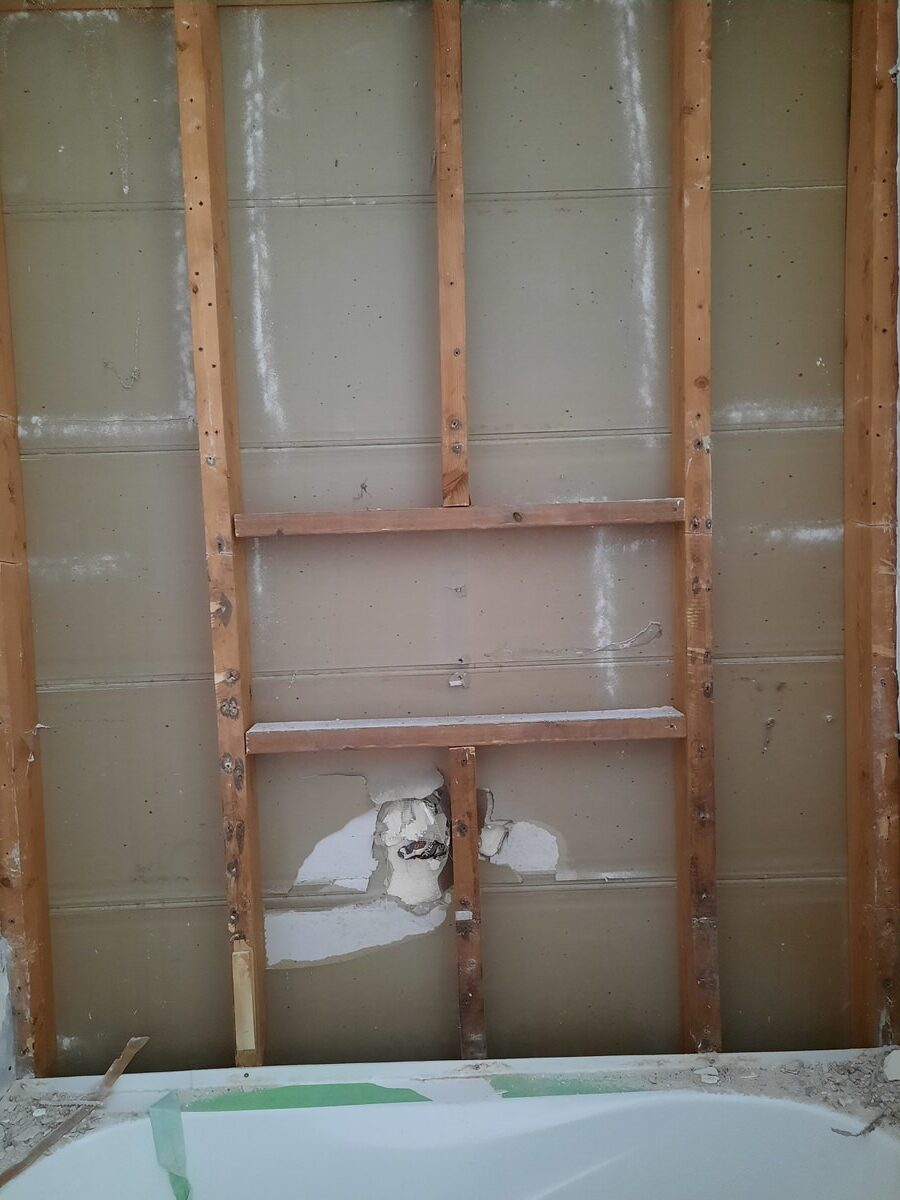
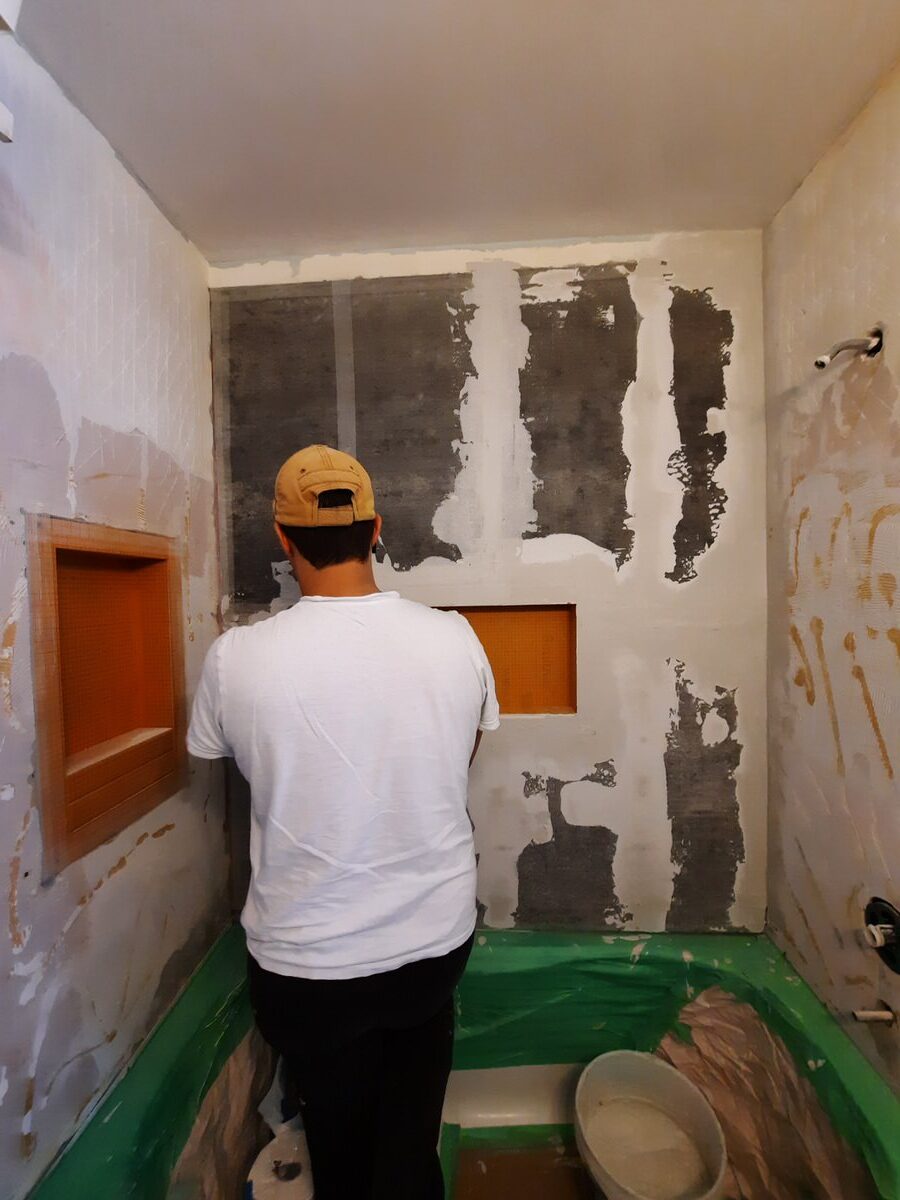
We decided to replace the wall behind where we were going to tile to ensure it was even and straight for the tiles (there are a few spots where we left the original wall behind, which we regret as tile in those areas is slightly imperfect).
Before finishing the wall with a waterproof membrane, we decided to add some cubbies for holding shampoos and soaps. This turned out to be easier than we expected since Home Depot sells inserts already formed and ready to tile that you simply install. It was a great find and worked perfectly to achieve the look we wanted. We decided to use simple subway tile so it would tie in with the kitchen (which has bevelled edge subway tile), and would give the shower a warm feeling.
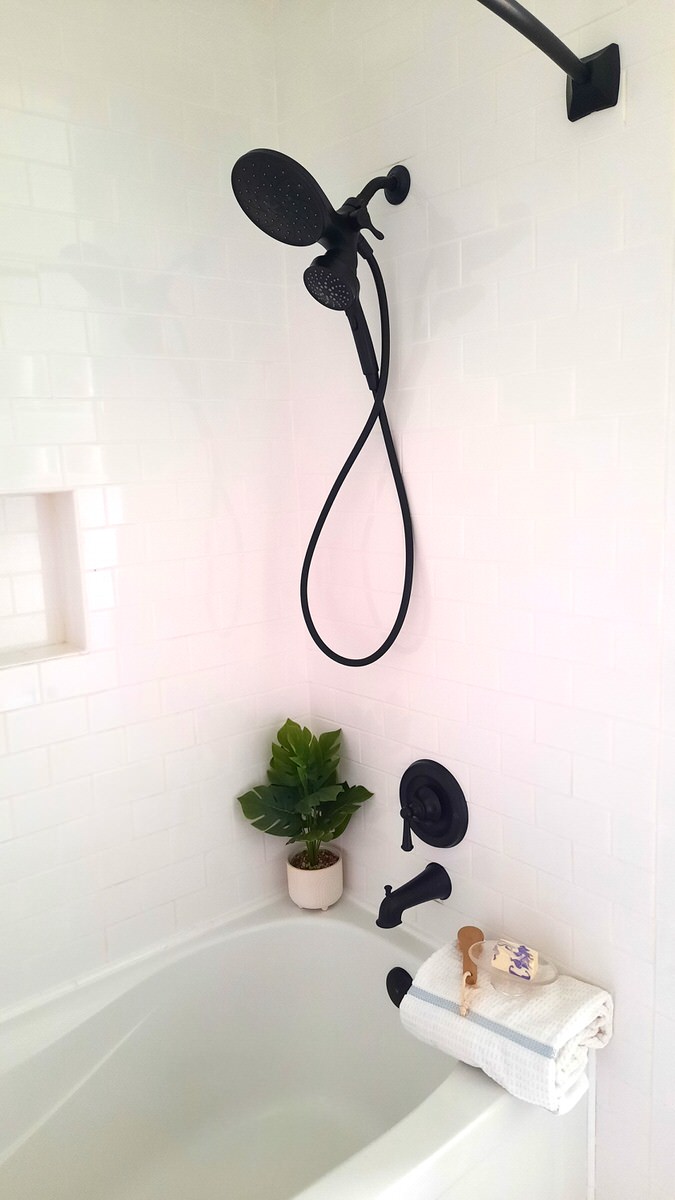
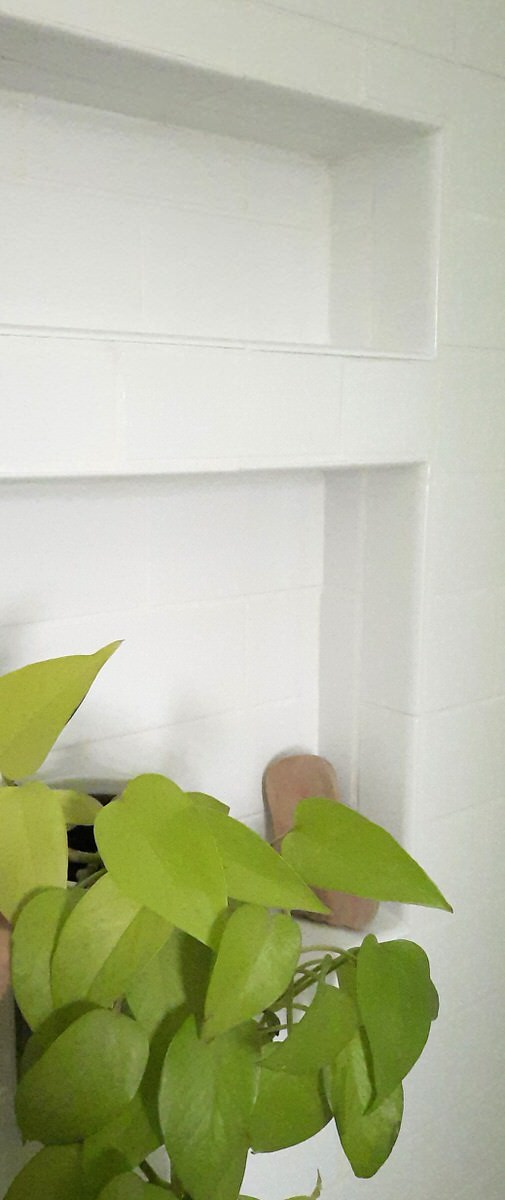
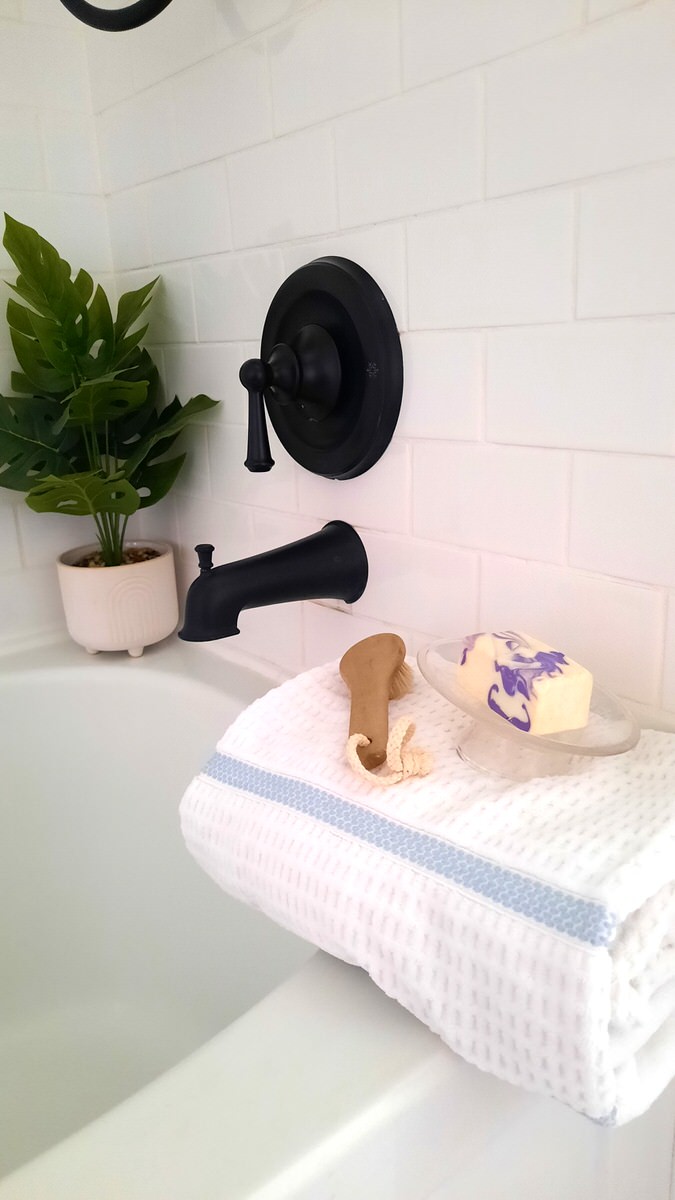
Overall we love the way this small bathroom makeover turned out! It feels like a completely new space that is fresh, clean, and inviting.
Shop this post:
Towel hanger & Toilet Paper holder (I found ours at Homesense but these are very similar)
Curved Matte Black Shower Curtain Rod
Double Shower Head with 6 Spray Functions
Shower shelf inserts & waterproof membrane
Looking for more?
Take a peek at some more projects around my bungalow home:
DIY Rustic Farmhouse Barn Door
DIY Corner Shelves with Leather Strap Brackets
Save it for later:

Leave a Reply