
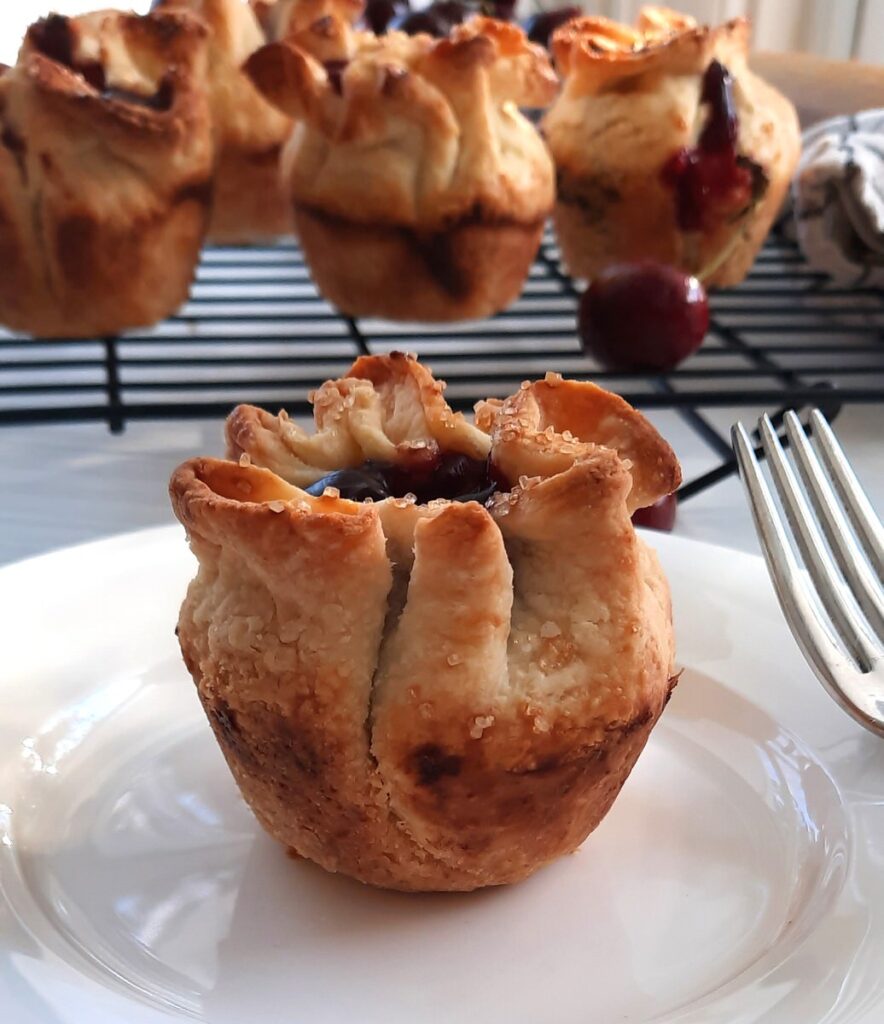
These Cherry Pie Rosettes are an impressive dessert that is surprisingly simple to make.
It’s not often that I happen to find myself with an abundance of pie crust and pie filling. However, after being in the kitchen doing lots of recipe testing, I found myself in just that position.
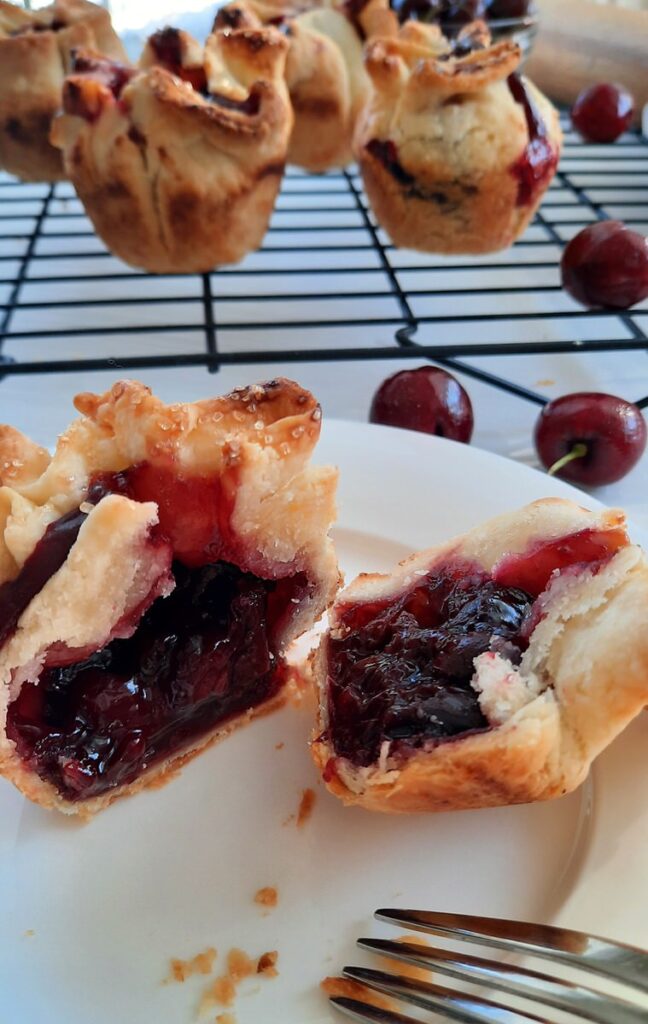
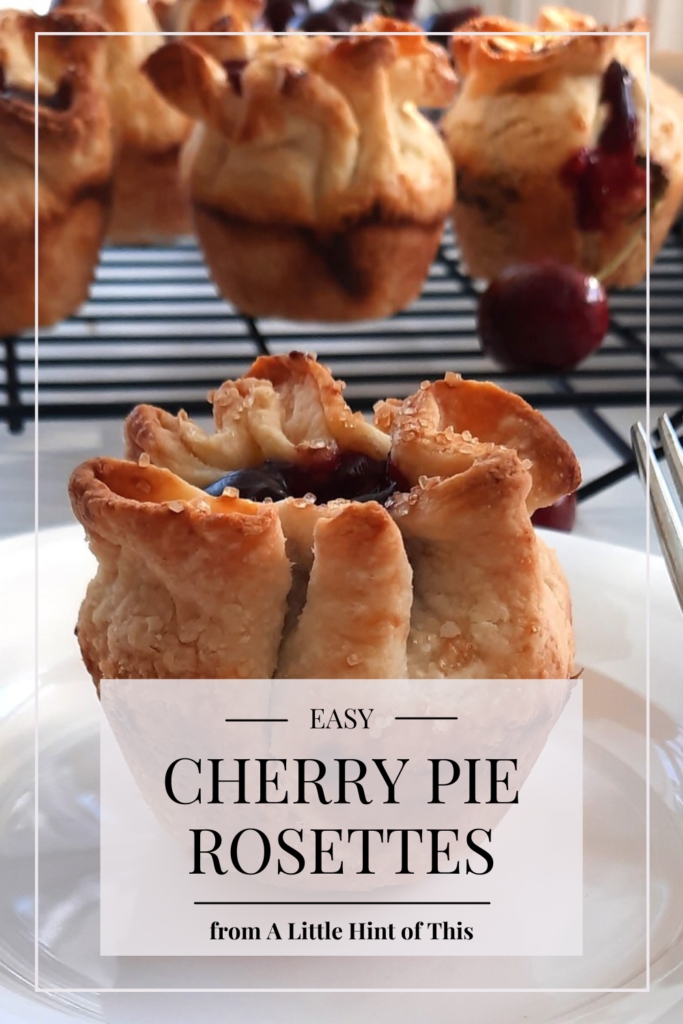
What started out as a necessity (how to use up all this cherry pie filling) quickly became an invention I love! These Cherry Pie Rosettes are easily baked in a regular muffin pan, crisping up into beautiful bundles of flaky crust and plump, juicy cherry filling. If you love the crust of a pie, this dessert is definitely for you 🙂
How to make Cherry Pie Rosettes
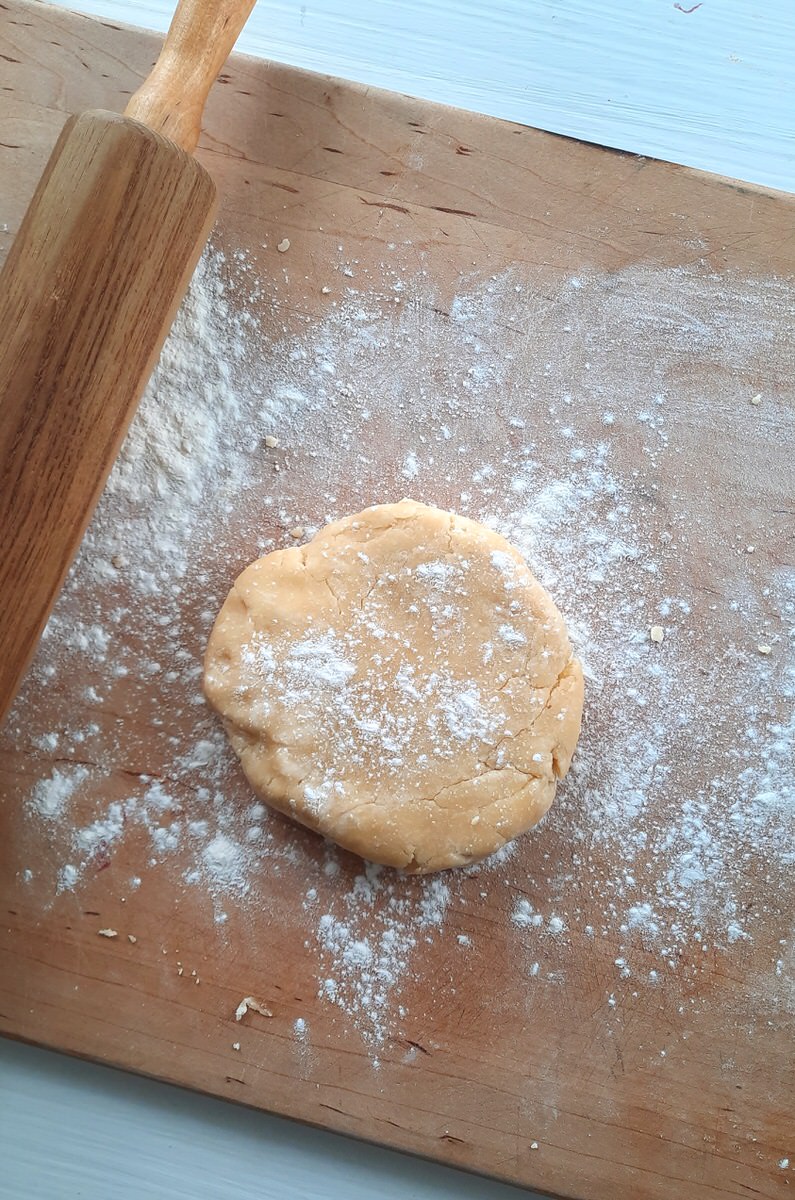
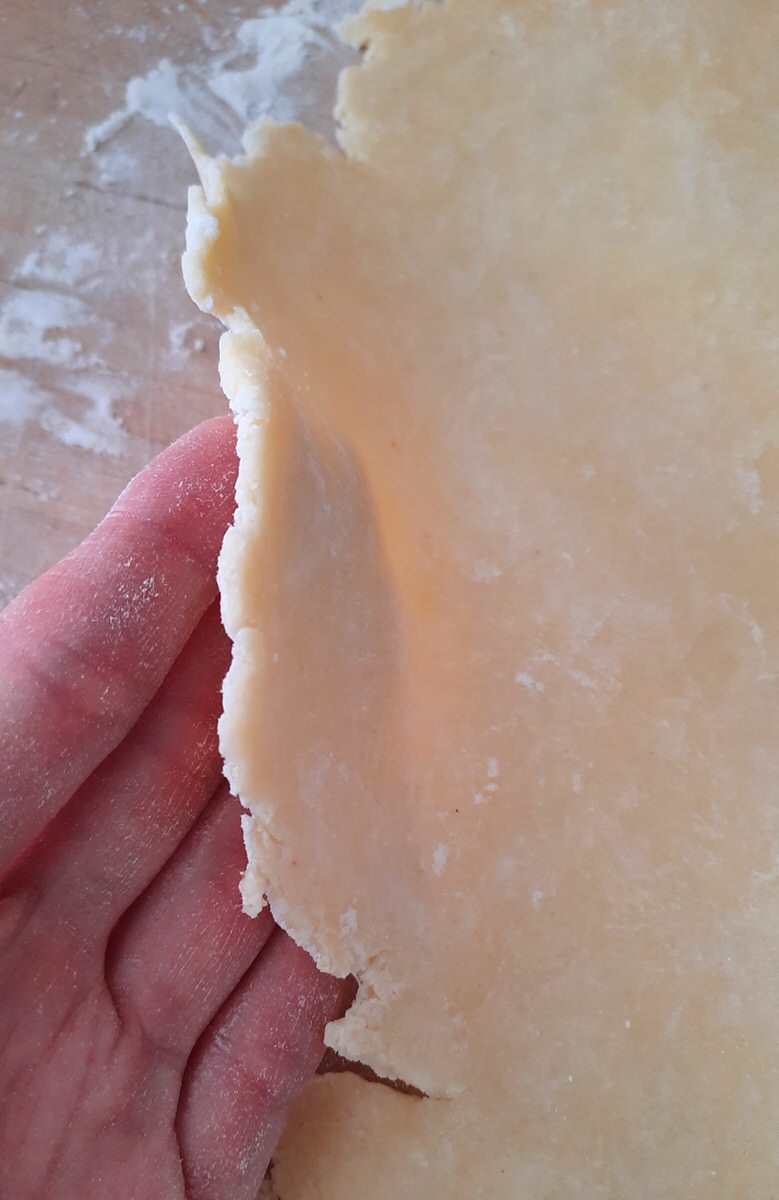
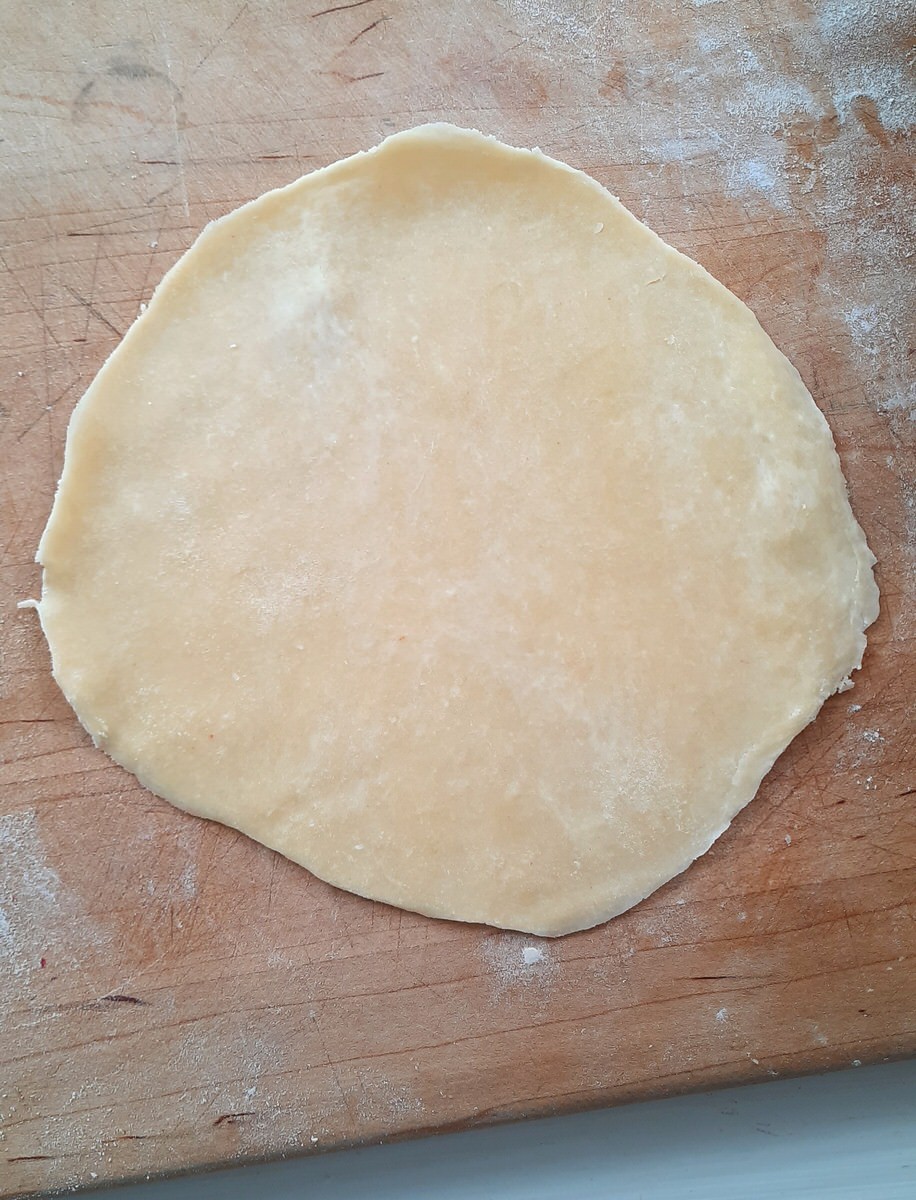
Roll out your pie crust to approximately 1/8 inch thickness.
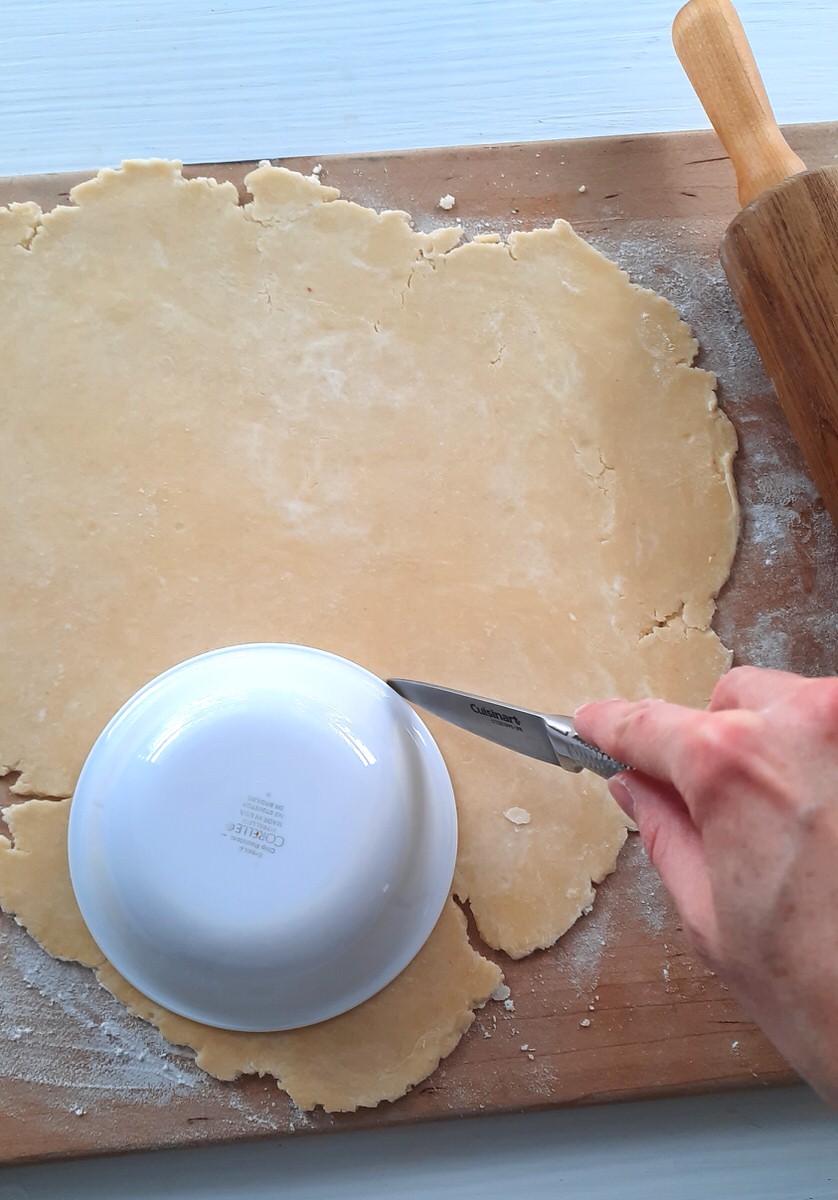
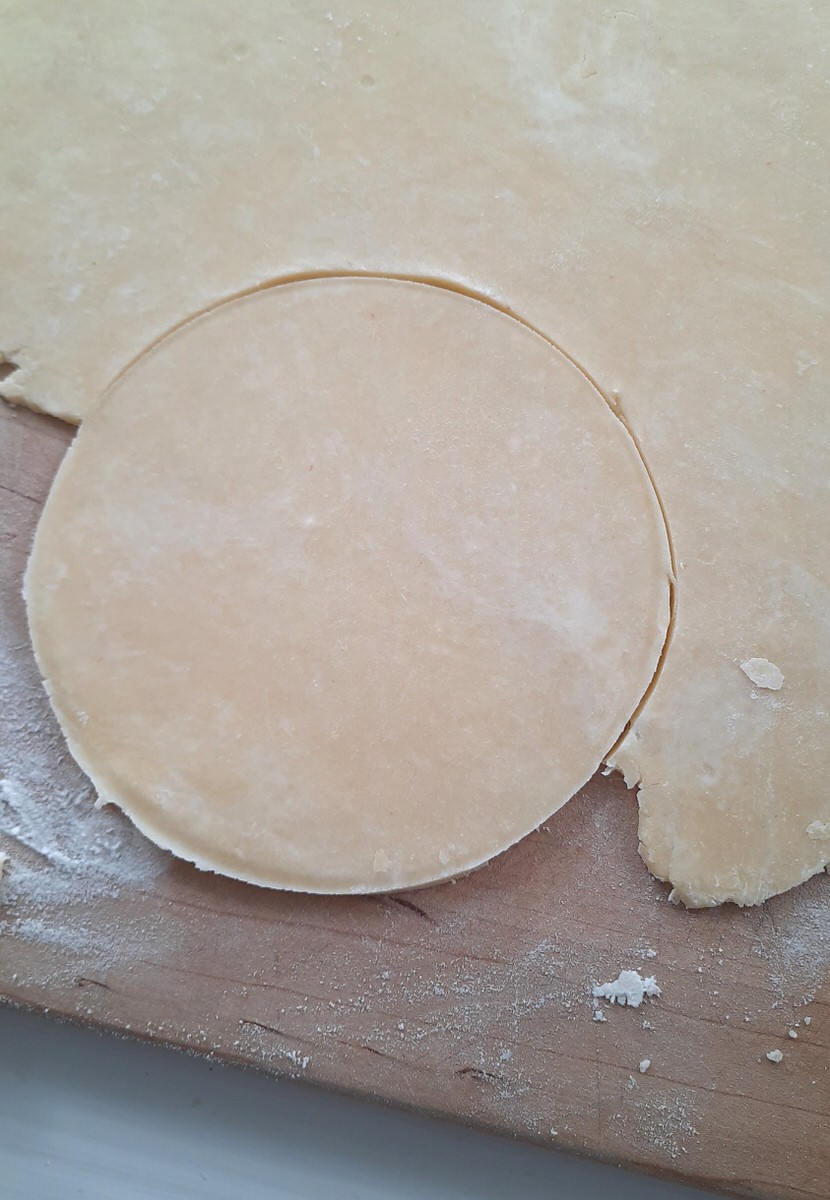
Using a sharp knife, cut out 5-inch circles of pastry. We used a small bowl to get the right size.
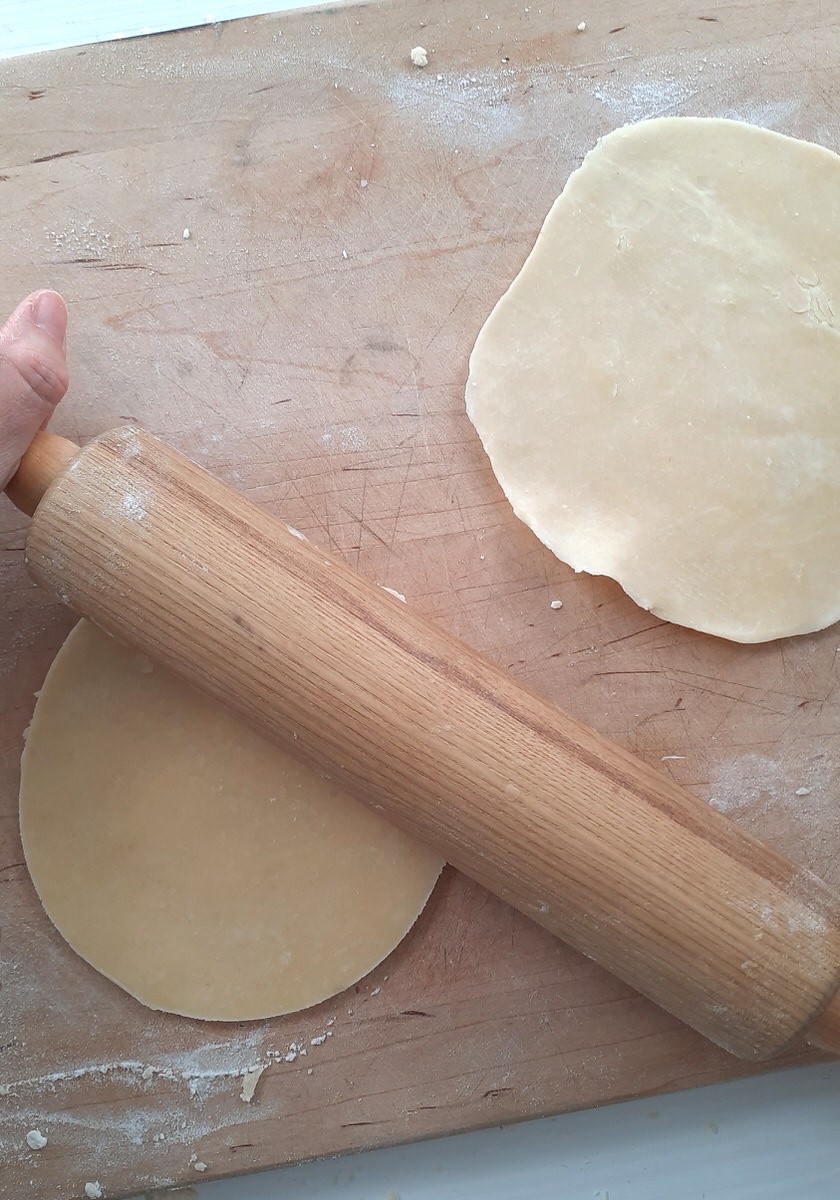
Roll out the edges of each circle so that they are thinner than the rest of the crust. This will ensure the crust around the top of the rosettes isn’t too thick or dense.
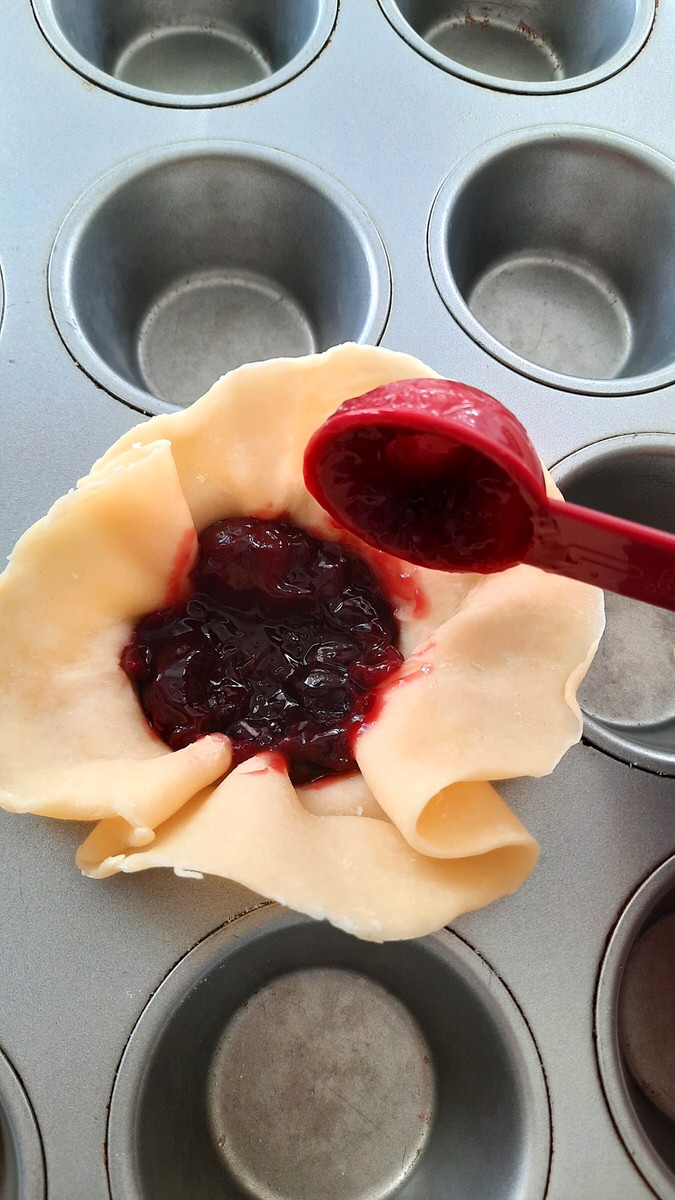
Gently place the pastry into a muffin pan, pressing carefully to form dough into the pan. The pastry will extend over the edge.
Spoon in 2 tbsp of cherry pie filling. We’ve used cherry for our Cherry Pie Rosettes, but you could substitute with any of your favourite fillings.

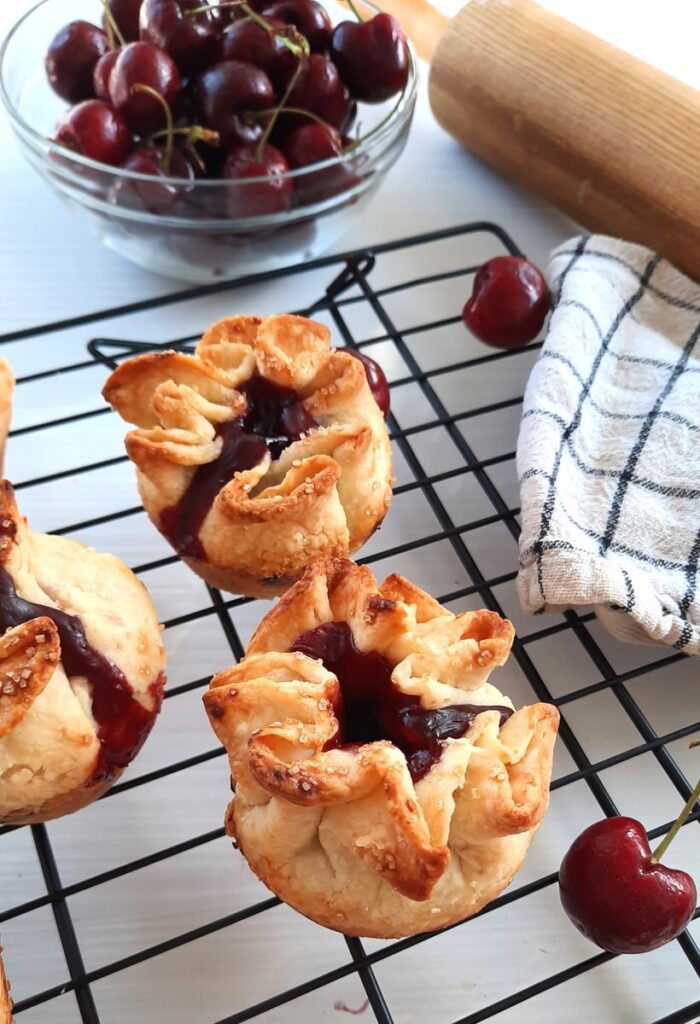
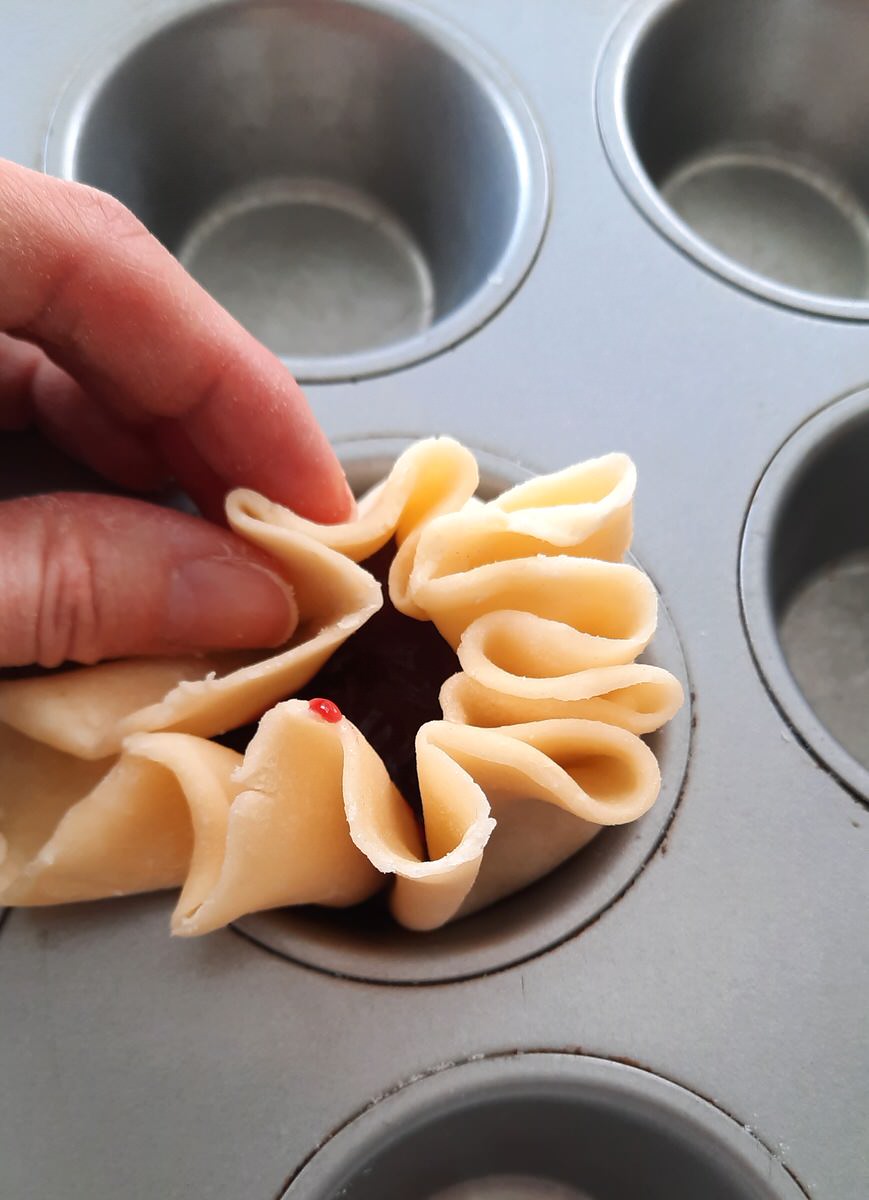
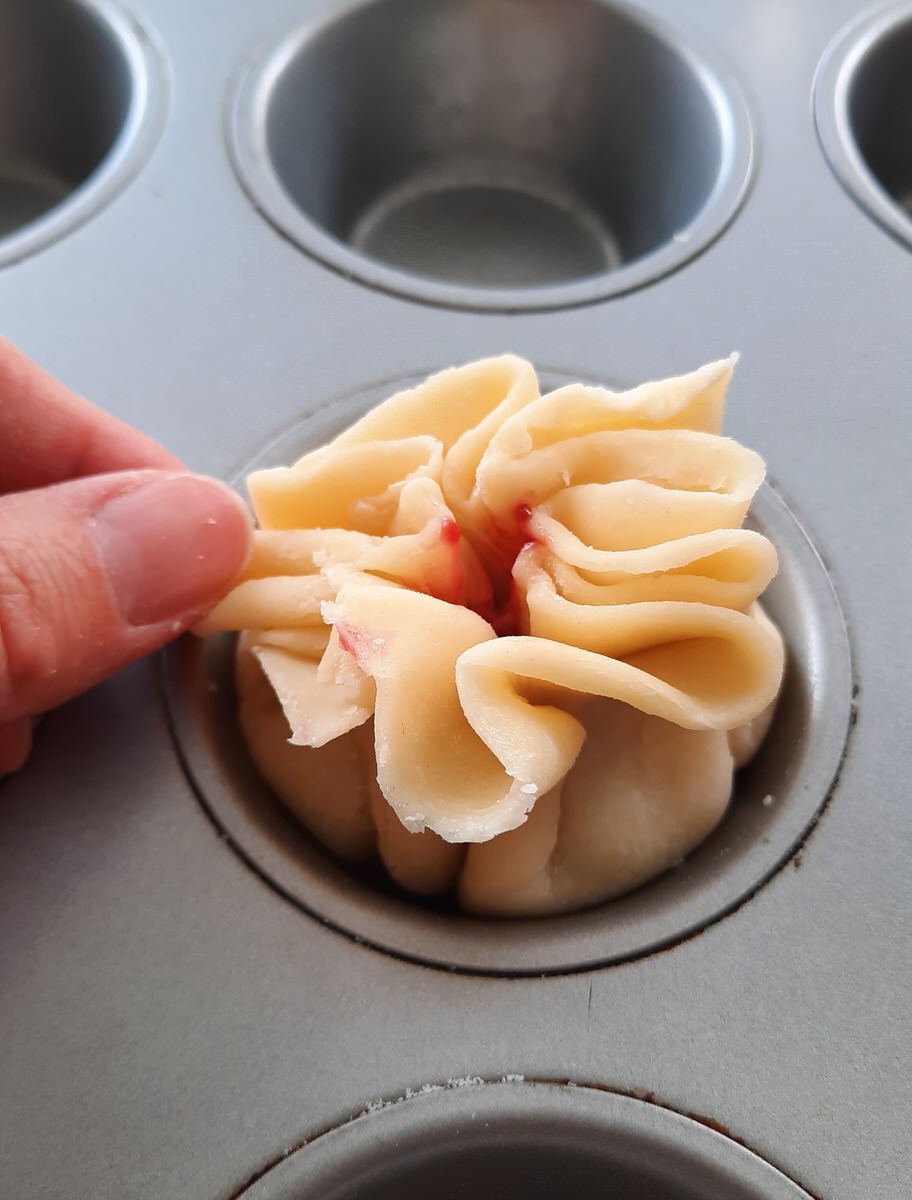
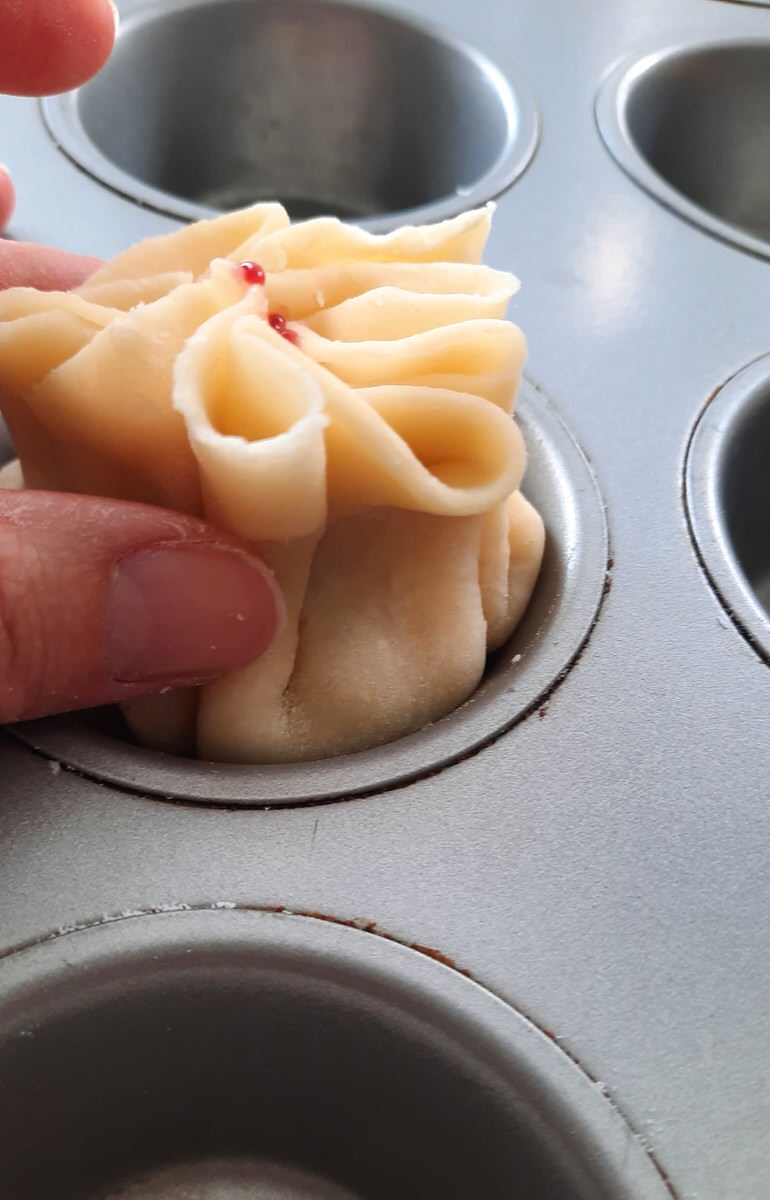
Carefully fold together the top of the pastry, forming a wavy pattern in the dough (to resemble a rose). Be careful not to squeeze the filling out of the Rosettes while doing this…
Place Rosettes in the freezer for 5 minutes or fridge for 10 minutes to chill the pastry.
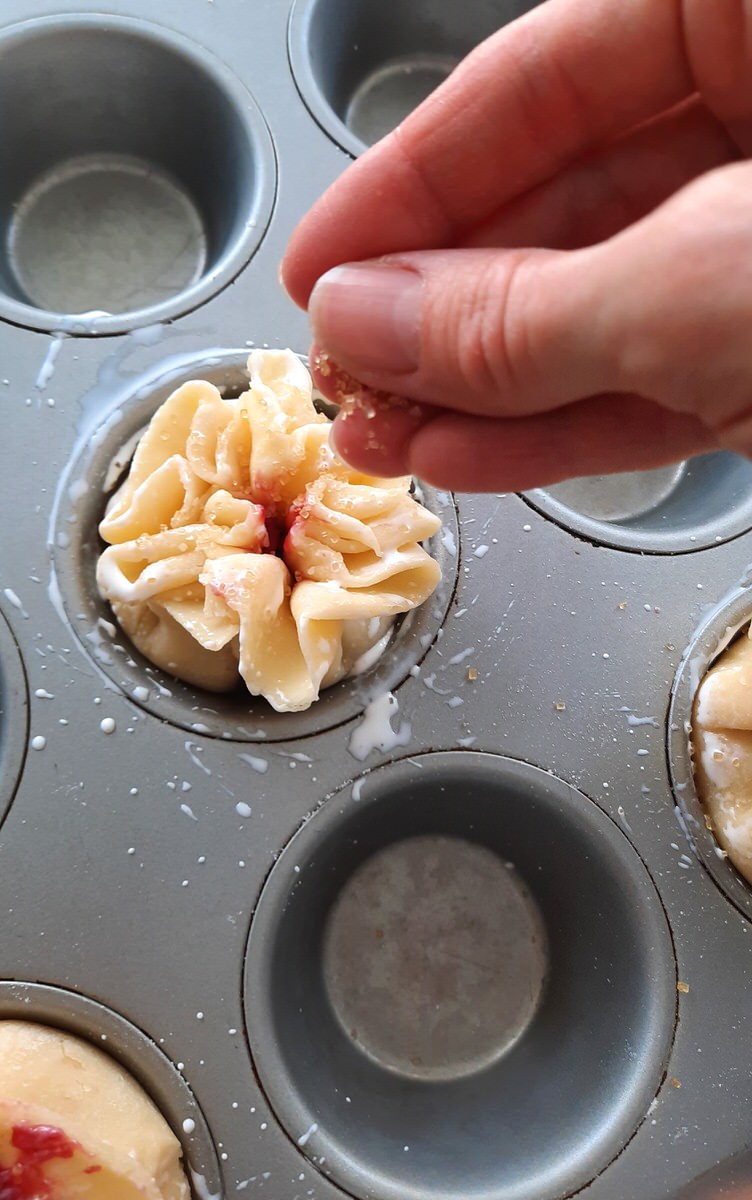
Brush Rosettes with cream or an egg wash (1 egg yolk mixed with 2 tbsp water). Sprinkle with raw or turbinado sugar.
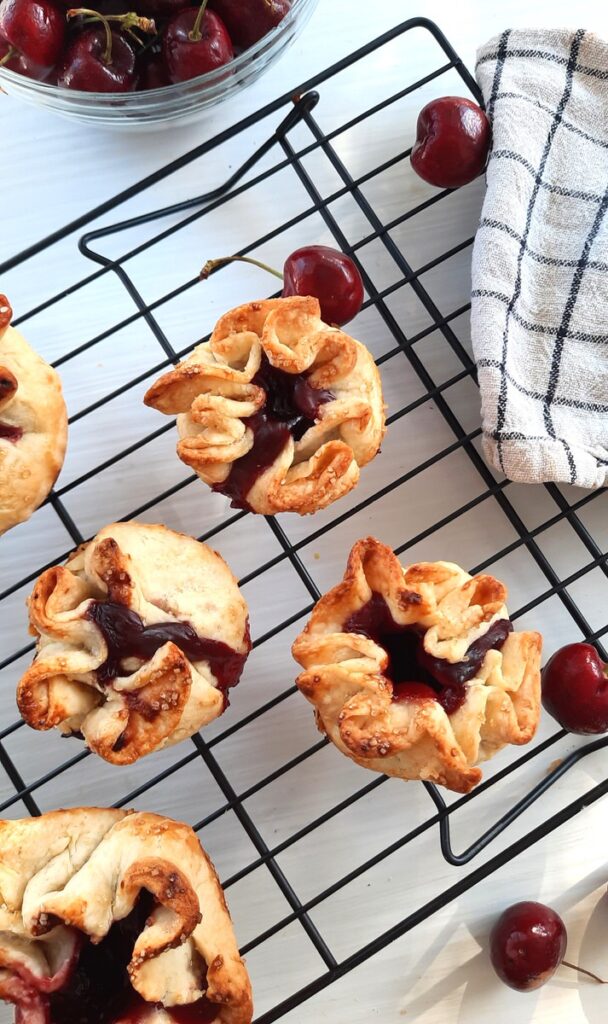
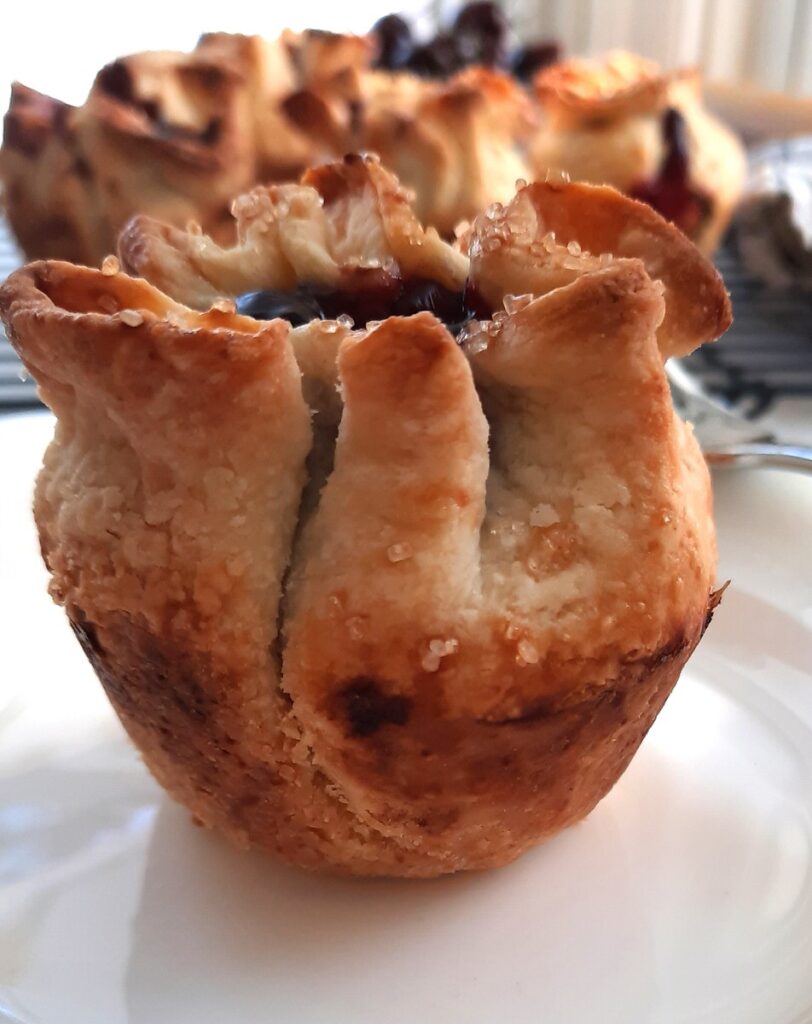
Bake Rosettes in a 400-degree oven for approximately 30 minutes or until the crust is golden and filling is bubbly. If Rosettes begin to brown too much, simply lay a sheet of tin foil over top of them for the last 10 minutes of baking. Cool in muffin pan for 5 minutes, then transfer to cooling rack to cool completely.
Items you may need
- muffin pan
- rolling pin
- 5″ circle cookie cutter (or 5″ bowl)
How to serve Cherry Pie Rosettes
While this dessert can be served alone (it is pretty enough!), you can also dust it with powdered sugar, serve it with a scoop of vanilla ice cream, or drizzle it with some chocolate syrup.
No matter how you serve it, be sure to give this pretty treat a try. If you do enjoy it, let us know! A 5-star review is always appreciated!
Cherry Pie Rosettes

Cherry Pie Rosettes
Ingredients
- 1 batch double pie crust (enough dough for a top and bottom of pie)
- 1 ¼ cups cherry pie filling
- ¼ cup cream (10%, 18%, or whole cream will work) *see notes for substitution
- 2 tbsp raw or turbinado sugar
Instructions
- Preheat oven to 400°F.
- Roll pie dough to ⅛ inch thickness. Using a 5 inch circle, cut rounds of dough, re-rolling dough as needed until you have 10 rounds.
- Roll the edges of each pastry round out so they are thinner than the center of the pie crust. This is so that the top of the rosettes are not too thick or dense.
- Gently place rounds into metal muffin tin, being careful to press gently so not to break the pastry.
- Spoon 2 tbsp pie filling into each pie crust.
- Being careful not to squeeze out the filling, carefully fold up the edges of the pie crust to form a wavy pattern. Be sure to leave a small opening in the center for steam to escape. Squeeze folds together gently so they hold their shape.
- Place rosettes in the freezer for 5 minutes or the fridge for 10 minutes.
- Brush each rosette with cream. Sprinke with turbinado or raw sugar.
- Bake rosettes for approximately 30 minutes or until filling is bubbly and crust is golden brown. If crust is browning too quickly, simply lay a sheet of tin foil loosly over pan for the last 10 minutes of baking.
- Allow rosettes to cool in pan for 5 minutes, then gently remove to a cooling rack.
Notes
Looking for more?
Here’s a few more of our favourite dessert recipes!
Strawberry Cheesecake No-Churn Ice Cream
Pin it for later
Thanks for stopping by A Little Hint of This!
Leave a Reply