
Here’s a straightforward way to create stabilized whipped cream. This recipe ensures your whipped cream doesn’t fall flat or lose air before you’re ready to use it. And it’s only a few easy steps!
What is stabilized whipped cream?
So glad you asked 😉
Have you ever whisked up some whipped cream, only to have it lose it’s fluffiness and begin to turn back to liquid way too quickly?
That’s because whipped cream is so delicate! However, by adding a little bit of gelatin, you can create a whipped cream that can hold up to all kinds of uses, and can also be made in advance. This makes it a great alternative to chemical-filled whipped toppings you buy in the grocery store.
Check out our Ultimate Dirt Pie recipe to see one example of whipped topping being replaced by stabilized whipped cream.
How to make stabilized whipped cream
It’s so simple. Just a few easy steps and you’ve got great whipped cream in no time!
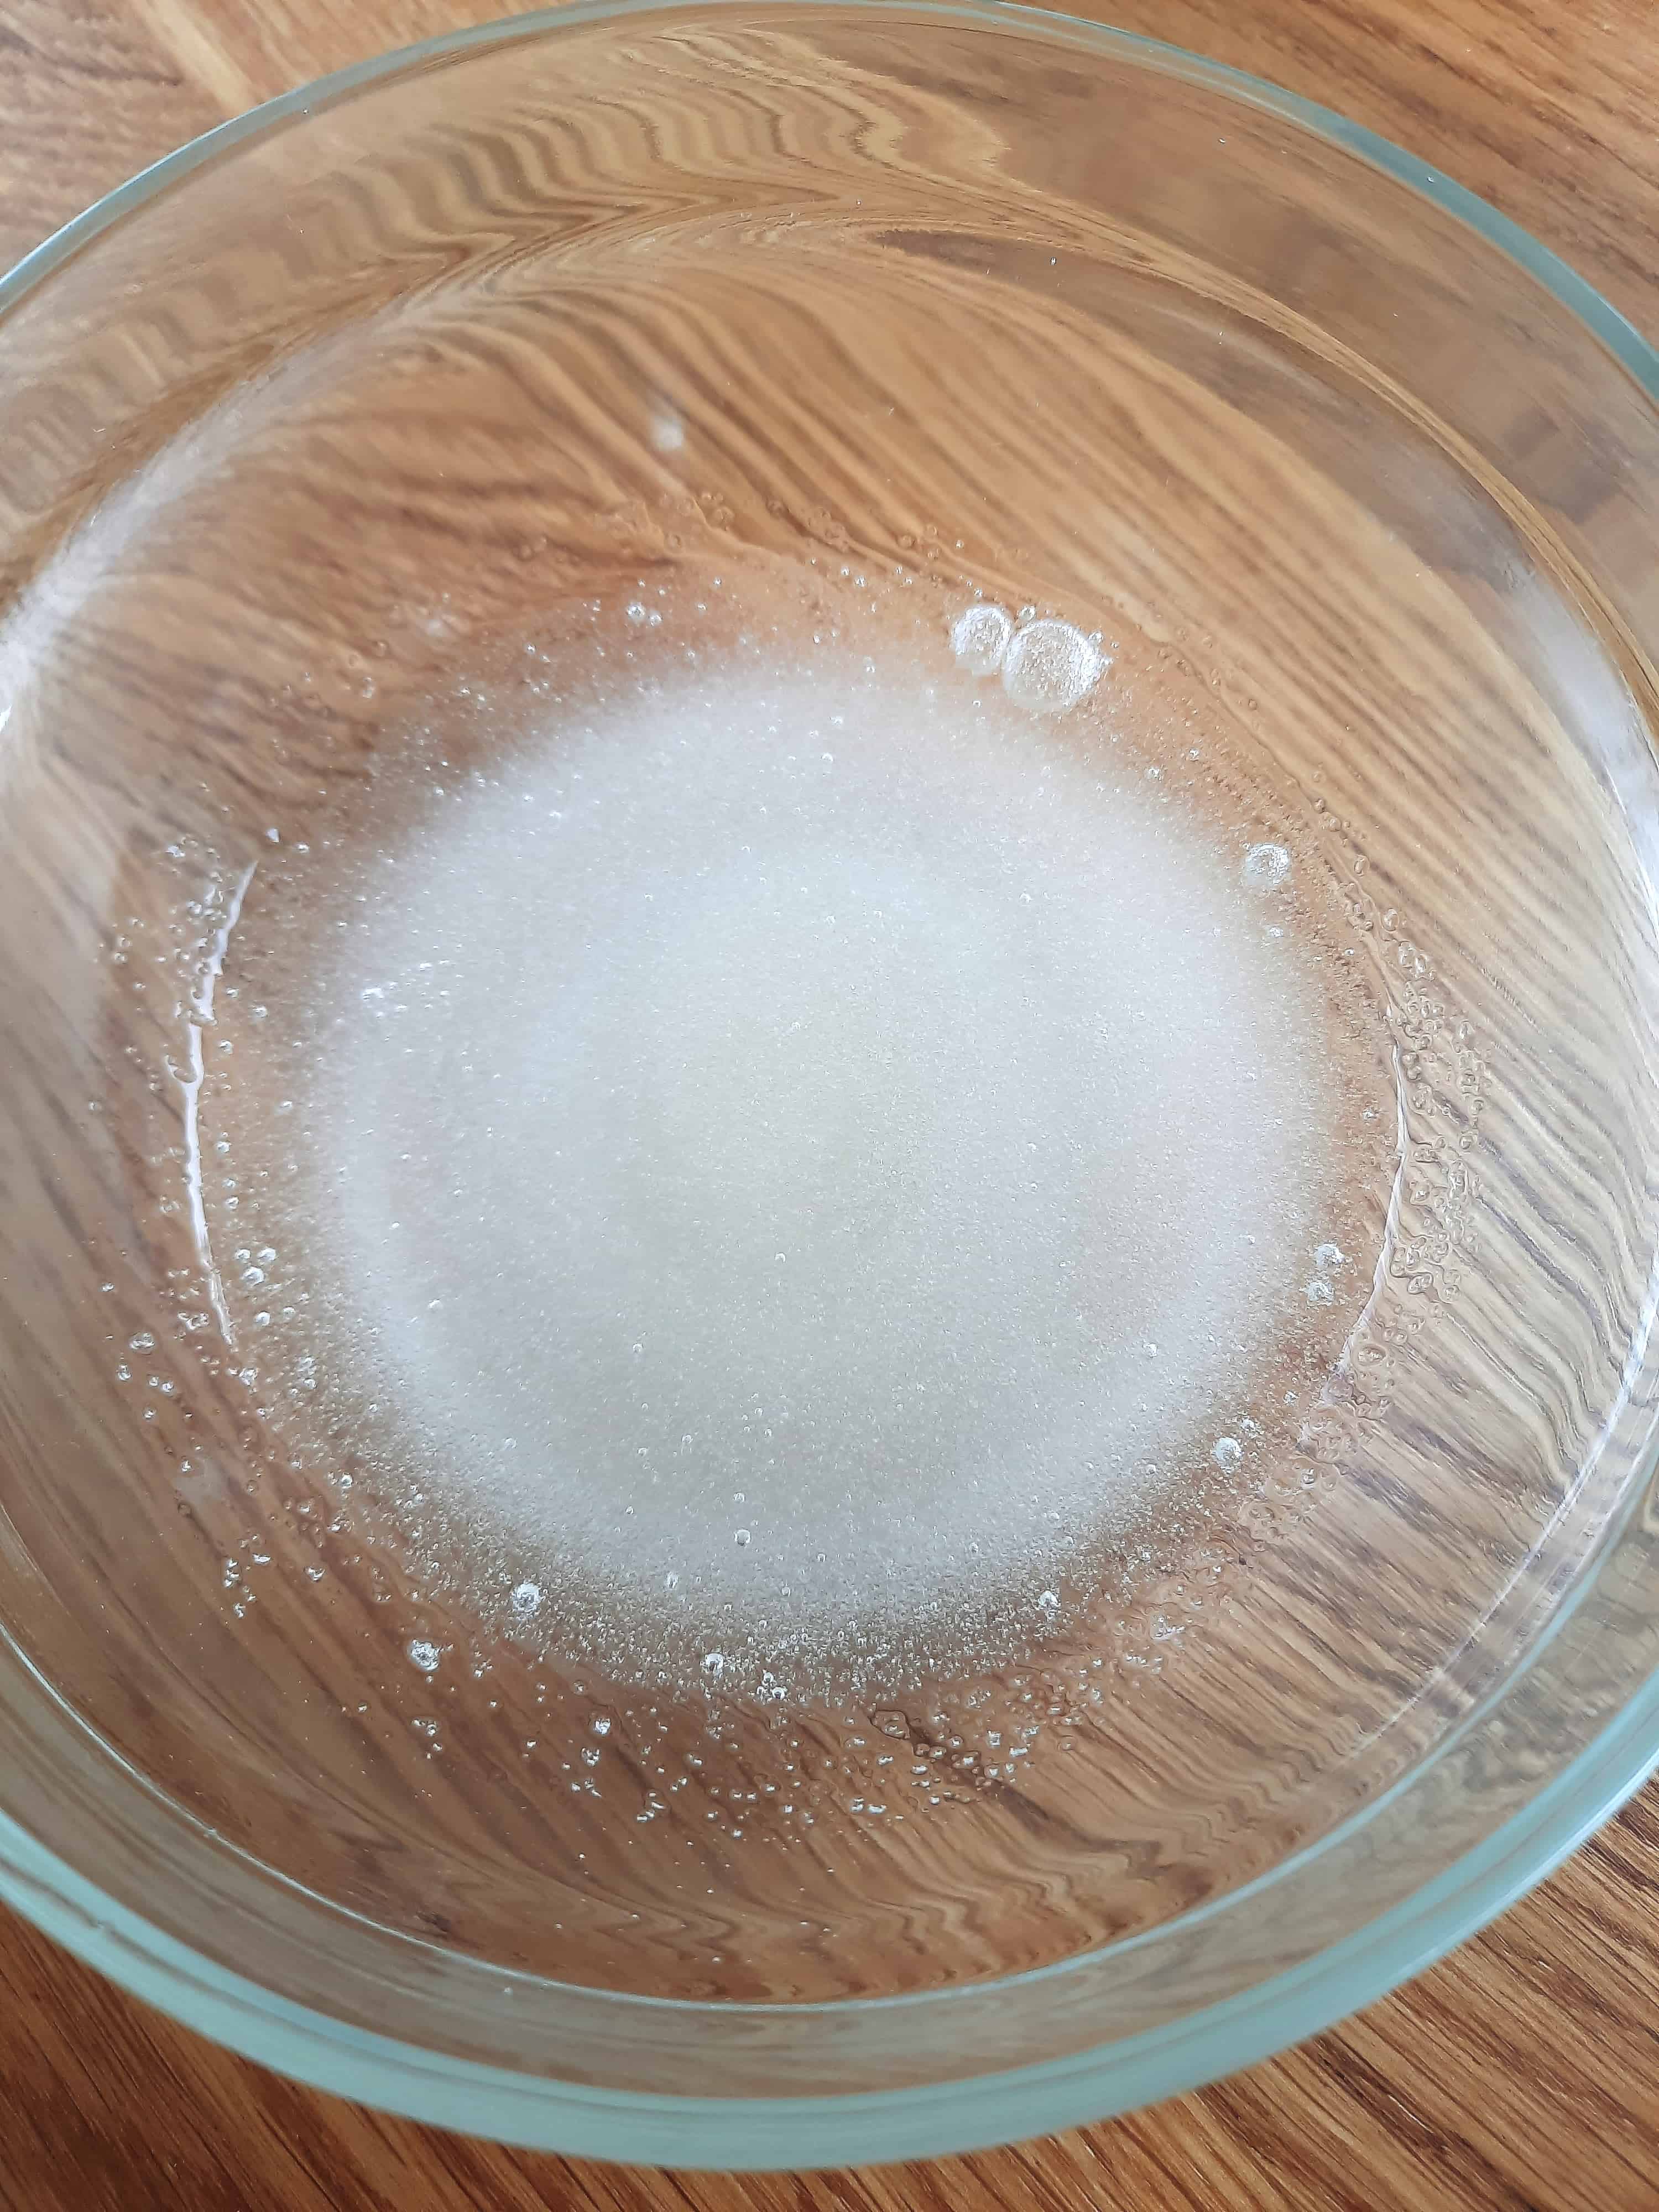
1. Place gelatin and water in a small microwave-safe bowl. Let stand for 2 minutes, allowing the gelatin to soften.
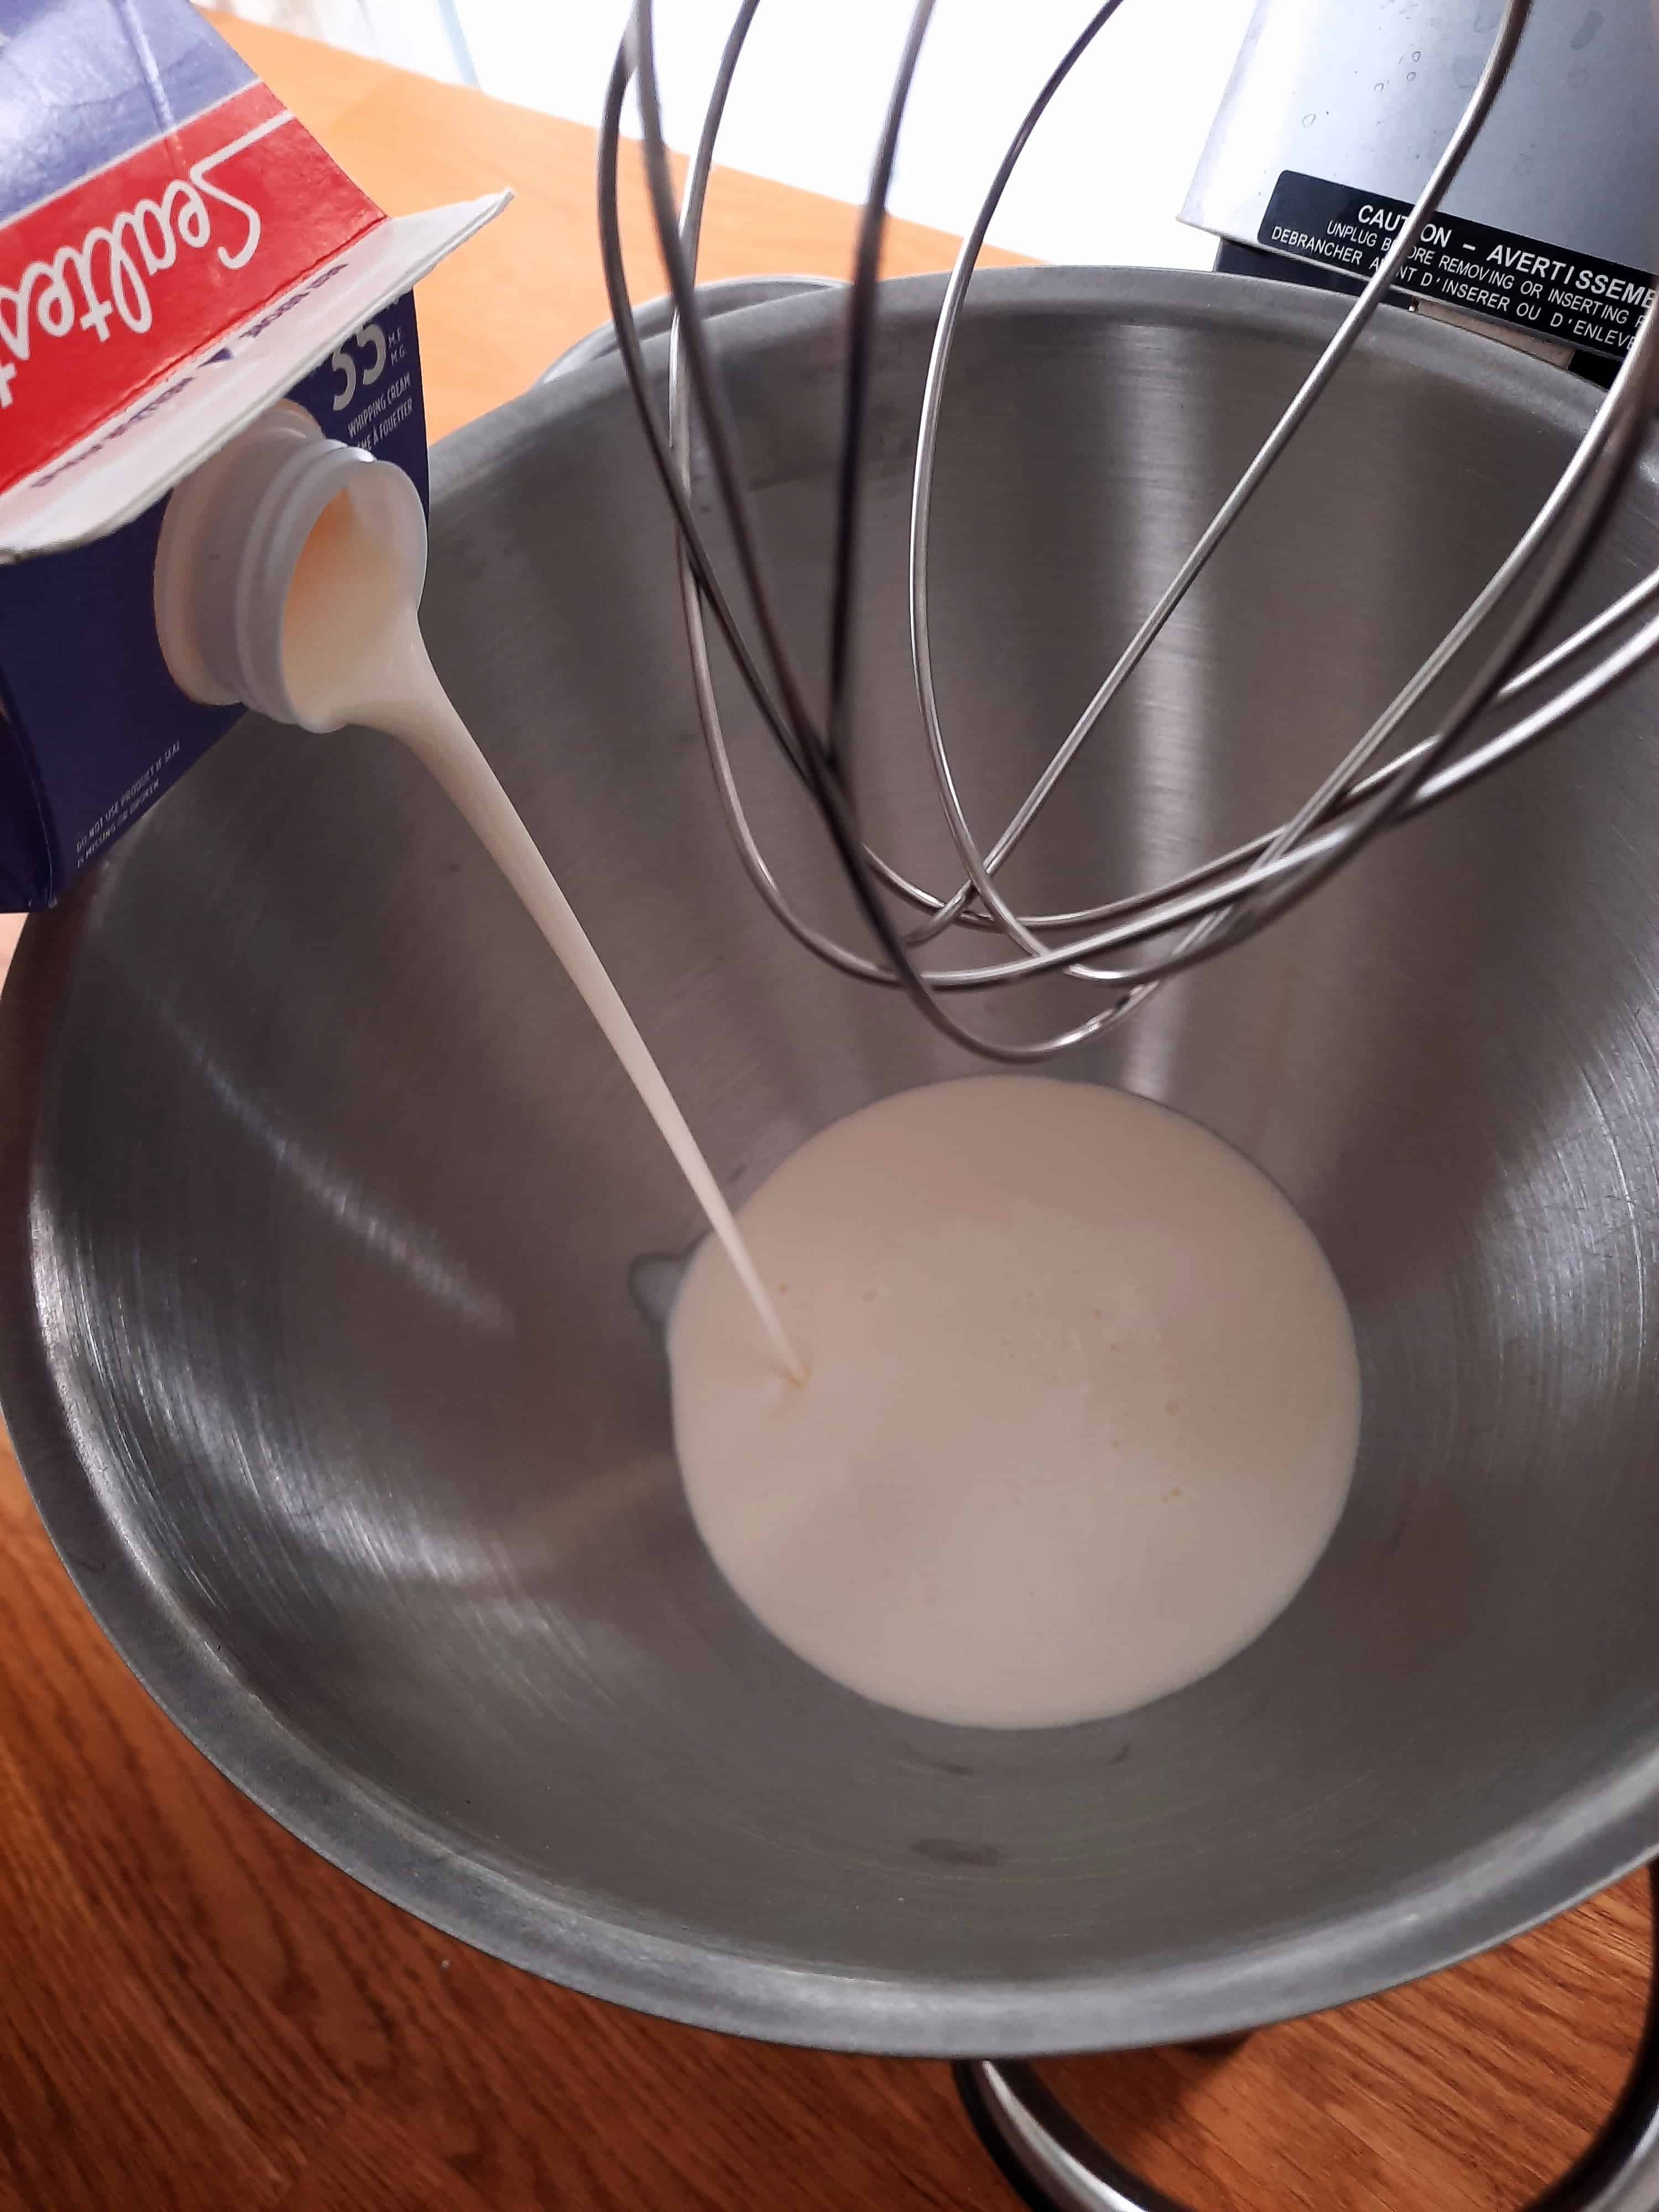
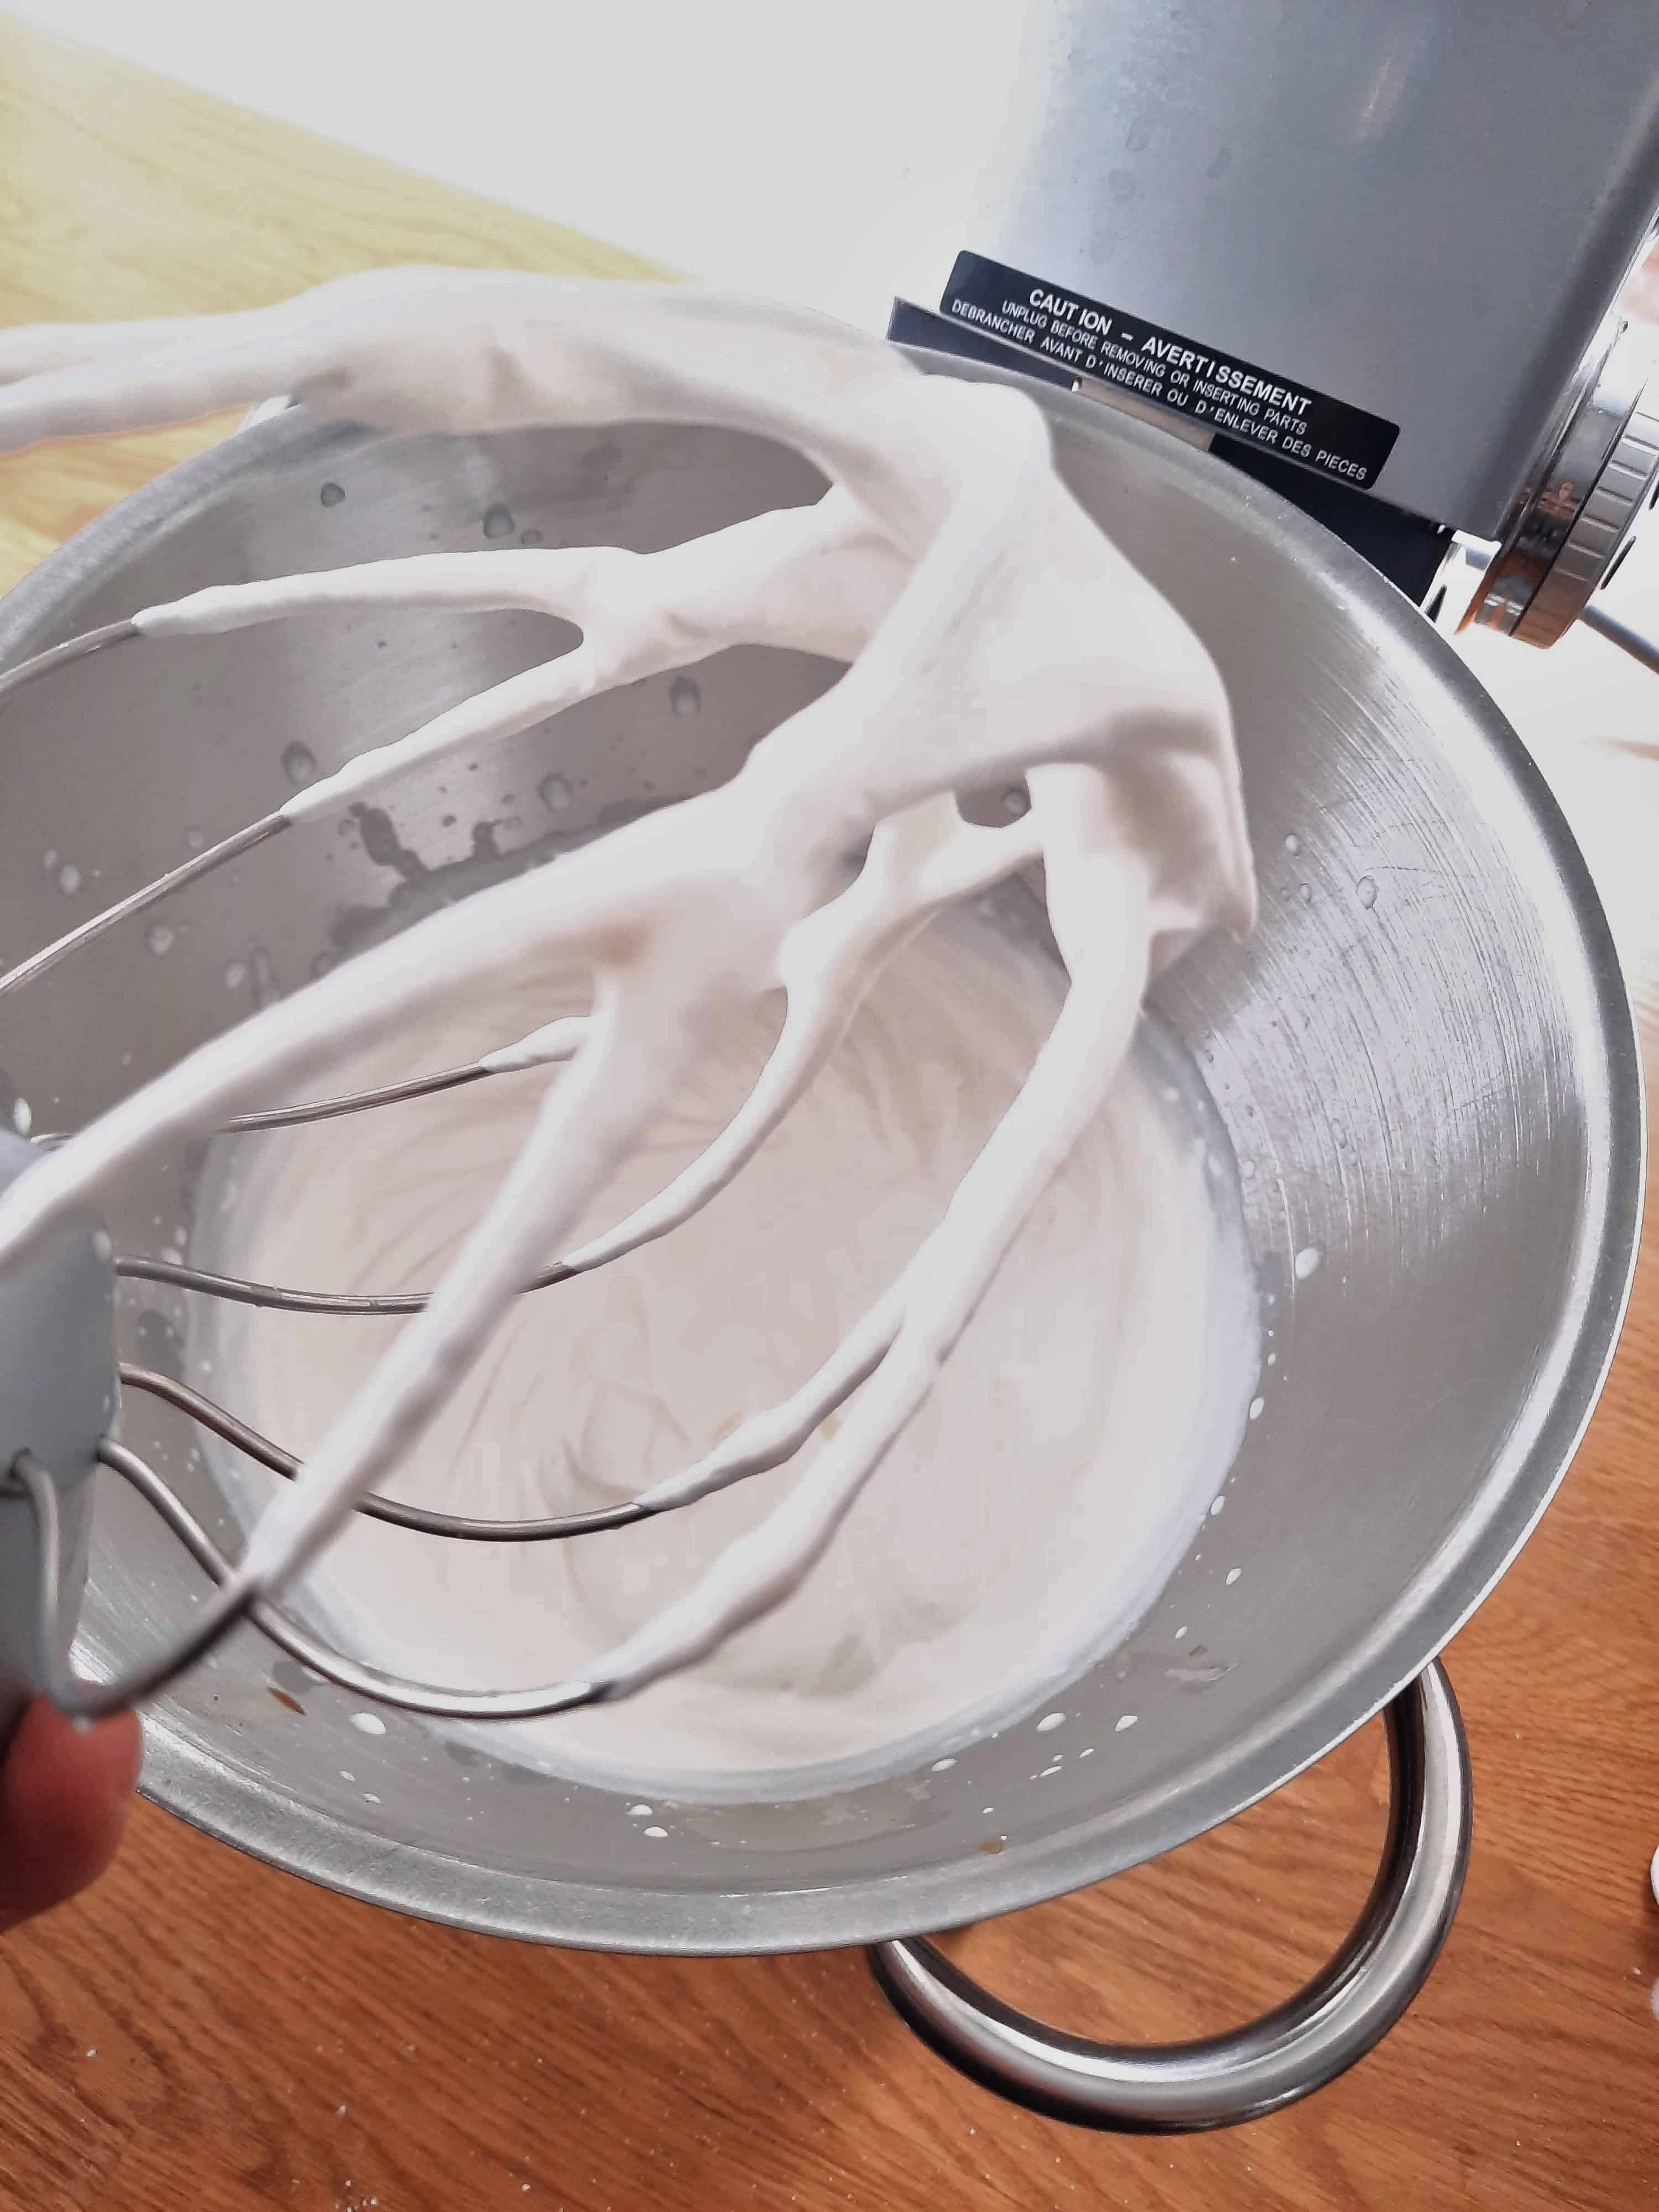
2. Meanwhile, pour whipping cream into the bowl of a stand mixer with the whisk attachment. Whip at medium speed just until very soft peaks form.
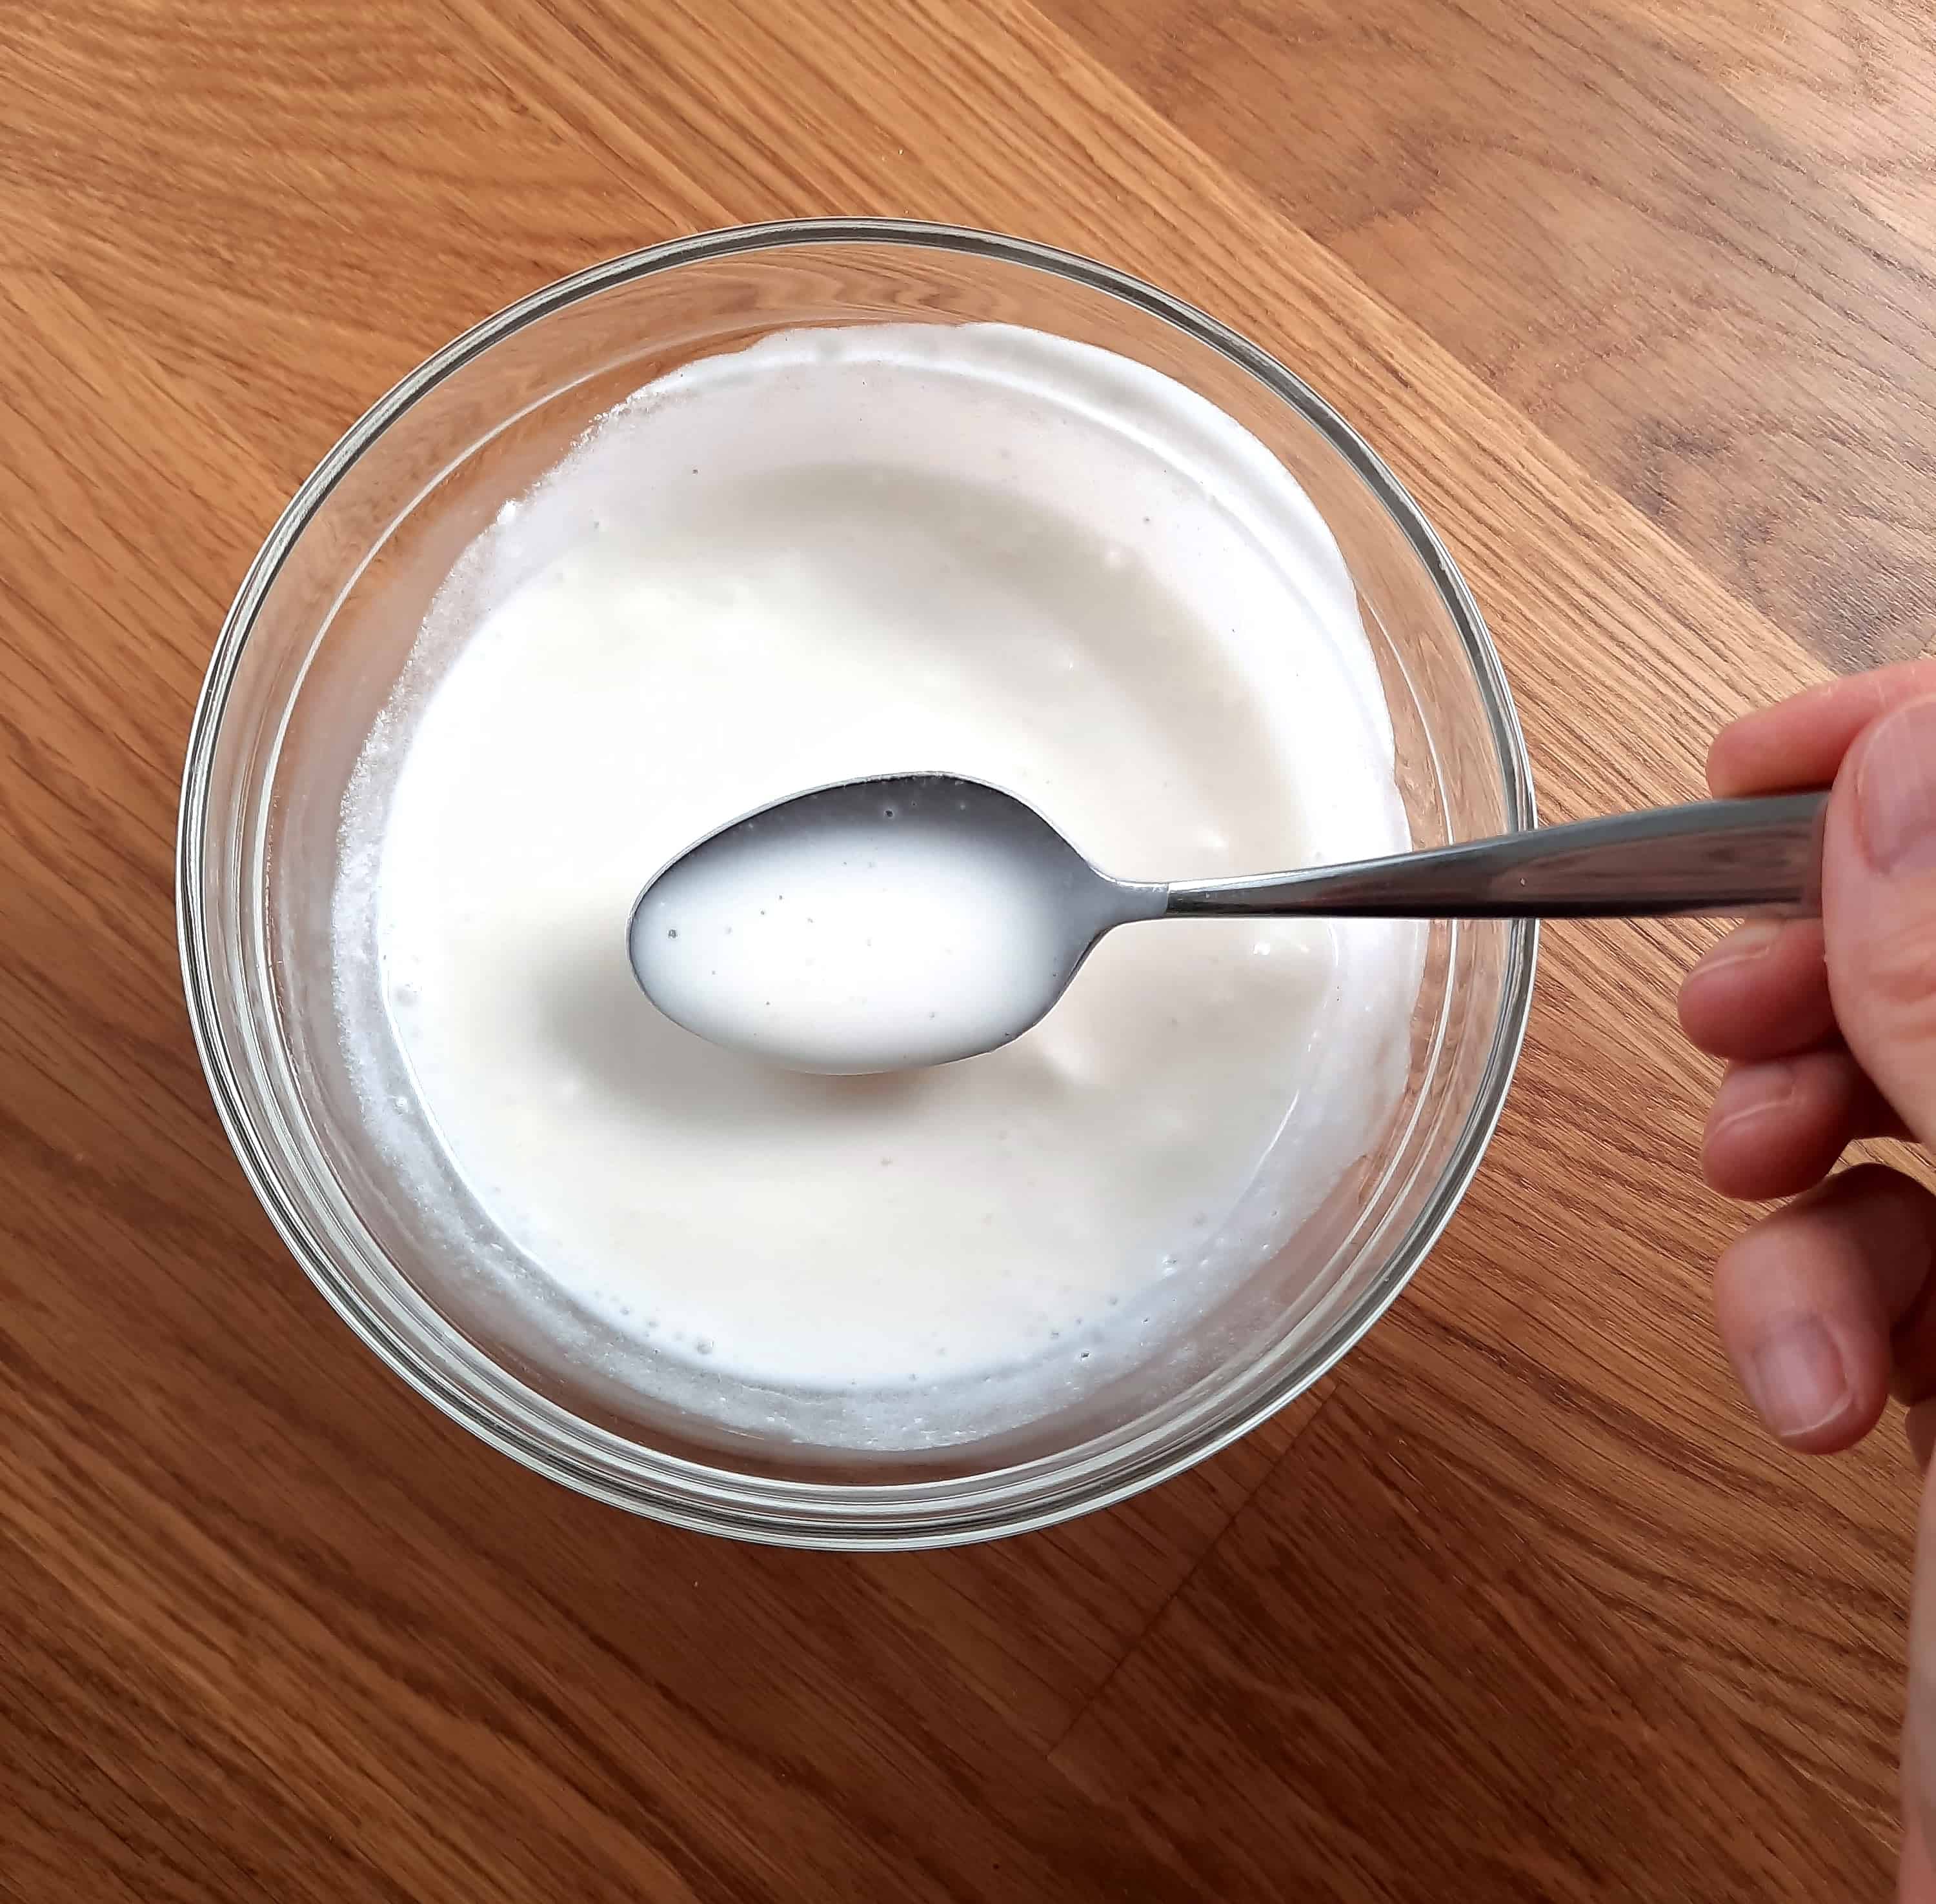
3. Microwave gelatin mixture in 10-second intervals, watching carefully, until gelatin is fully dissolved in water, and no gelatin granules remain. Be careful not to overheat.

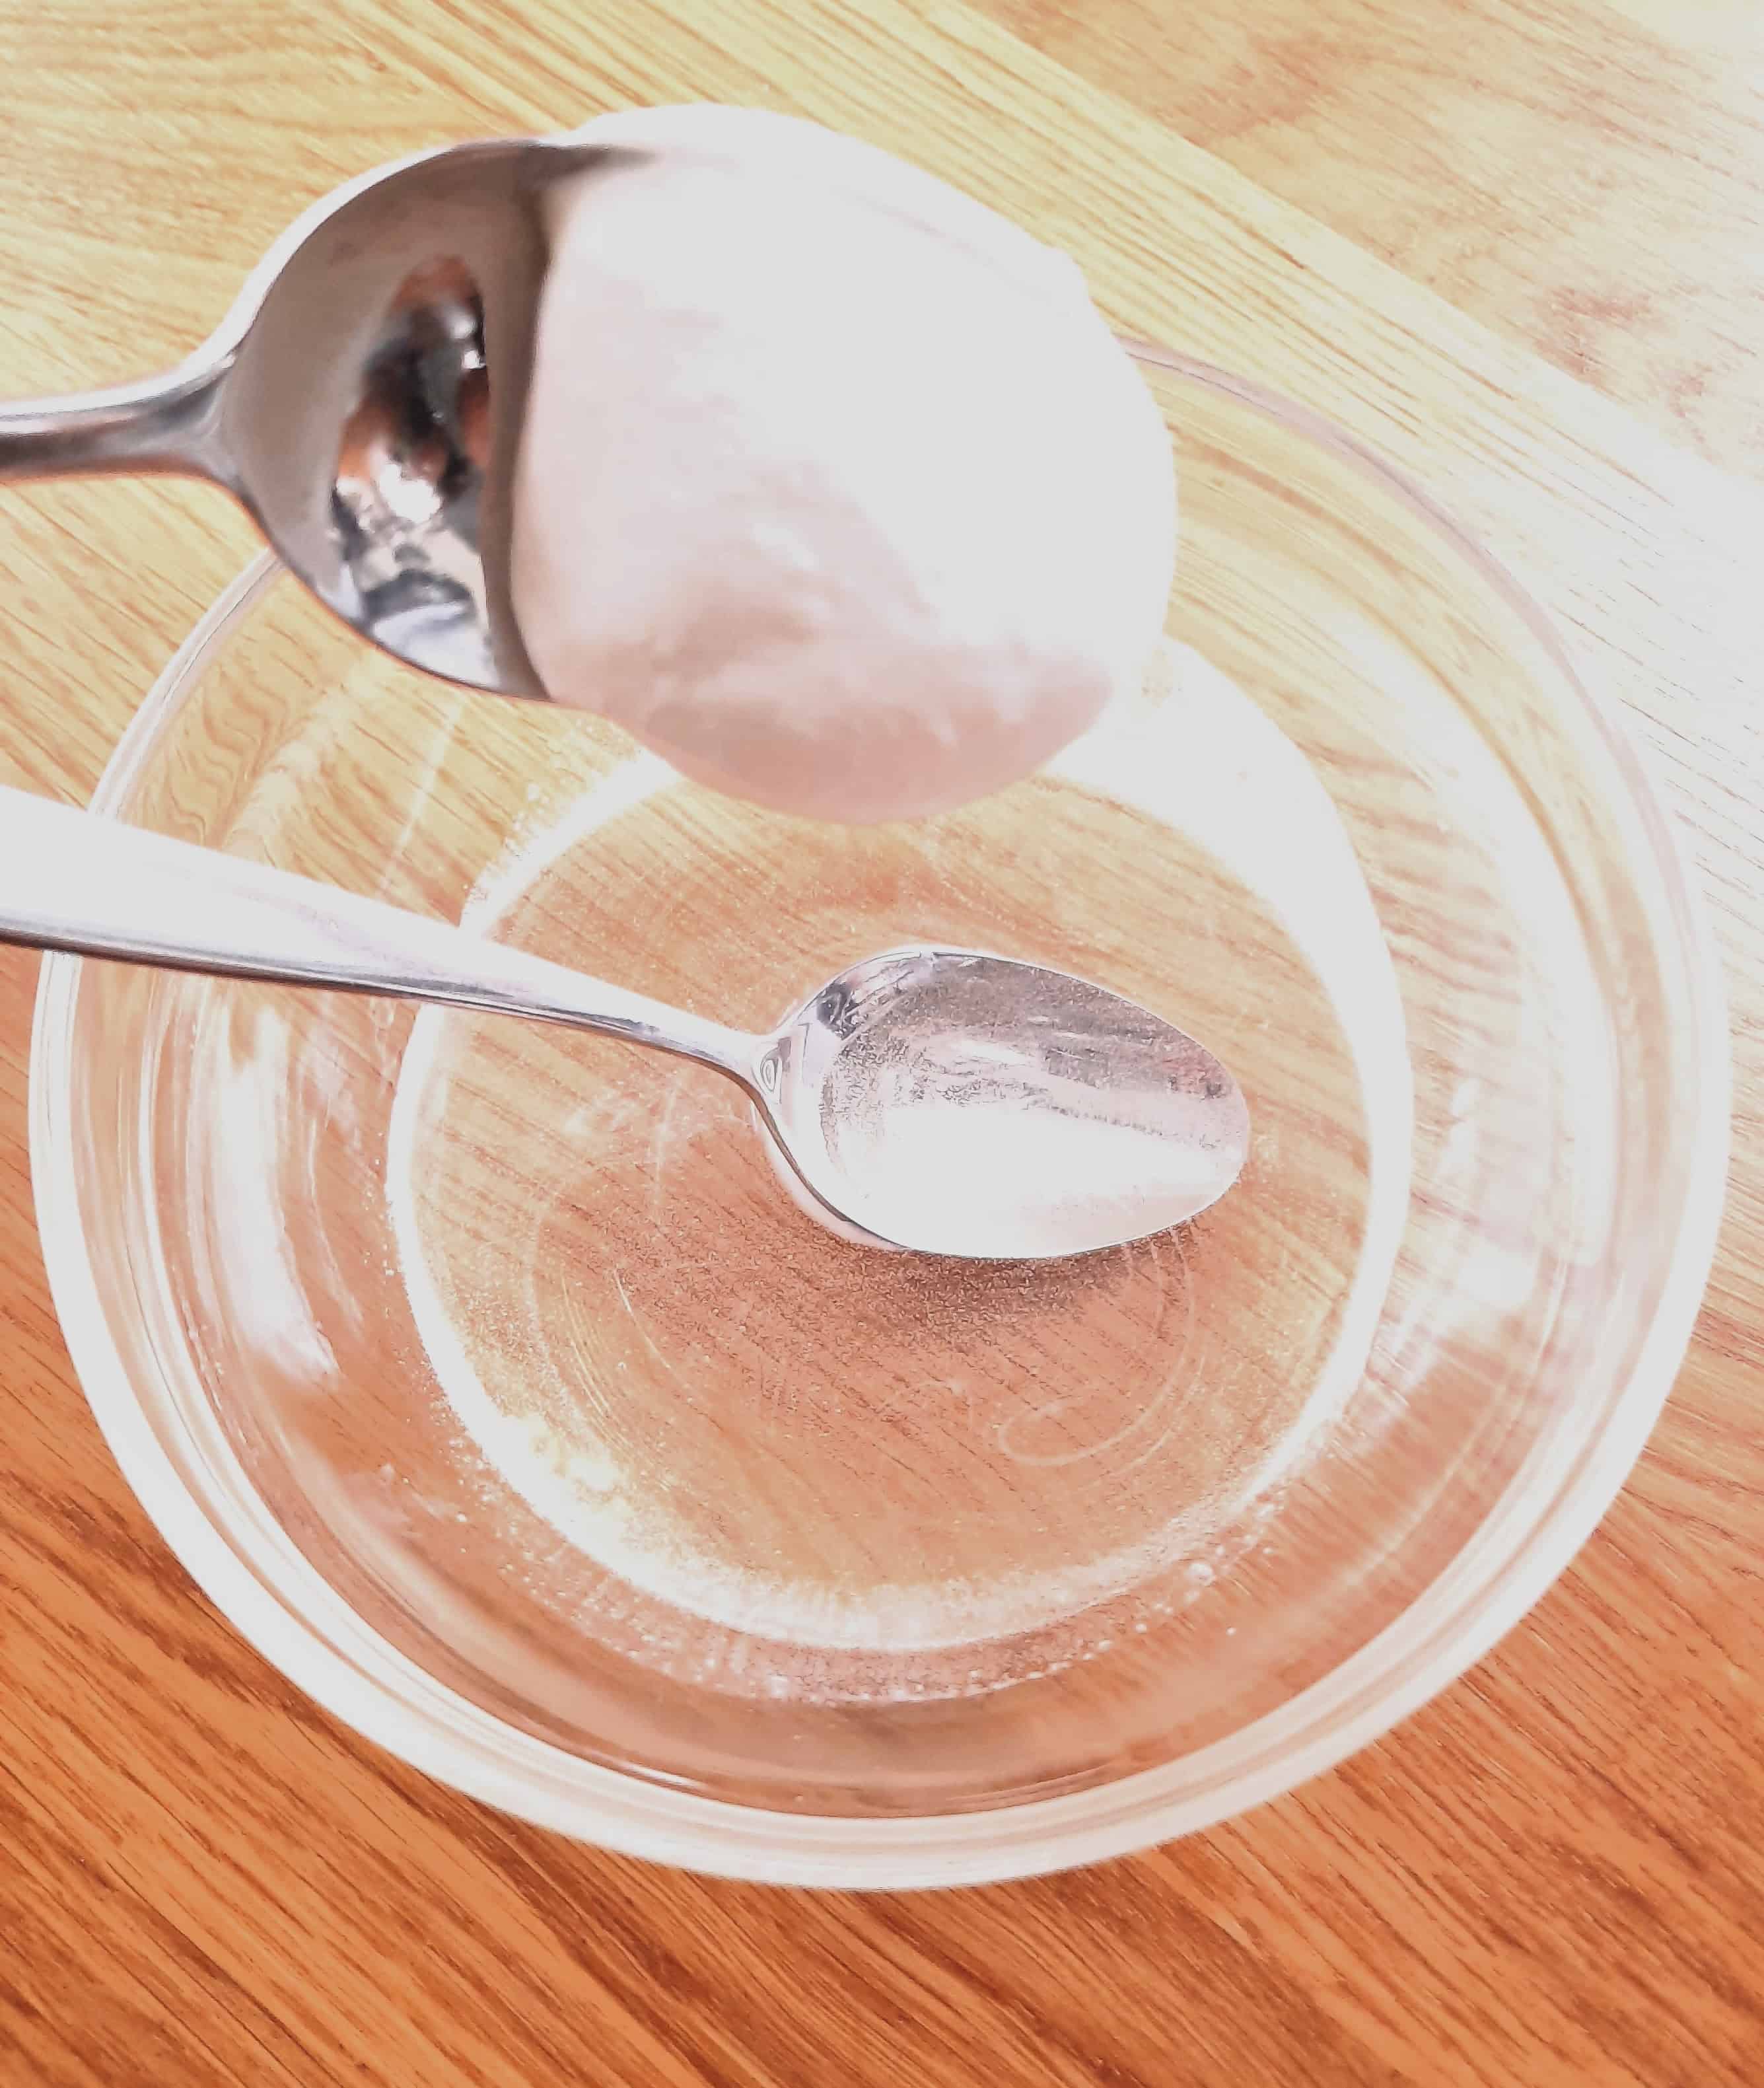
5. Add a few tablespoons of whipped cream to the gelatin mixture, stirring to combine. This ‘tempers’ the gelatin, so it won’t seize up when added to the bowl of whipped cream.
4. Next, add powdered sugar and vanilla to the whipped cream. Beat until soft peaks form.
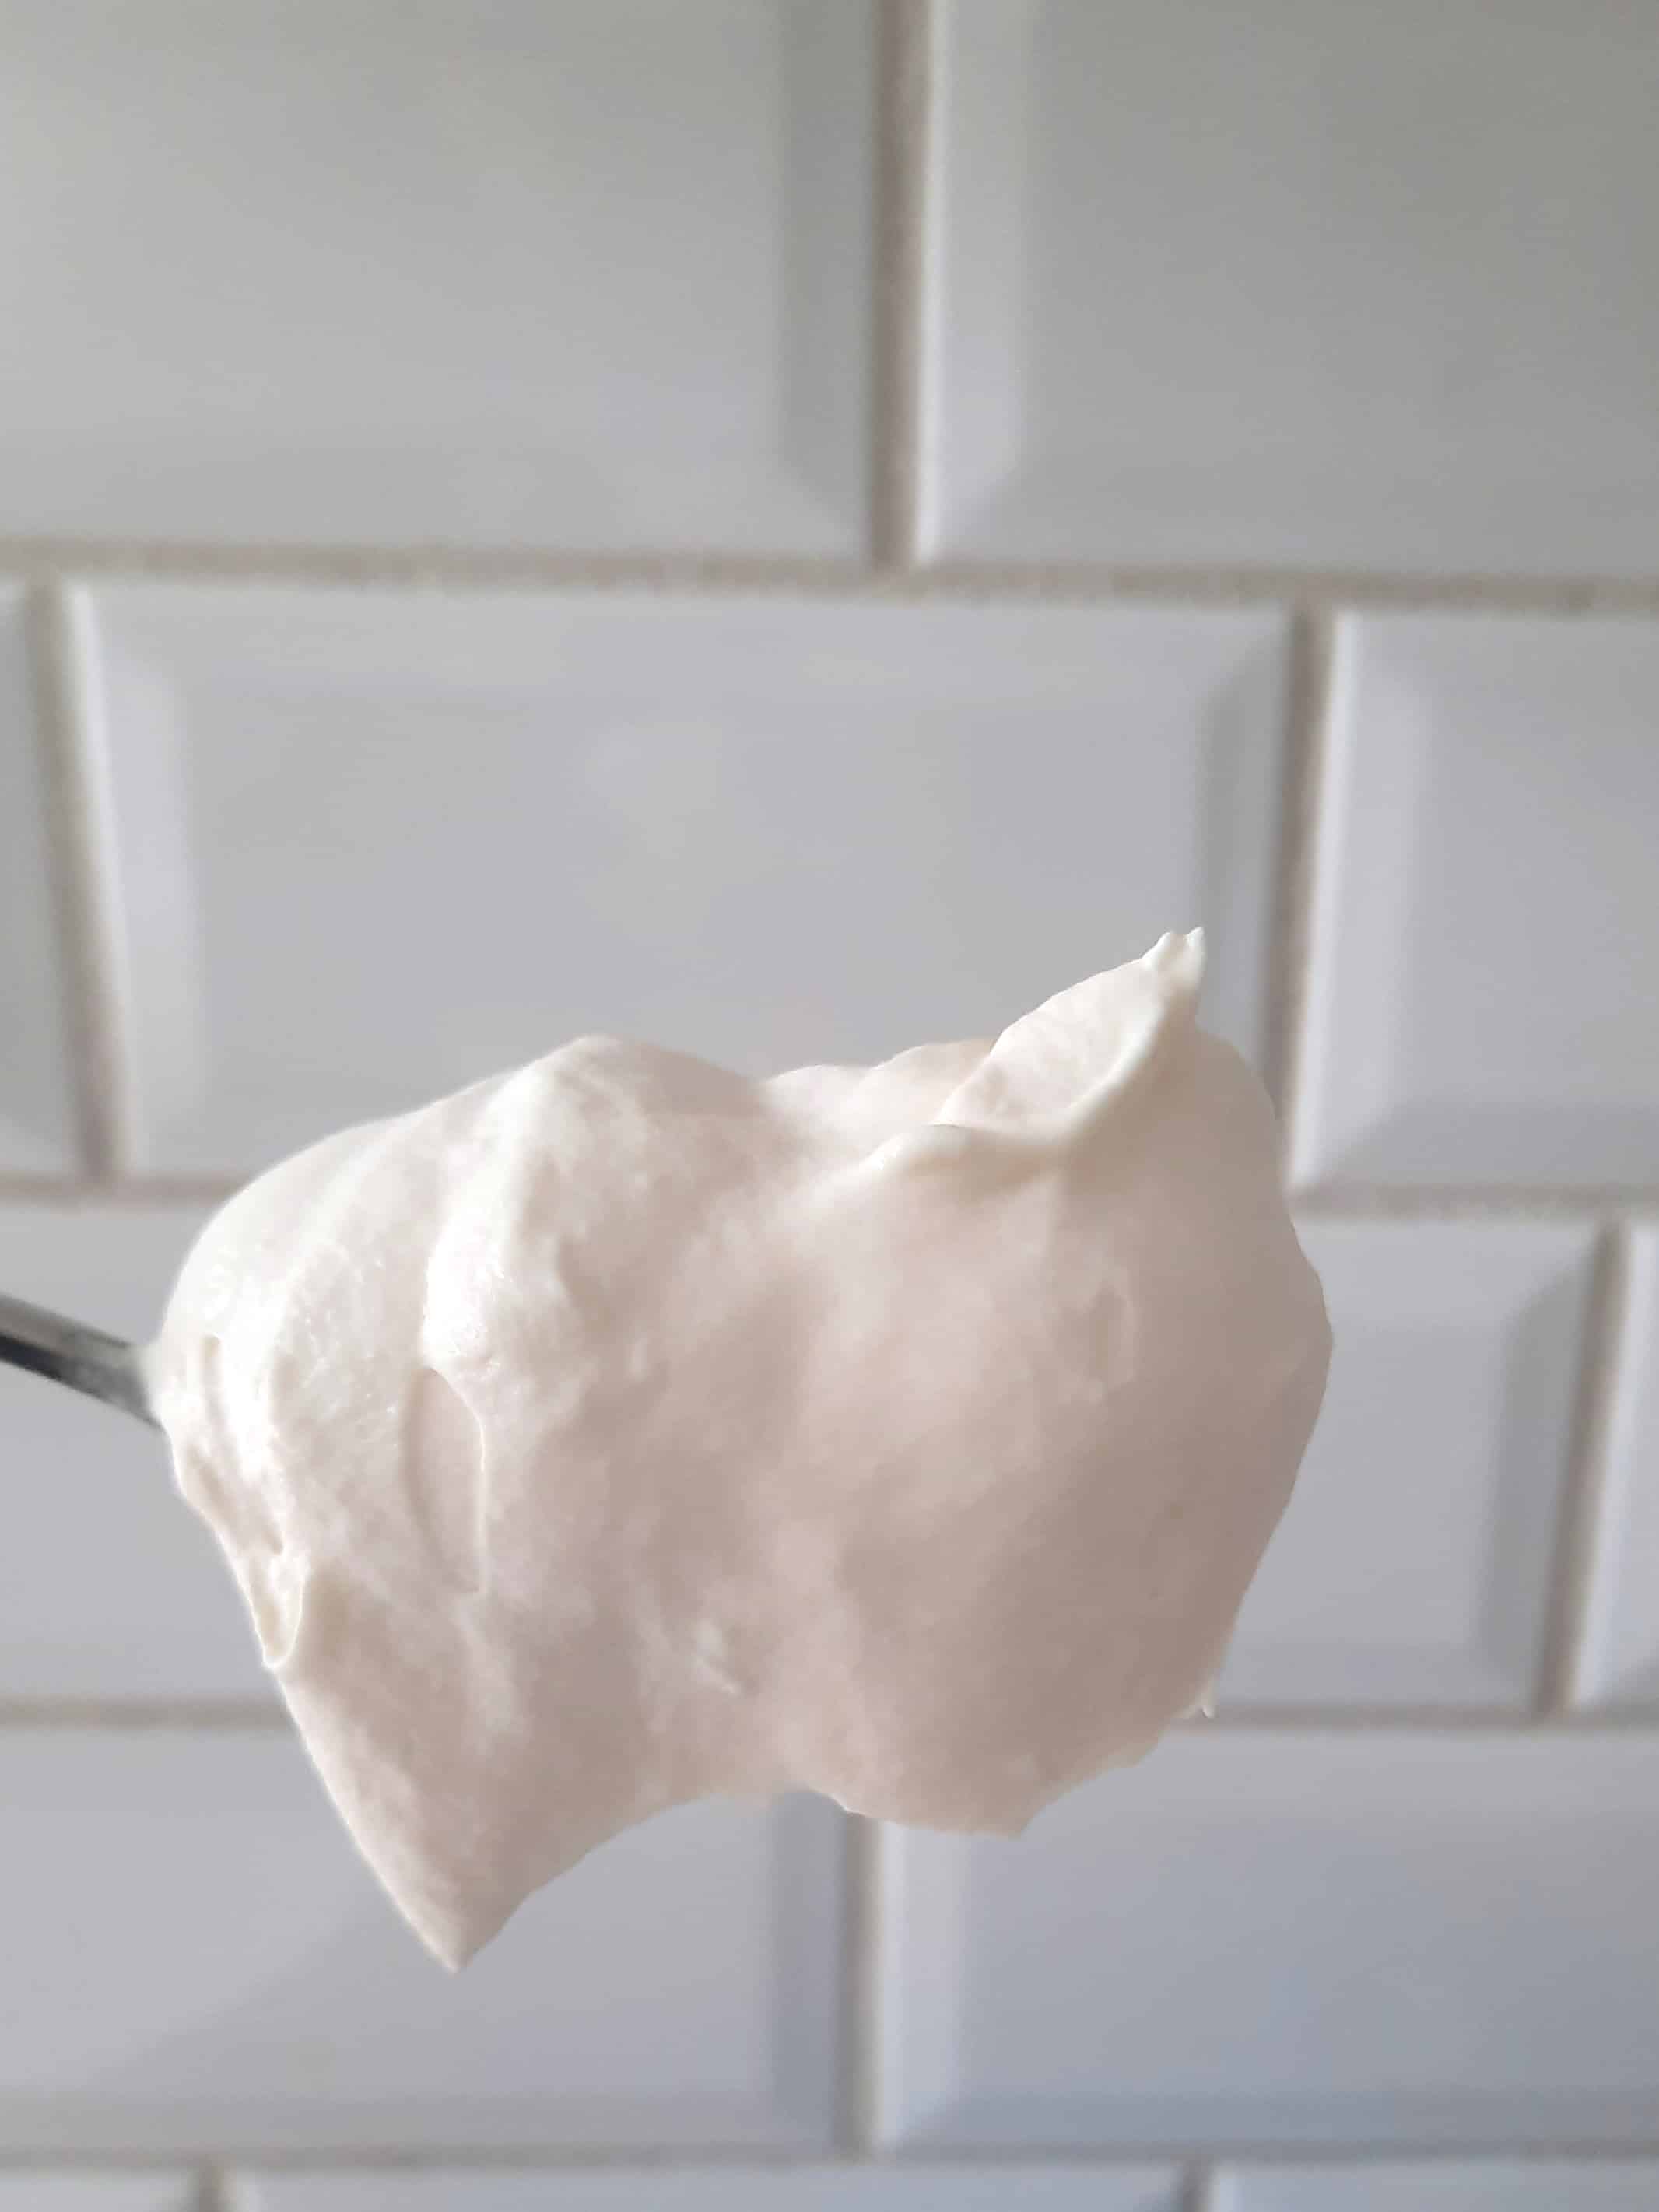
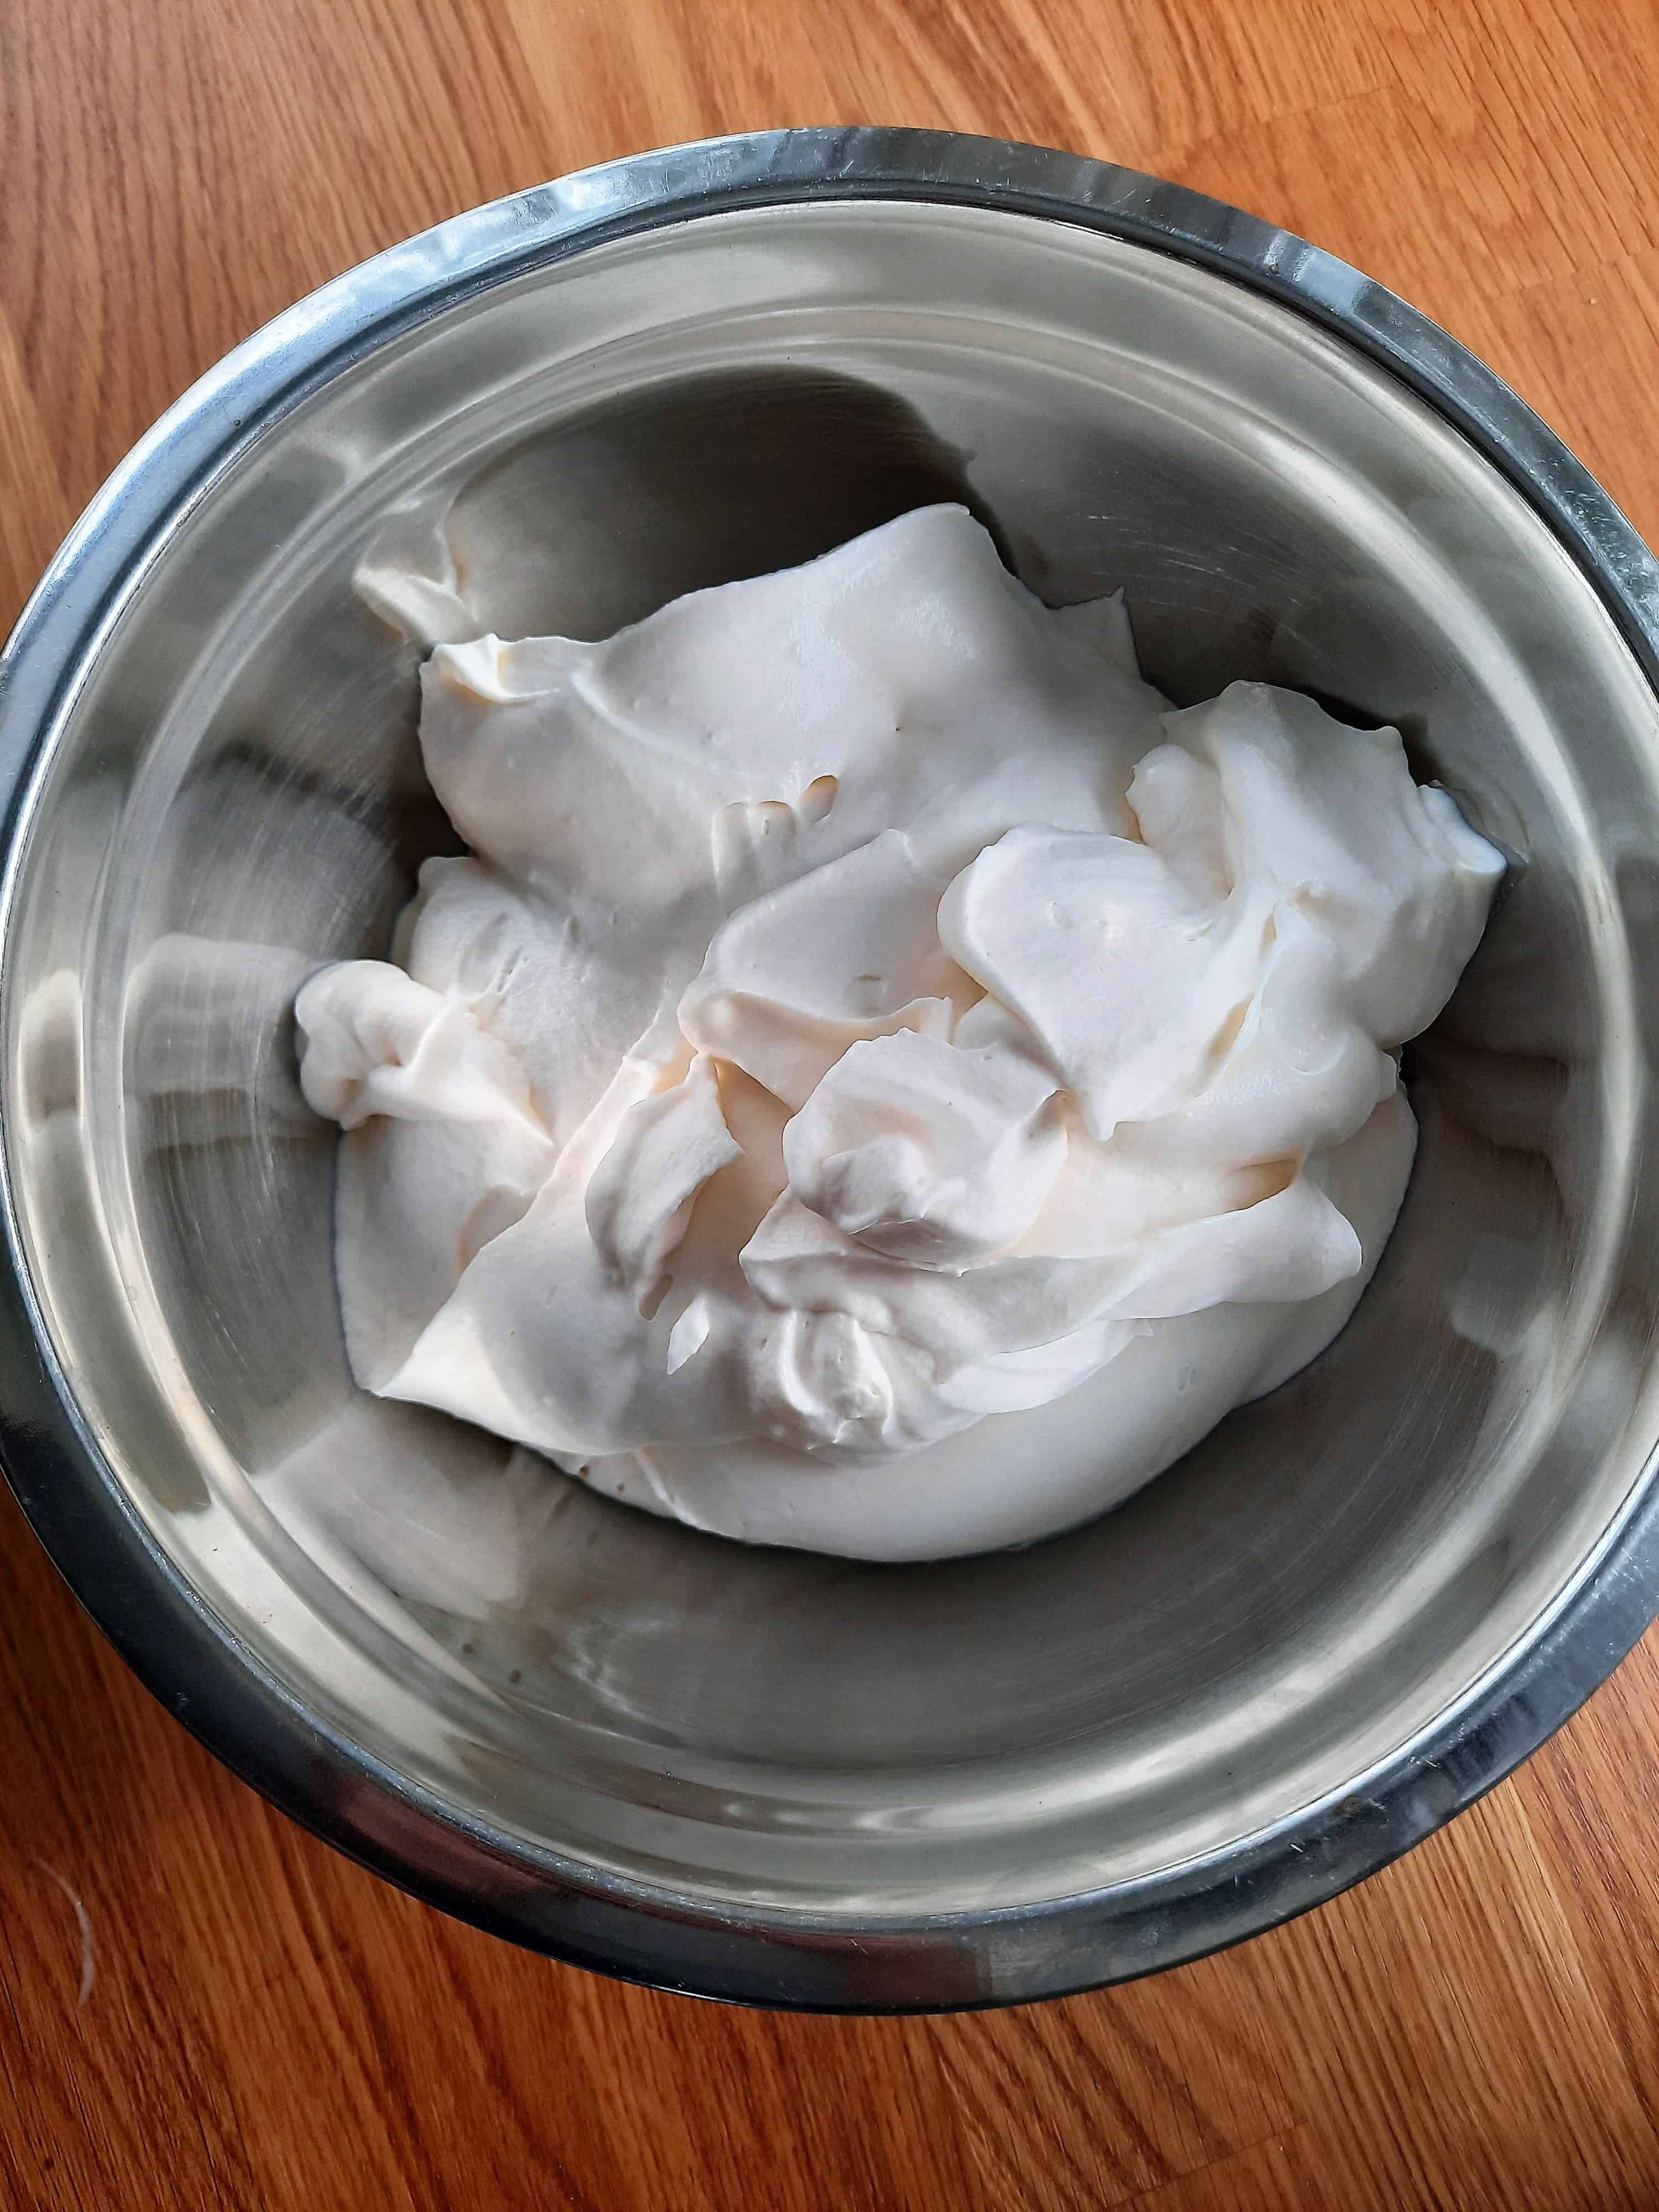
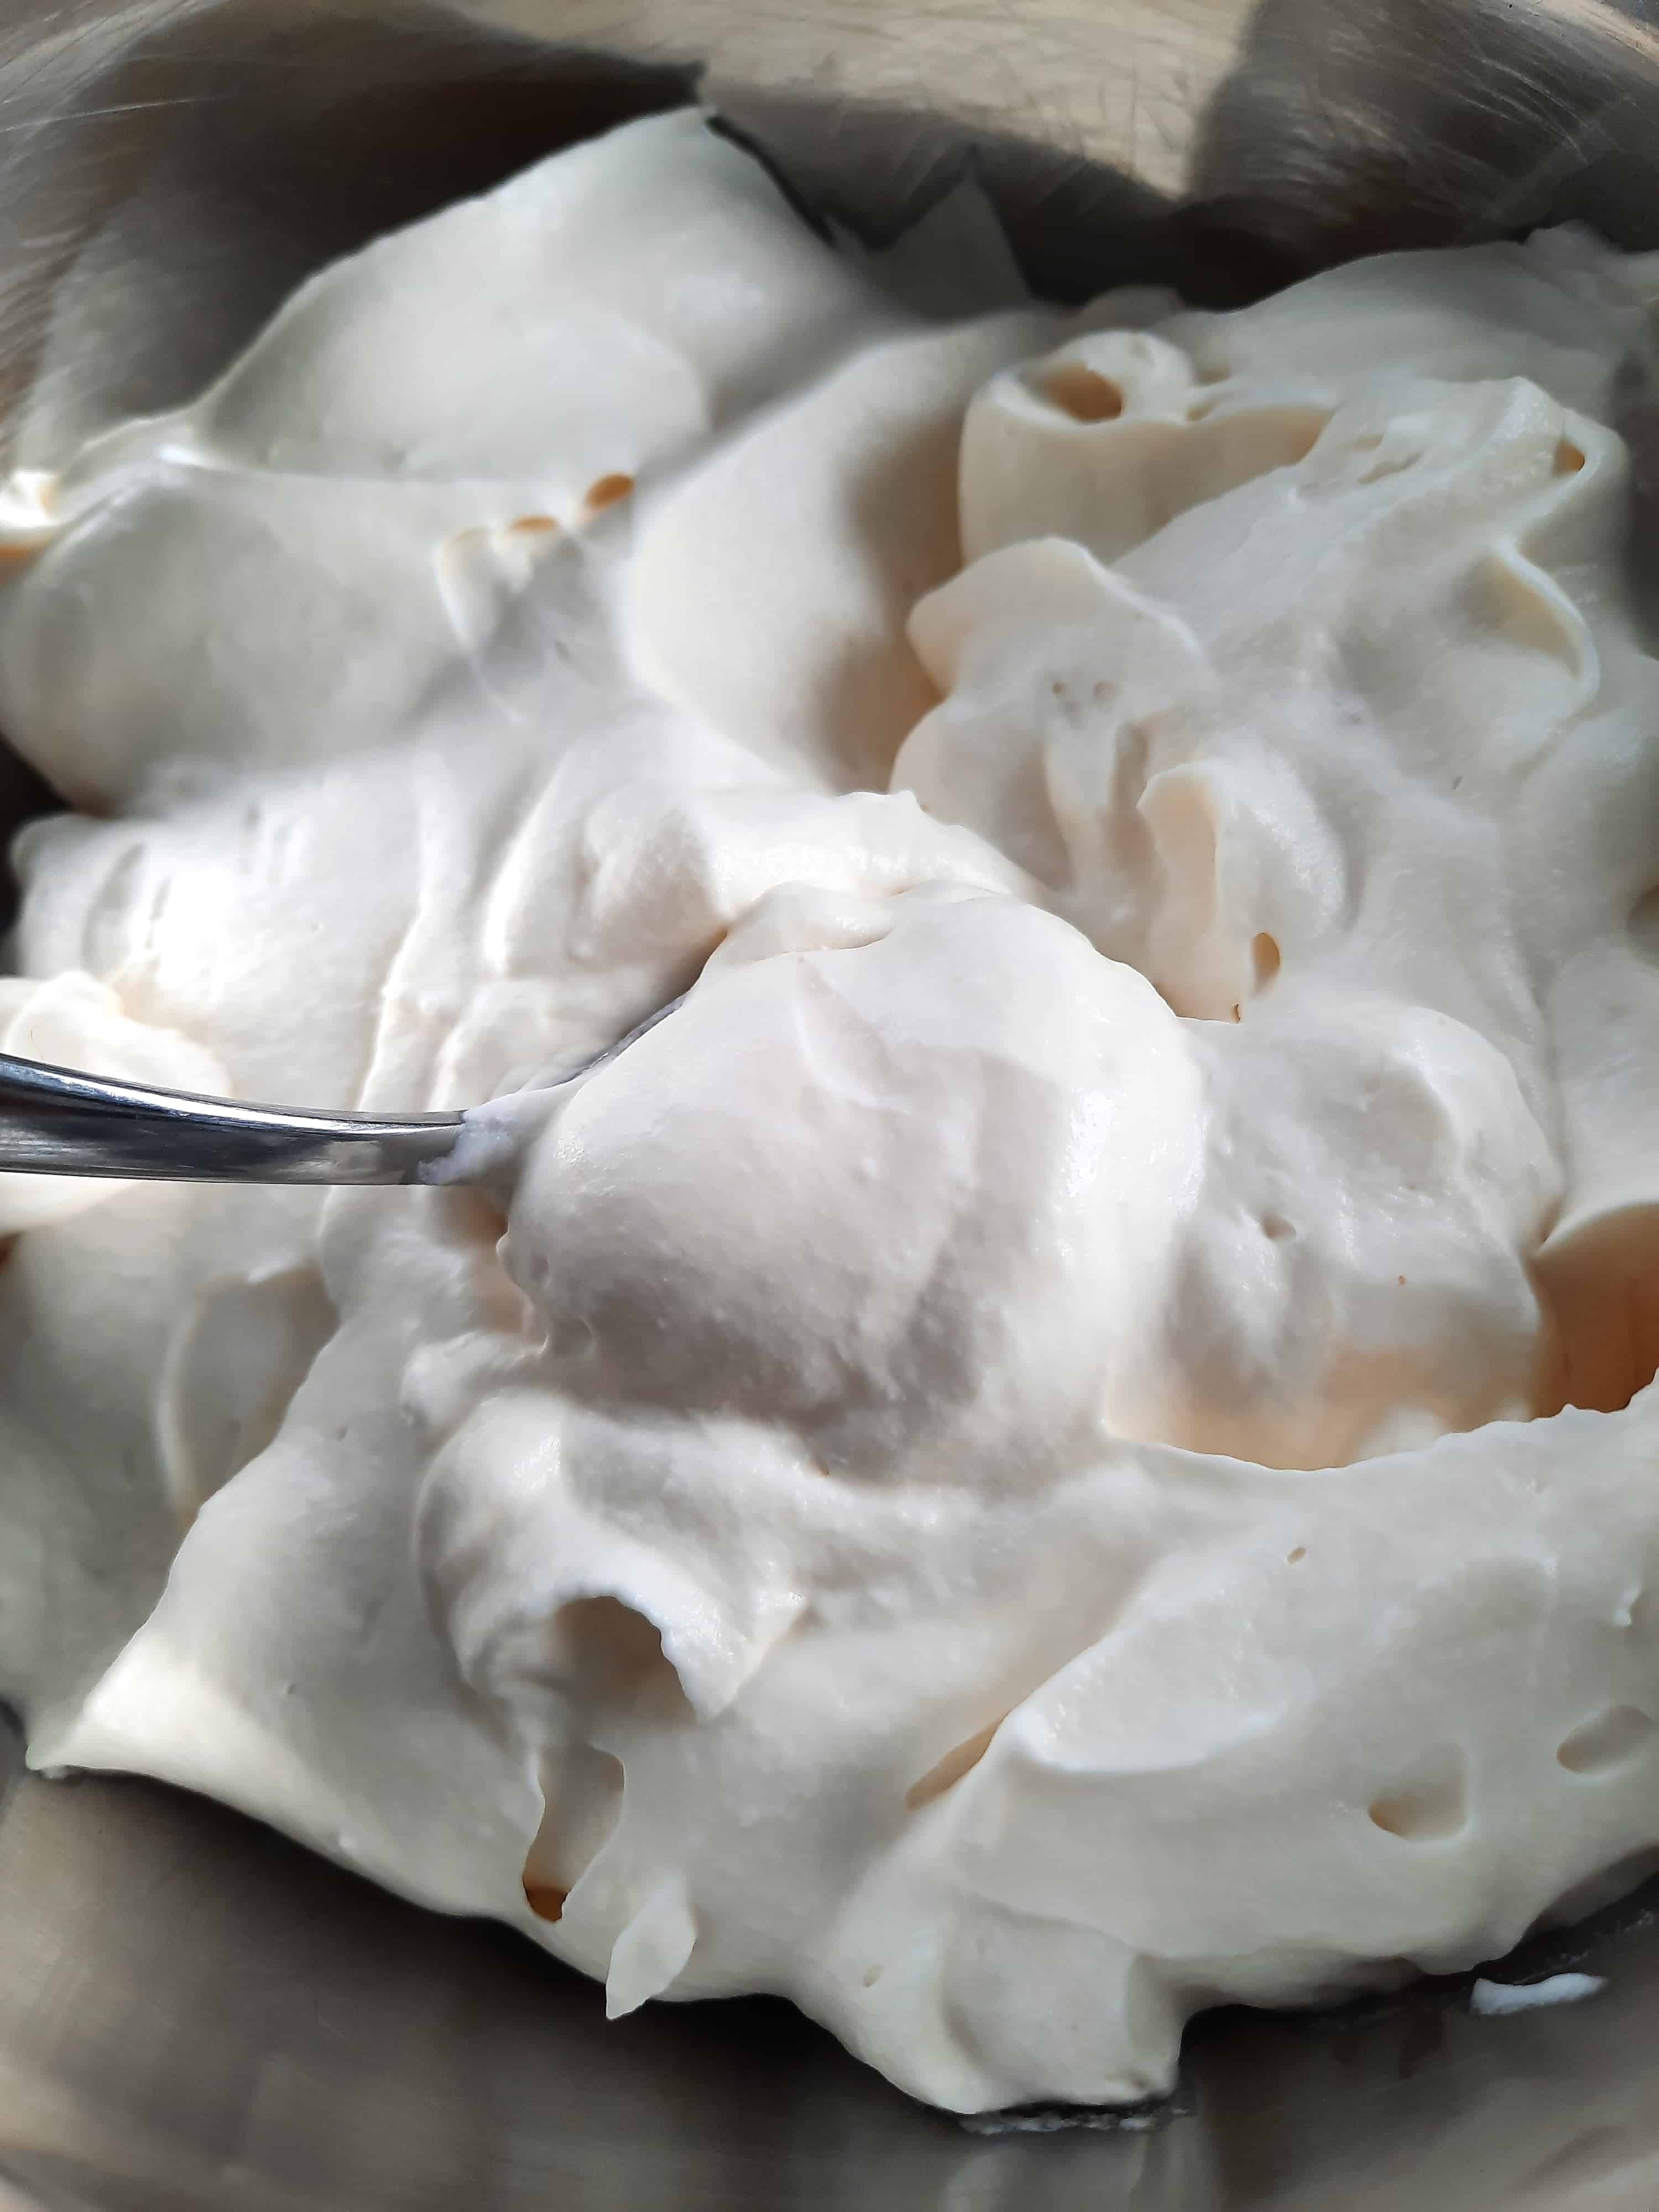
6. With the mixer on medium speed, slowly pour in the gelatin mixture. Continue to beat until stiff peaks form. Be careful not to overwhip the cream!

This whipped cream can stay in the refrigerator for up to a day (though mine has lasted longer). It can be used as-is on desserts or beverages, or used in place of whipped topping in most recipes. Or if you’re anything like me, you eat copious amounts by the spoonful. Don’t tell my kids 😉
Tools used
Stabilized whipped cream
Ingredients
- 2 cups whipping cream If the cream comes in a 473 ml jug like ours does, just use that.
- 2 tsp powdered gelatin
- 4 tbsp cold water
- 5 tbsp powdered sugar
- 2 tsp pure vanilla extract
Instructions
- Place gelatin and water in a small microwave-safe bowl. Let stand for 2 minutes. The gelatin will soften.
- Meanwhile, pour whipping cream into bowl of a stand mixer with the whisk attachment. Whip at medium speed just until very soft peaks form.
- Microwave gelatin mixture in 10-second intervals, watching carefully, until gelatin is fully dissolved in water, and no gelatin granules remain. Be careful not to overheat.
- Add a few tablespoons of whipped cream to gelatin. Stir gently to combine until no lumps remain. (This ‘tempers’ the gelatin, so it won’t seize up when added to the bowl of whipped cream).
- Add powdered sugar and vanilla to whipped cream. Beat until soft peaks form.
- With the mixer on medium speed, slowly pour in the gelatin mixture in to the whipped cream. Continue to beat until stiff peaks form. Be careful not to overwhip the cream!
Notes
- This whipped cream can stay in the refrigerator for up to a day (though mine has lasted longer). It can be used as-is on desserts or beverages, or used in place of whipped topping in recipes.
- I have used this stabilized whipped cream as a frosting for lots of cakes, including ice cream cakes! It freezes really well on the cake and still holds it’s form when sliced.
- As mentioned in the ingredients list, where I live, whipping cream that used to be sold in 500 ml/2 cup size is now sold in 473 ml containers. If that’s what you can find, use that. The slightly smaller amount doesn’t affect the recipe at all.
Looking for more?
Check out these recipes!
Pin it for later
Let me know how you like it in the comments below. We love to hear from you!
And don’t forget to sign up to be part of our community!
Thanks for visiting A Little Hint of This 🙂
Leave a Reply